HAPPY VALENTINES DAY!
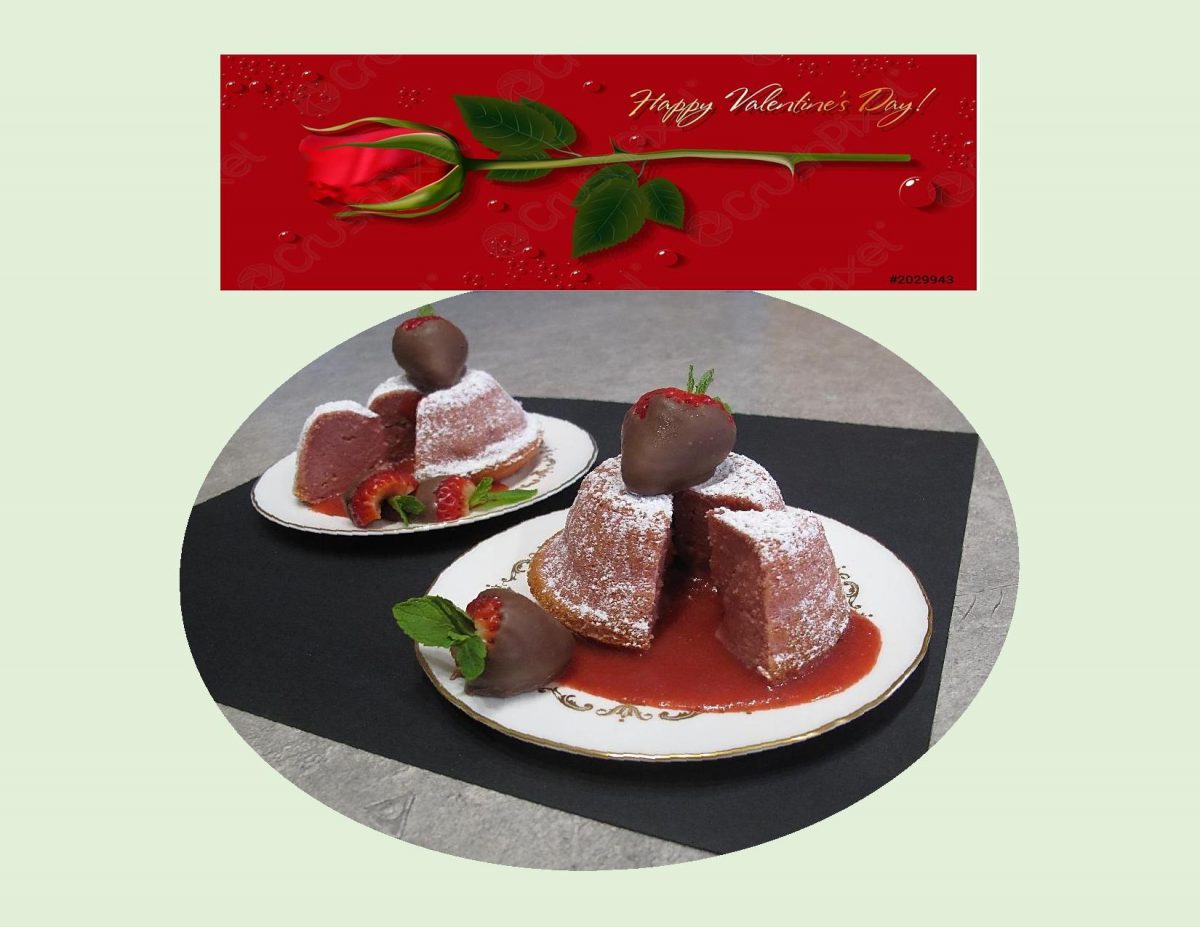
Chocolate & strawberries not only add a touch of decadence but are the quintessential Valentine treat. These little chocolate lava cakes not only look and taste great, but they’re pretty quick and easy to make. You don’t need any special equipment, just a couple of bowls and a whisk and the recipe only makes two.
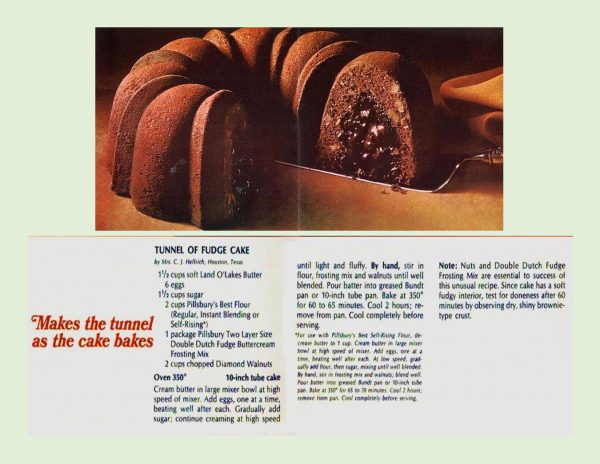
As always, I wondered about where the idea had originated. It seems the first known cake with a deliberately runny center is the ‘Tunnel of Fudge Cake’… the second place winner of a Pillsbury bake-off contest in 1966. Invented by Texan homemaker, Ella Helfrich, the cake is a walnut-flecked Bundt cake with a wet fudge center, which Ella achieved by the pretty ingenious inclusion of powdered frosting. The original recipe called for Pillsbury’s Double Dutch Dry Frosting Mix, which would, in the oven, cook into a runny, pudding like tunnel. The cake recipe became a cultural icon and put Bundt pans, (which had been created in the ’50s but were never particularly popular) in mass demand.
In 1987, a chef in New York city, Jean-Georges Vongerichten, was credited with ‘inventing’ the lava cake but this has been disputed as Jacques Torres, a French chef & chocolatier, says that the lava cake already existed in France before that time. As time has passed there have been many versions adapted to the original idea which mostly include the variations on the fillings. Instead of the chocolate fillings, other flavors like lemon, caramel, strawberry and orange can be found.
I think these White Chocolate Strawberry Lava Cakes will make the perfect ending for our Valentines supper.
Print Recipe
White Chocolate Strawberry Lava Cakes
Votes: 2
Rating: 5
You:
Rate this recipe!
|
|
Votes: 2
Rating: 5
You:
Rate this recipe!
|
Instructions
Strawberry Puree
In a blender, process strawberries then press mixture through a fine mesh sieve over a bowl; discard seeds. In a saucepan, melt butter over medium heat. Pour in strained strawberry puree. Allow mixture to come to a boil & bubble until slightly thickened, about 6 minutes.
Cake
Melt white chocolate with butter. You can do it in the microwave with 30 second breaks or over a double boiler. Blend well.
Preheat oven to 375 F. Butter & flour 2 - 6 oz ramekins; set aside.
In a bowl, whisk together eggs, egg white, sugar, salt, vanilla, lemon juice & zest.
Add chocolate/butter mixture then flour; combine. Add strawberry puree & coloring (if using); blend.
Divide batter between the 2 ramekins & bake for about 15-20 minutes. Make sure not to OVERBAKE or you won't have the lava effect.
Sprinkle with powdered sugar & serve with any extra puree if you wish. For an extra treat, top with some dipped strawberries.
The Caramilk chocolate bar is a Canadian creation that has been around since 1968. First produced at the Cadbury factory in Montreal then production moved to the Gladstone factory in Toronto in 1978 and has been made there ever since.
The general name for the candy confection is actually Cadbury Caramilk, but in the USA, this candy bar is more familiarly known as Caramello. The entire styling of the bar is different depending on where it is sold and this can lead to confusion that these are different candy bars when they are actually the same product. There are some variations in the recipe in different countries but the overall taste is remarkably similar.
There have been countless theories and debates about how Caramilk gets the soft flowing caramel inside the Caramilk bar. To date, it is still one of those Canadian enduring mysteries as Cadbury has guarded the Caramilk ‘secret’ for over 50 years.
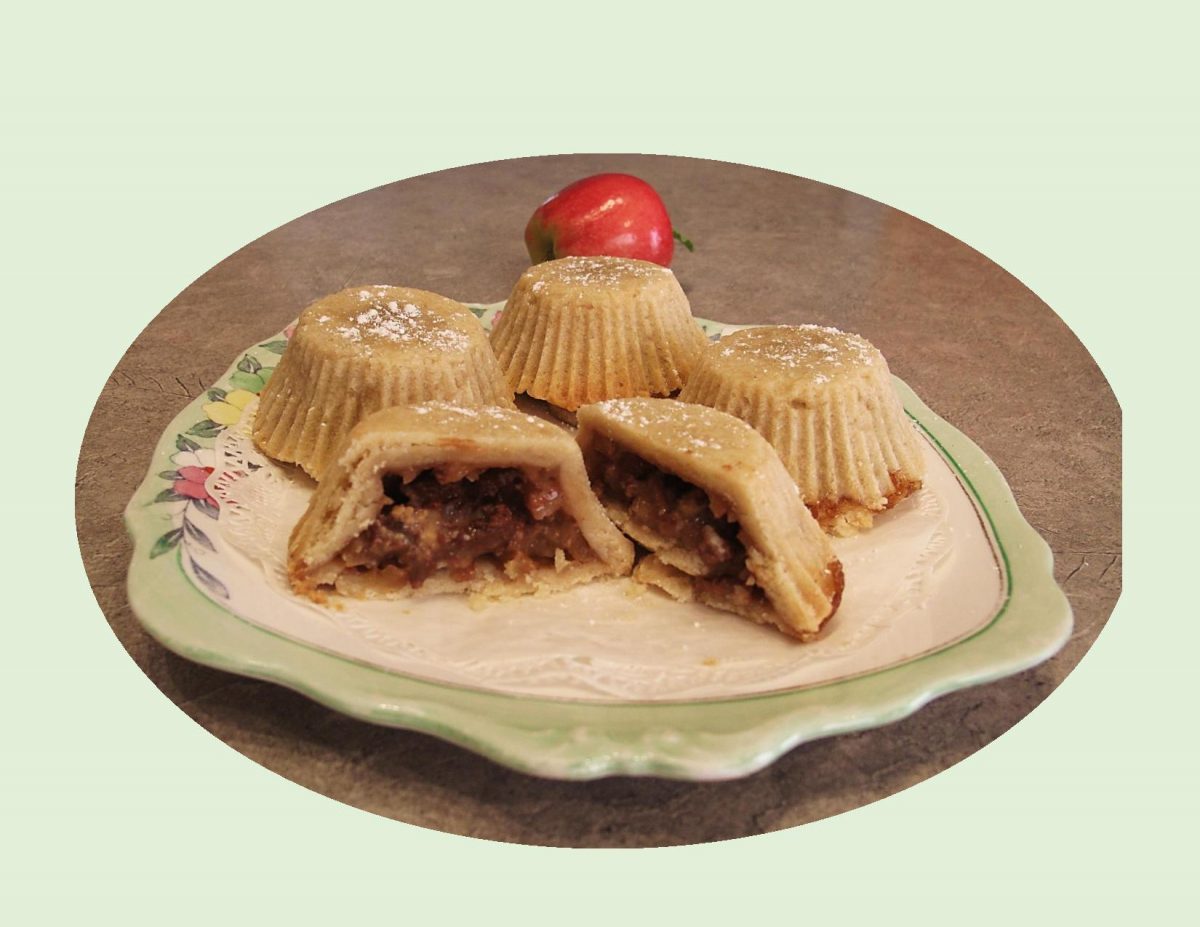
These apple tart/baskets are certainly taken up a notch by simply adding a piece of Caramilk chocolate to the center. Who knew …. what’s old is new again!
Print Recipe
Caramilk Apple 'Baskets'
Votes: 2
Rating: 5
You:
Rate this recipe!
|
|
Votes: 2
Rating: 5
You:
Rate this recipe!
|
Instructions
Pastry
In a bowl, whisk together flour, sugar & salt. Add cold butter, vanilla & lemon zest. Cut into flour mixture with a pastry blender until dough starts to come together & form clumps. Divide 2/3 of pastry between 10 tart/muffin cups. Using fingertips, evenly press the dough into each cup. With remaining pastry, divide it into 10 balls & flatten each to form a top for each tart. Place pastry in refrigerator until filling is prepared.
Filling
In a saucepan, whisk together 1 1/4 cups water, both sugars, spices, salt & lemon juice. Add the diced apples & simmer for 10-12 minutes to soften apples, stirring occasionally. Combine remaining 1/4 cup water with cornstarch & add to apple mixture; continuing to cook until thickened. Remove from heat & allow to cool.
Assembly/Baking
-
Place a Tbsp of apple filling in each tart shell. Divide the Caramilk bar into 10 pieces. Place one piece in the center of each tart. Divide remaining apple filling between the 10 tarts. Top each with a pastry round & bake for about 35 minutes or until golden.
Serve inverted on a serving plate, either as is or with your choice of topping.

For many, orange juice and oatmeal are seen as breakfast food. I like both, so using them in baked goods works for me.
Most of the time, when it comes to cake or cookies, extract is where your flavor will come from. I recall an orange loaf my mother made by first cooking the sugar with orange zest and adding it to the batter. It gave the loaf such a bold orange flavor.
In these cookies, I’m using both the zest and juice of a fresh orange and a tiny bit of lemon zest to add another dimension of citrus. The oatmeal is processed to an oat flour.
The use of both butter and olive oil further enhances the flavor of the cookies. Butter is smooth and creamy, adding the dairy richness, while the oil provides a unique flavor and aroma.
Once the cookies are baked, a glaze using more fresh orange juice and zest makes these orange slice cookies ‘addicting’ as Brion says.
Print Recipe
Orange Slice Cookies
Votes: 2
Rating: 5
You:
Rate this recipe!
|
|
Votes: 2
Rating: 5
You:
Rate this recipe!
|
Instructions
Cookies
In a bowl, combine sugar, butter & oil; beat until fluffy. Add yogurt, vanilla, orange juice & zests.
In a food processor, pulse oatmeal for a few seconds. Add oat flour, white flour, baking powder, cardamom & salt. Blend ingredients together well to form a soft dough. Evenly divide dough into 10 pieces; form each into a ball. Cover & refrigerate for 20 minutes so that the dough becomes a little firmer.
Preheat oven to 350 F. Line a couple of baking trays with parchment paper.
Remove cookie dough from refrigerator; slice each ball into 4 pieces & shape each piece to resemble an orange slice. Place on baking sheets spacing about 2 inches apart.
Bake cookies about 20-25 minutes or until the sides of the cookies become a light golden brown.
Glaze
Combine remaining orange juice & zest with enough powdered sugar to make a glaze consistency. When cookies are cool, brush with glaze,
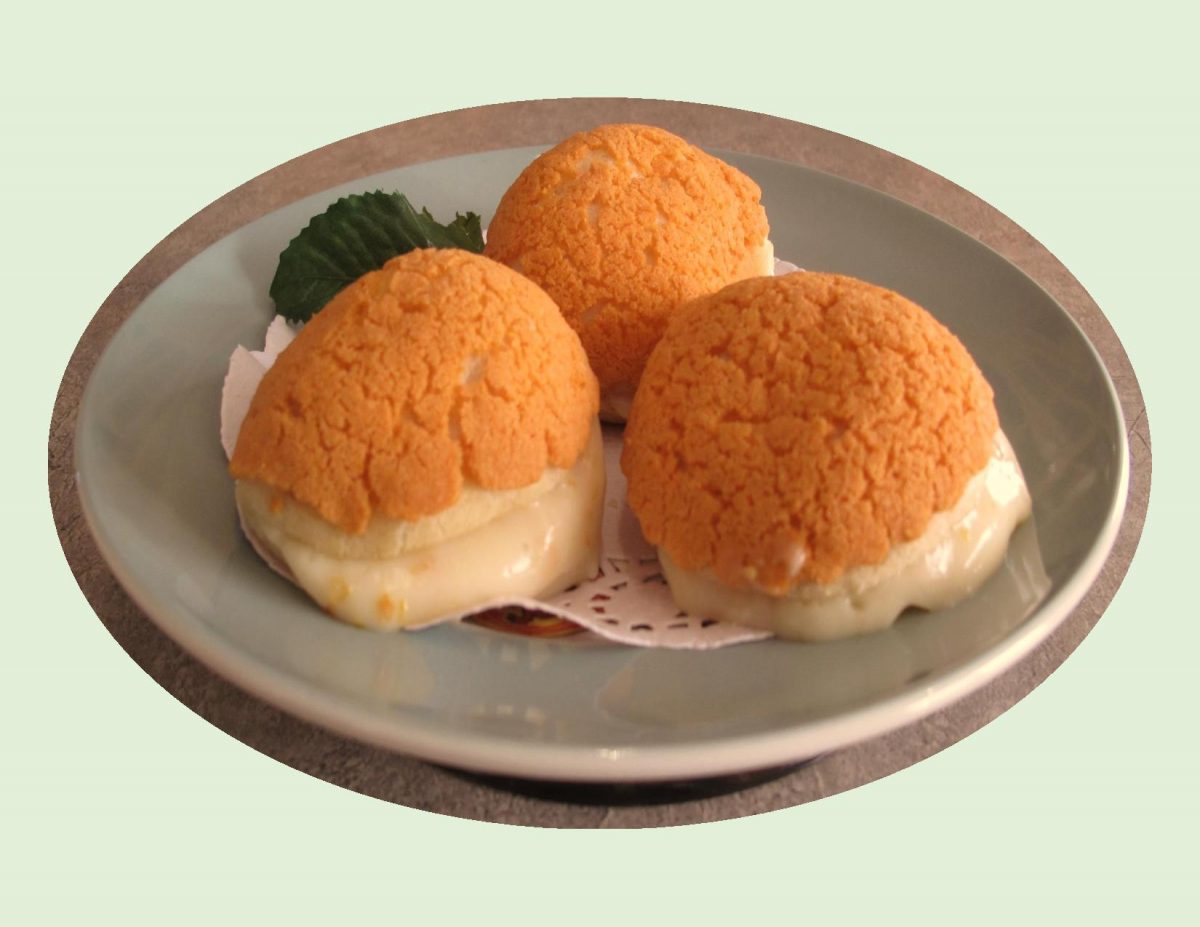
Cream puffs start with choux pastry, a heady mixture of butter, milk, water, eggs & flour. When you combine these ingredients, they become so dense and sticky that it seems impossible they’ll come together as soft, puffy, light, tender. Heat is what initiates the expansion of the dense paste. Steam from the milk and water expands the pastry’s edges, puffing up its capacity until the oven heat provides just enough crispness and structure to hold the puffs’ boundaries. A cream puff expands so dramatically in the oven that it creates a cavern inside to hold any number of things—whipped cream, pastry cream, ice cream or savory fillings.
Cream puff pastry (or choux pastry) is the base for profiteroles (smaller puffs filled with ice cream), éclairs (elongated puffs filled with pastry cream and glazed), croquembouche (a tower of cream puffs held together and drizzled with caramel) and savory appetizer puffs called gougeres with cheese and herbs.
Craquelin (pronounced kra-ke-lan) is a thin biscuit layer that can be added over choux pastries before baking them. It is used to create a crackly appearance, crunchy texture and a buttery sweet taste as well as helping the choux pastry bake evenly to form hollow rounds. This topping reminded me of a similar cookie-like topping used on Mexican sweet bread called ‘conchas’. It certainly dresses up ordinary cream puffs.
Print Recipe
Mandarin Orange Cream Puffs w/ Craquelin Topping
Votes: 1
Rating: 5
You:
Rate this recipe!
Ingredients
Mandarin Orange Pastry Cream
Ingredients
Mandarin Orange Pastry Cream
|
Votes: 1
Rating: 5
You:
Rate this recipe!
|
Instructions
Craquelin
In a food processor, process sugar & butter pieces until it forms large crumbs. Add flour, salt & vanilla; process until a dough forms. Bring the dough together to form a disk.
Roll the dough between 2 pieces of parchment paper until 1/16-inch thickness. Place covered in the freezer for at least an hour then cut the dough into (18) 2-inch circles & keep circles in the freezer until ready to use.
Pastry Cream
In a bowl, whisk together egg yolks, sugar & cornstarch until it turns pale yellow. In a saucepan, combine milk & orange zest; bring to a boil. Remove from heat, slowly add the egg mixture a little at a time, whisking well until fully incorporated.
Return mixture to heat & keep whisking over medium heat until it thickens. Stir in orange juice. Transfer to a bowl & cover with plastic wrap, making sure the wrap touches the surface of the pastry cream. When it comes to room temperature, refrigerate.
When cooled & you are ready to use the pastry cream, whisk with an electric mixer for 15-20 seconds to a smooth texture.
Choux Pastry
Preheat oven to 350 F. Line a couple of cookie sheets with parchment paper.
In a saucepan, combine milk, water, butter & salt; bring to boiling. Add flour, all at once, stirring vigorously. Cook & stir until mixture forms a ball. Remove from heat & add eggs & egg white, one at a time, beating well with a wooden spoon after each addition.
Place dough in a piping bag fitted with a large round tip. Pipe (18) 1 1/2-inch circles. Cover each with a frozen craquelin round circle.
Bake for 30-35 minutes or until golden & firm. Transfer to a wire rack & allow to cool.
Assembly
Carefully slice puffs. Fill a pastry bag with mandarin orange pastry cream & gently fill each puff. Place on serving platter & sprinkle with powdered sugar if you wish.
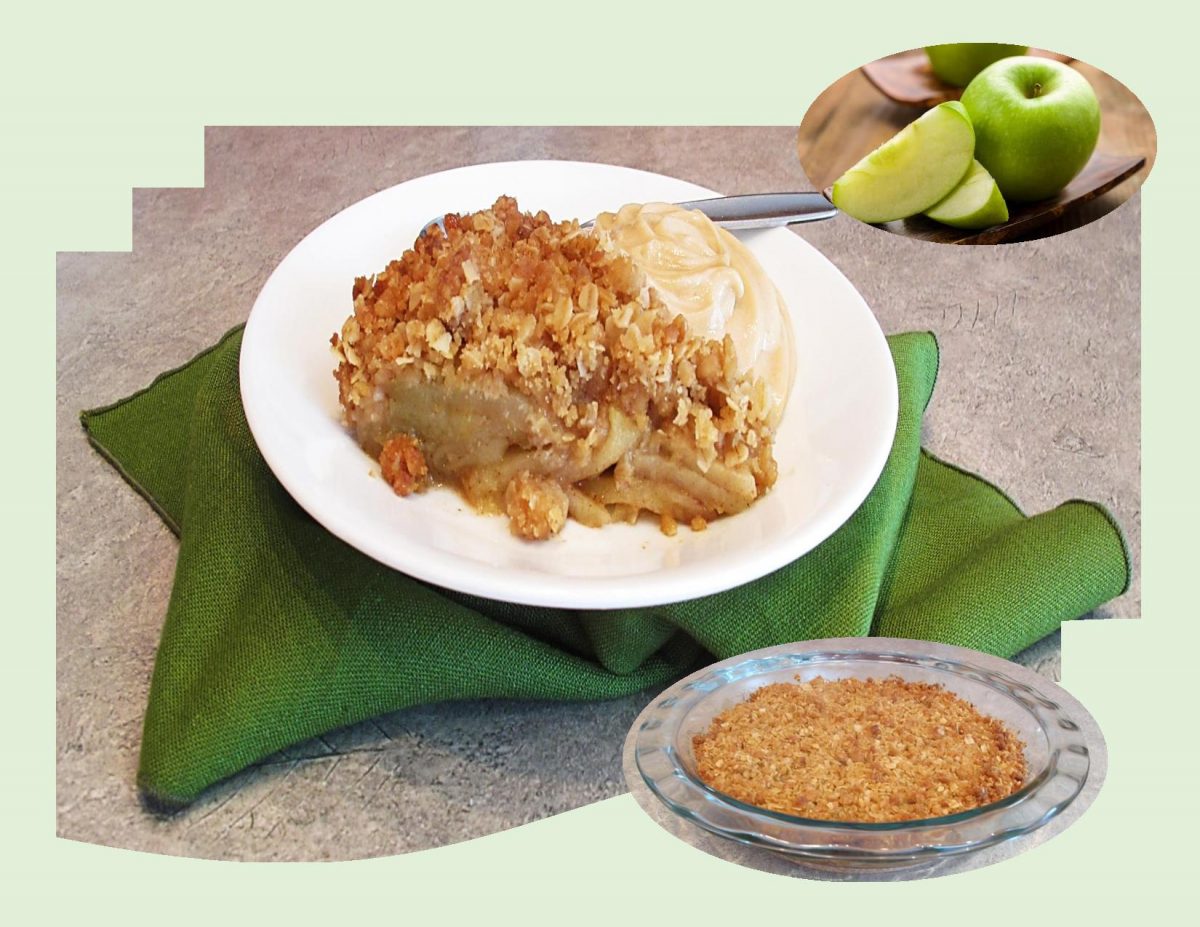
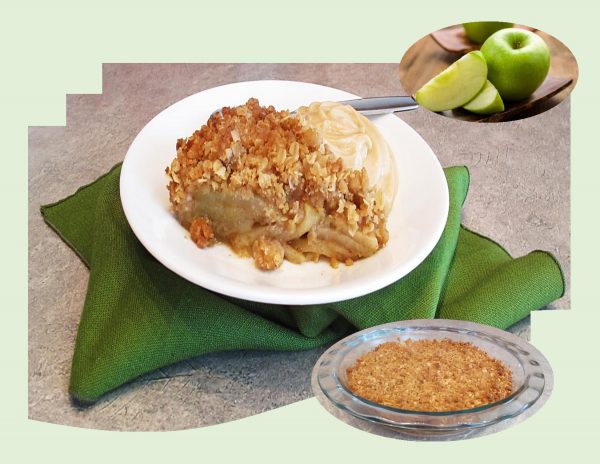
Apple season is upon us, so its a good time to make some of those ‘homey’ kind of desserts. During the summer we have an endless array of fresh fruit available in the grocery stores. Apples are often taken for granted because their kind of a staple fruit you could say. We have countless varieties to choose from for fresh eating or cooking. One that is well known is called the Granny Smith apple. Its acidity and strong flavor makes it a frequent choice for both baking and fresh eating. Consistently rated among the top ten apples in popularity, its hard to believe it wasn’t part of the North American experience until the 1970’s.
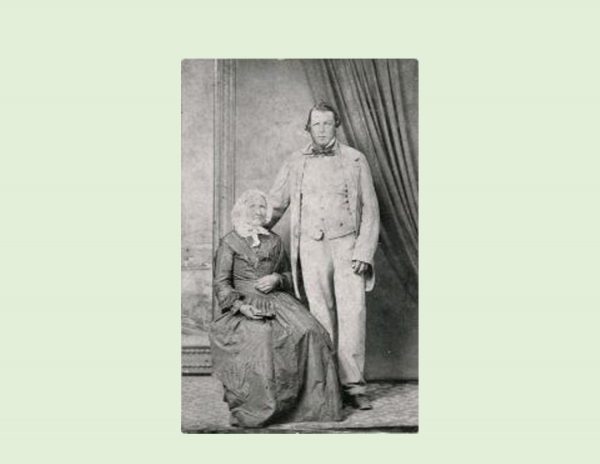
It turns out there really was a ‘Granny Smith’. As the story goes, Maria Ann (Granny) Smith was cooking with French crab apples and discarded the remains in a compost pile near a creek flowing behind her farmhouse outside Sydney, Australia. From the pile sprouted a seedling unlike any apple she had ever encountered. She was so taken with its bright flavor and versatility, she decided to propagate the trees herself.
In the season from September through November, Granny Smith apples have become a staple of fall baking. Used extensively in seasonal pies, cakes, cobblers and crisps, it all began with a happy accident discovered by its namesake halfway around the world.
Print Recipe
Apple Crumble w/ Vanilla Cardamom Cream
Votes: 1
Rating: 5
You:
Rate this recipe!
|
|
Votes: 1
Rating: 5
You:
Rate this recipe!
|
Instructions
Apple Filling
Peel, core & slice apples. Preheat oven to 350 F.
In a small bowl, toss the apple slices with lemon zest & juice, sugar, cinnamon & salt. Set aside.
Crumble Topping
In a small bowl, mix flour, brown sugar, oats & salt with a fork until uniform. In a glass pie dish, melt the butter in the microwave until about half melts. Pour the butter into the flour mixture & incorporate with a fork. Leaving the excess butter in the pie pan, arrange the apple slices in the pan. Top with the flour-oat mixture.
Bake until apples are cooked through and the topping is golden, about 45 minutes.
Vanilla Cardamom Cream
In a heavy bottomed saucepan, whisk together 'cream' ingredients. Simmer over a medium-low heat, stirring constantly until cooked & custard will coat the back of a spoon.
Remove from heat & cover with plastic wrap, making sure to lightly press it over the custard to avoid a 'skin' forming. Serve over or with crumble.
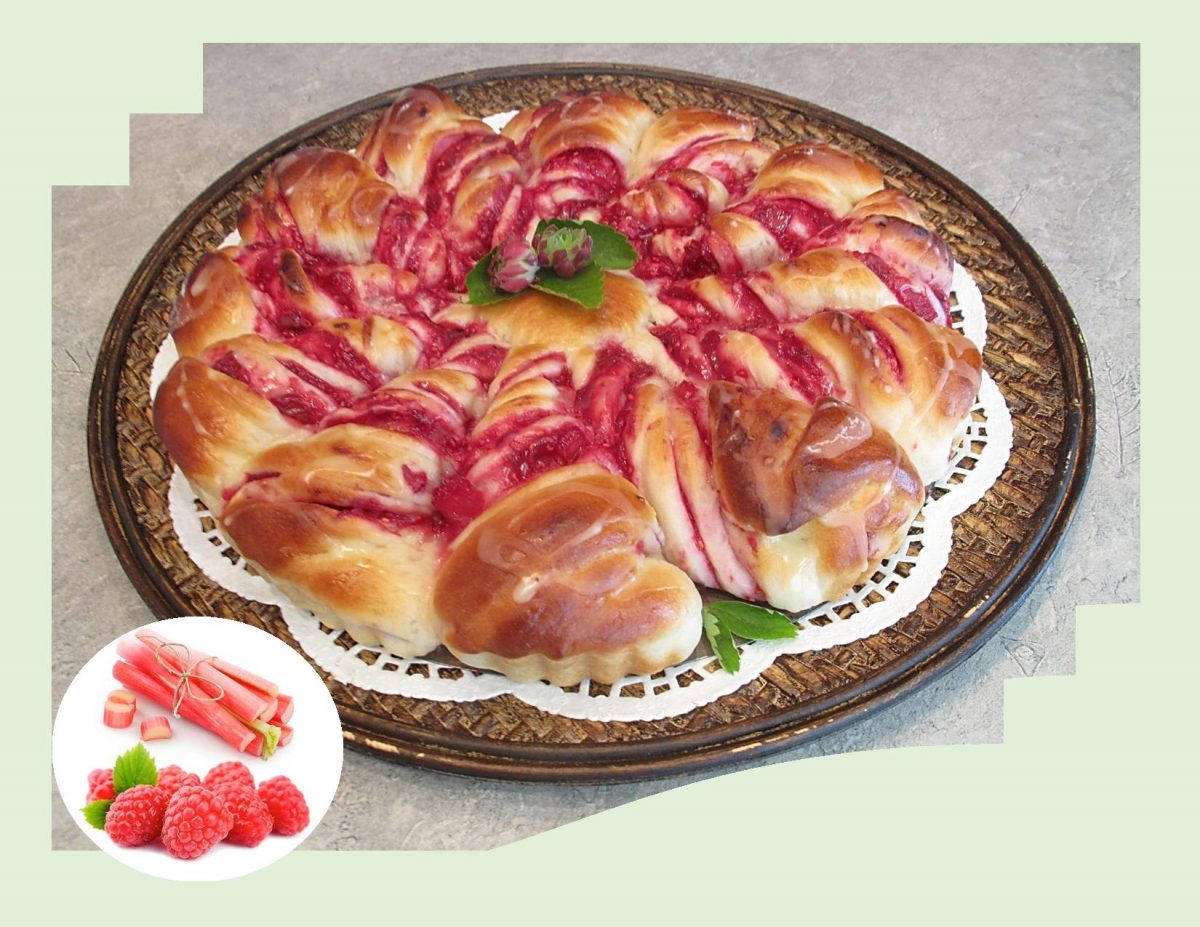
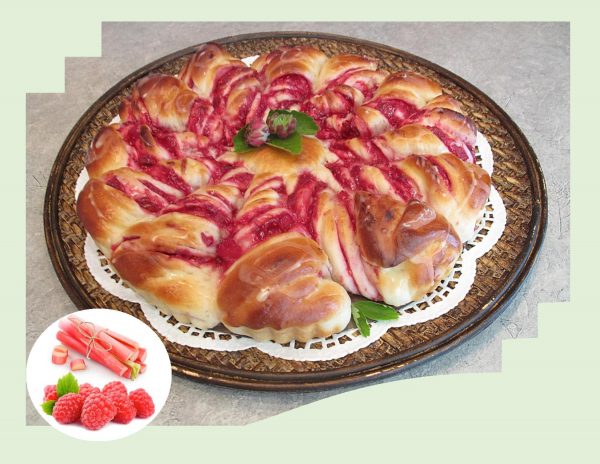
If its possible, I’d like to sneak in another rhubarb recipe even if it is September. While we never grow tired of the classic pairing of strawberries and rhubarb, I love rhubarb too much to simply let it be a sidekick to those sweet berries. Rhubarb is capable of so much more, whether its used in sweet or savory applications (such as the rhubarb chutney I had featured in an earlier blog). This pretty, long, tart piece of produce is not a one-dimensional character …. it loves the spotlight!
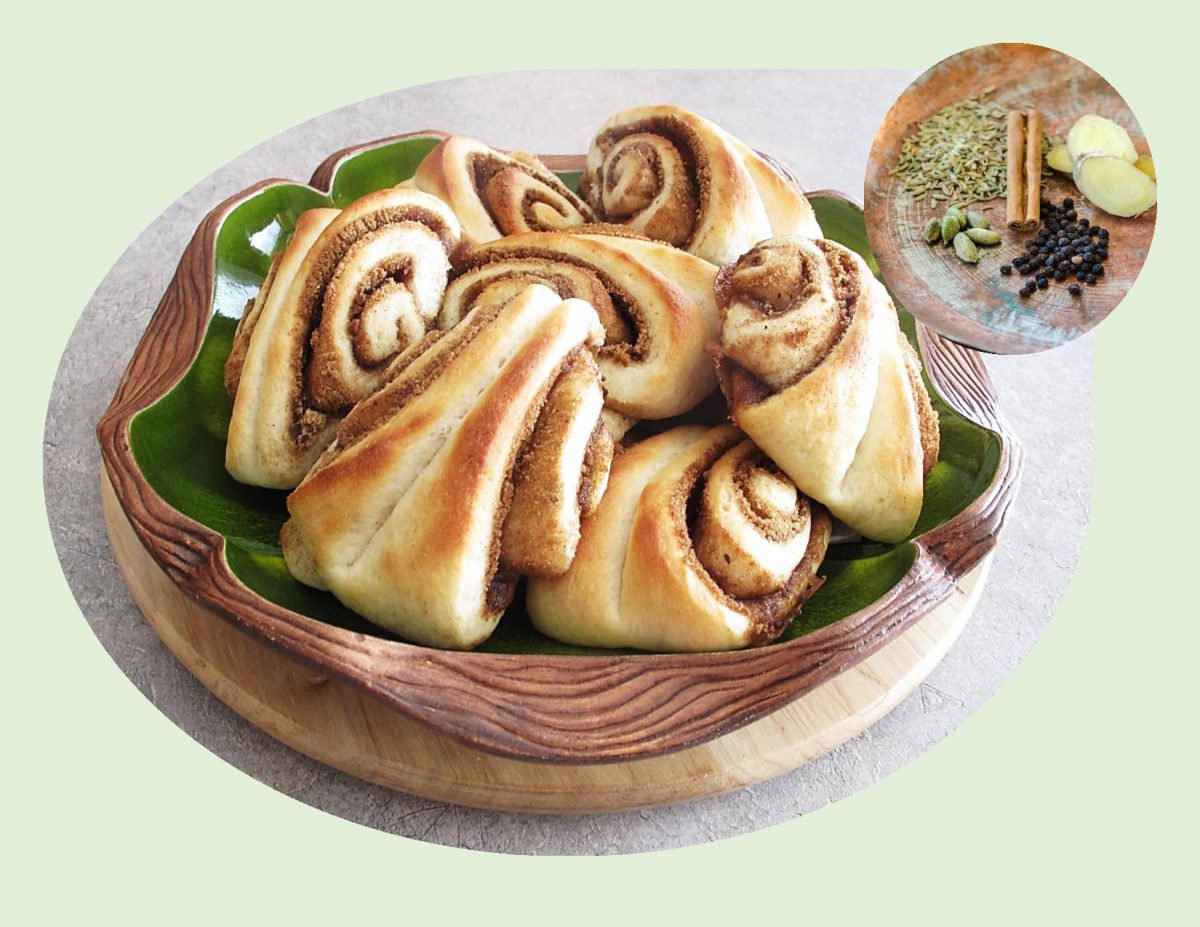
Perhaps, not as famous as the combination above but every bit as delicious, are raspberries and rhubarb. While cinnamon may be a more common spice to pair with rhubarb, herbal cardamom lends a warm, citrusy note and is amazing in these twists.
Print Recipe
Raspberry Rhubarb Twists
Votes: 1
Rating: 5
You:
Rate this recipe!
|
|
Votes: 1
Rating: 5
You:
Rate this recipe!
|
Instructions
Filling
Place rhubarb, raspberries & sugar in a heavy bottomed saucepan. Bring to a slow simmer over a low heat. Simmer until mixture begins to thicken. Turn off heat & set aside to cool.
Dough
In a small bowl, combine yeast with lukewarm water or milk & 1 tsp sugar. Allow to sit for a few minutes until frothy.
In a large bowl, slightly melt butter; cool a couple of minutes then whisk in egg. In another bowl, combine flour, salt & remaining sugar. Add yeast mixture to butter mixture, whisking together. Add flour mixture, combine then turn on a floured work surface & knead for about 5 minutes. Dough will be very soft but not sticky.
Lightly grease bowl, place dough ball in it & cover with a tea towel. Place in a draft-free place & allow to rise for about 20 minutes.
Lay a piece of parchment paper over the removable bottom of a 10-inch tart pan on your work surface. Punch dough down. Turn onto a lightly floured work surface; divide into thirds.
Place one portion on parchment paper & roll or press out dough the size of the bottom of tart pan (10-inches). Carefully spread the circle with half of the filling mixture. Roll out the second portion to the same size & transfer with your rolling pin to top the first portion. Carefully spread it with remaining filling.
Roll out third portion of dough to the same size & place it on top of the other two layers. Pinch dough around outer edge to seal. Place a small glass in center. Cut from outside edge just to the glass, forming 12 wedges.
Remove the glass. Twist each wedge 3-4 times. Tuck edge under. Place bottom of tart pan (with parchment paper & pastry) inside tart pan ring. Cover & allow to rise for about 20 minutes.
Preheat oven to 350 F. If you prefer, lightly brush twists with a bit of egg wash before baking. Bake for about 20-25 minutes or until golden brown. Remove from pan to a wire rack to cool.
Glaze
Combine glaze ingredients; drizzle over warm twists.

Here on the Canadian prairies we have a native berry called a ‘Saskatoon’. These berries are very special …. the kind of special that only comes once a year.
Saskatoon berries look much like blueberries, but in fact are part of the rose family which includes apples, cherries, plums and of course roses. Saskatoons ripen in late June or early July. They grow in many conditions from sea level to mountain peaks and are less picky about soil conditions than blueberries. Trying to explain their flavor to anyone who has never tasted them is difficult and elusive. They’re sweet, dense, rich, seedy, slightly blueberryish, more almondish, a bit apple-y, dusky and deep. Like I said …. difficult to explain!
Throughout North America, saskatoon berries have a variety of names including: prairie berry, service berry, shadbush or juneberry.
Saskatoon berries work equally good in sweet treats as well as savory recipes. This pork tenderloin entrée is a good example of the latter.
Print Recipe
Honeyed Saskatoon Balsamic Pork Tenderloin
Votes: 3
Rating: 5
You:
Rate this recipe!
|
|
Votes: 3
Rating: 5
You:
Rate this recipe!
|
Instructions
Tenderloin/Stuffing
In a small bowl, combine panko crumbs, Parmesan, thyme, oregano, garlic & pepper.
Remove silverskin from tenderloin & 'butterfly'. Place meat between 2 sheets of plastic wrap & pound, making it all the same thickness. Spread mustard evenly on flattened cut side & top with 'stuffing'.
Preheat oven to 375 F. Starting with the long side, carefully roll the tenderloin as opposed to just folding it over.
Place a rack in a shallow roasting pan & lay a piece of foil on top creating sides for it. Lightly oil center of foil; place tenderloin on it & brush with Fig Balsamic Olive Oil Vinaigrette or just use olive oil. Roast for about 45 minutes until just a hint of pink remains.
Saskatoon Chutney
In a small saucepan over low heat, add 1 tsp oil & sauté green onions & ginger for a couple of minutes. Add honey, water, cider vinegar, cornstarch & salt; mix well. Add saskatoons; bring to a simmer & cook until chutney thickens slightly.
Slice roast tenderloin into medallions about 1-inch thickness. Pour some chutney onto serving platter; place sliced tenderloin medallions on top & drizzle with remaining chutney.
