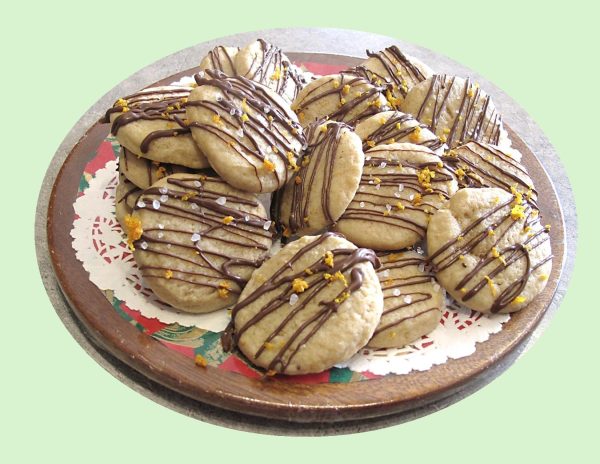
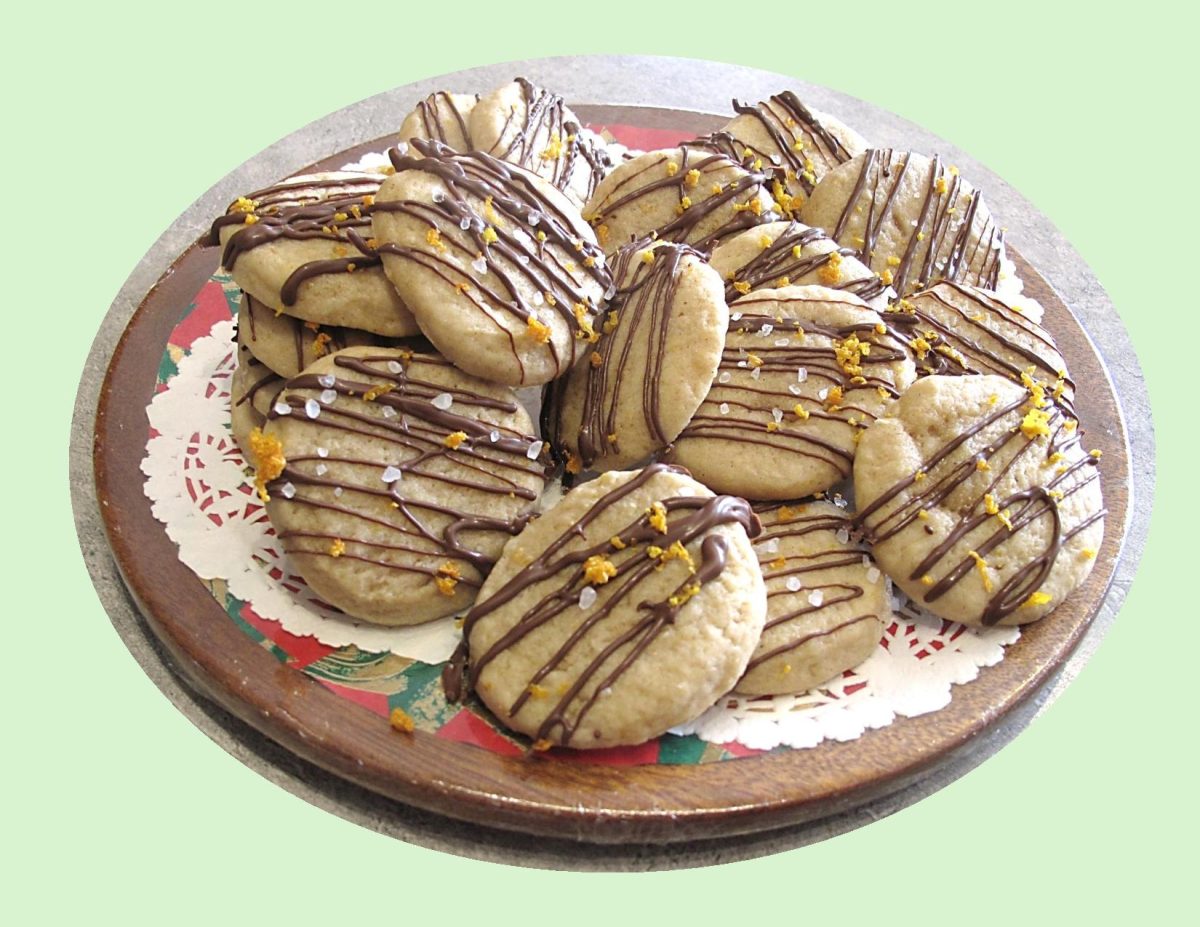
Orange Cardamom Shortbread Cookies w/ Chocolate & Sea Salt

Probably, considered to be a bit of old-fashioned mentality, to me there is something deeply comforting about traditional Christmas baking. As I stock up on particular ingredients that can only mean December festivities are soon to begin, I get a nostalgic feeling deep inside. I am transported back to childhood to my mother’s kitchen.

Fragrant, aromatic spices like cinnamon, ginger, cardamom, allspice, and black pepper are traditional flavor profiles in holiday recipes. They have a beautiful grounding effect, along with the nuts and dried fruits that were introduced into Europe during the Middle Ages and quickly became the cornerstone of so many festive baked goods.

Shortbread cookies, a Christmas classic, can be made plain with only the essential butter, flour and sugar. Other varieties can include chopped nuts, chocolate or flavoring such as citrus or spices.

If you have never had cardamom, you are missing out. Few flavors in this world stack up to the aromatic complexity of cardamom. Nicknamed the ‘queen of spices’, it has a light peppery flavor with hints of lemon and mint which means it pairs well with citrus of all kinds.

These orange cardamom shortbread cookies with chocolate & sea salt are a perfect harmony of zesty, spicy, sweet and salty flavors. Is it even Christmas without cookies?
Print Recipe
Orange Cardamom Shortbread Cookies w/ Chocolate & Sea Salt
Instructions
  1. In a medium bowl, whisk flour, cardamom, cinnamon & salt. Set aside.
  2. Mix the softened butter & brown sugar in a stand mixer with the paddle attachment until fluffy. Scrape down the sides of the bowl as needed. Then add the egg & the vanilla extract until fully combined.
  3. On low speed, gradually add the dry ingredients to the wet ingredients until combined. Now, mix 1 1/2 Tbsp of orange zest & the orange juice into the dough.
  4. Turn the dough out onto a floured work surface & divide into two. Shape divided dough into logs (about 2 1/2-inches in diameter), wrap in plastic wrap, and chill for at least 2 hours or overnight (recommended).
  5. Preheat oven to 350 F. Line two baking sheets with parchment paper. Set aside.
  6. Remove cookie dough logs from the refrigerator & slice each log into 12 equal sized cookies. Place cookies, about 2 inches apart, on lined baking sheets & bake for 12-14 minutes.
  7. Allow cookies to cool for 5 minutes on the cookie sheets, then transfer to a wire cooling rack to cool completely.
  8. Once the cookies are cooled, melt the chopped chocolate in a microwave-safe bowl in 15-second increments (stir after each increment) until completely melted & smooth.
  9. Drizzle the chocolate over the cookies & sprinkle with sea salt & the remaining ½ tablespoon orange zest. Let chocolate set before serving.

Spiced Parsnip Apple Scones

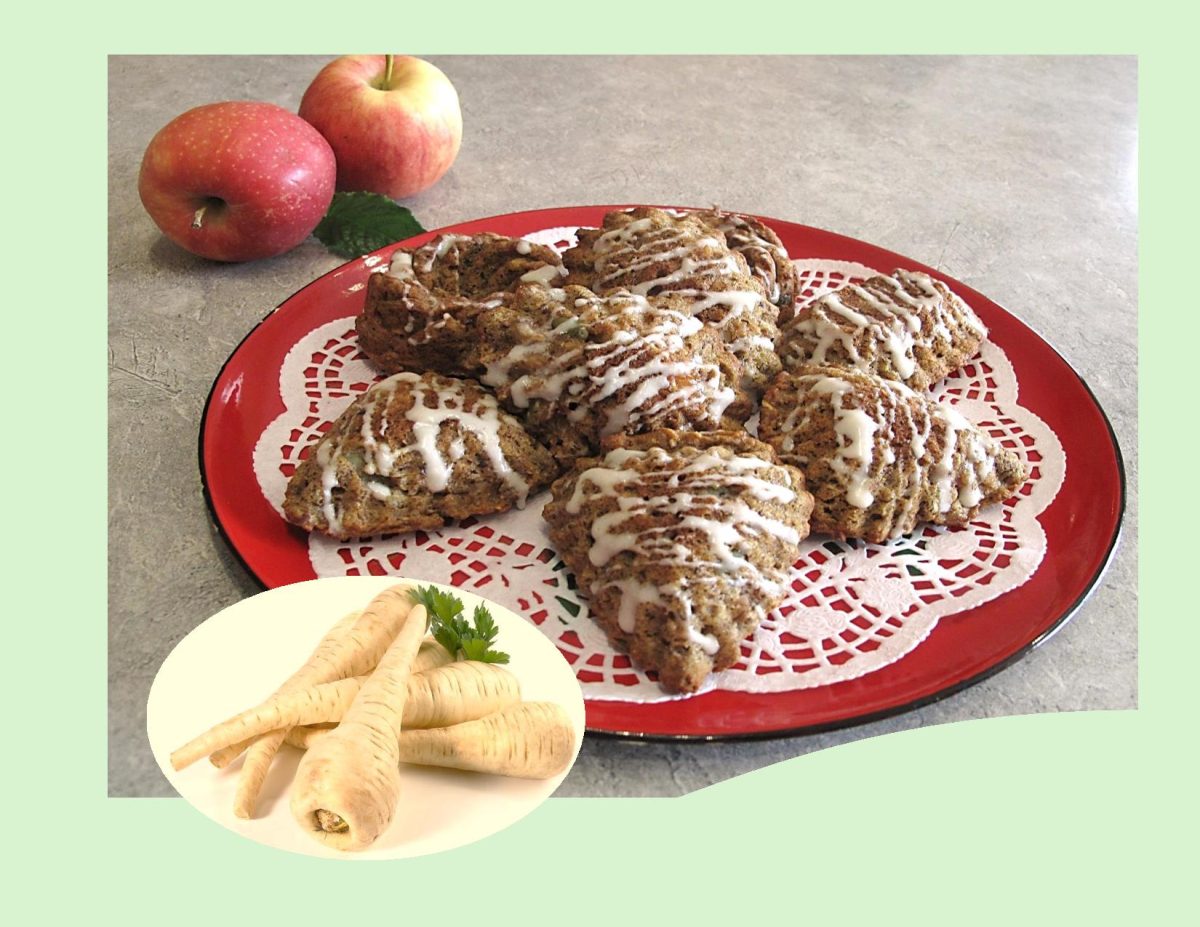
A fall frost warning announces the end of the road for most of the garden vegetables we’ve enjoyed over the summer. Happily, there are a few vegetables that reach their pinnacle of deliciousness when the cold weather arrives. Winter sweetening is a phenomenon that enhances the flavor of crops such as kale, collards and Brussels sprouts, along with root vegetables such as carrots, turnips, beets and parsnips.

Over the course of the growing season, these vegetables store up energy in the form of starches. When the temperatures start to drop, these starches are converted into sugars, which act as a natural antifreeze. Winter sweetening is especially profound with the humble, underappreciated parsnip.

Before sugar was widely available, vegetables were used to sweeten dishes such as cakes and jams. Carrot cake has stood the test of time, but parsnips add similar flavor and sweetness.

These vegetable/fruit scones mimic the spice and texture of a carrot cake, adding a mysterious subtle sweetness with the nutty flavor of grated parsnips.

Print Recipe
Spiced Parsnip Apple Scones
Votes: 1
Rating: 5
You:
Rate this recipe!
Servings
Servings
Votes: 1
Rating: 5
You:
Rate this recipe!
Instructions
  1. Preheat oven to 350 F. Lightly butter 12 scone tins or line a baking sheet with parchment paper.
  2. In a food processor, pulse oatmeal for a few seconds then transfer to a large bowl. Whisk oatmeal, flour, baking soda, spices, salt, flax & pecans together until well combined. Set aside.
  3. In a medium bowl, whisk egg, brown sugar, butter, mashed banana, orange zest, orange juice & vanilla together until well combined.
  4. Pour wet ingredients into dry ingredients, stir a few times, then add raisins, parsnips & apple. Fold together gently just until blended.
  5. Scoop into scone tins or onto parchment lined baking sheet. Bake about 15 minutes or until scones test done with a toothpick in the center.
  6. Remove from oven & place on a cooling rack to cool. Top with a simple powdered sugar/lemon juice drizzle if you wish or just serve as is.

Pumpkin Blueberry Muffins

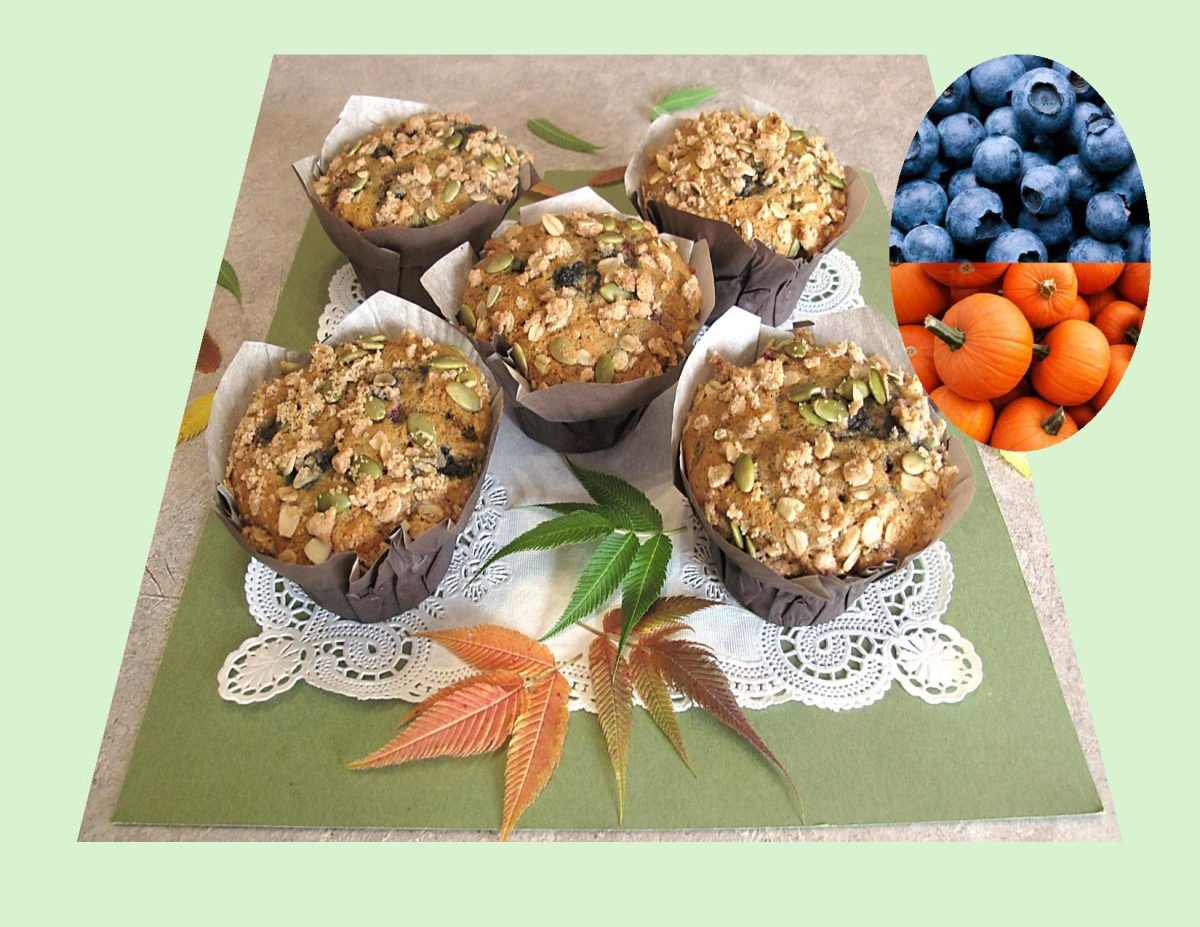
Fall is here and its pumpkin season!  It’s like a pumpkin explosion in the stores this time of year with pumpkin spice latte, pumpkin spice candles, pumpkin spice Oreos, pumpkin spice M&Ms, pumpkin spice Ramen noodles, Doritos and so many others.

Unlike pumpkins, however, blueberries have a flavor that knows no season or food type. They pair well with just about anything, and pumpkins are no exception. Blueberries have just enough sweetness to complement pumpkin-y flavors and stay juicy during the baking process.

These pumpkin blueberry muffins make for an ideal autumn indulgence.

Print Recipe
Pumpkin Blueberry Muffins
Votes: 1
Rating: 5
You:
Rate this recipe!
Course dessert
Cuisine American
Servings
LARGE MUFFINS
Ingredients
Muffins
Topping
Course dessert
Cuisine American
Servings
LARGE MUFFINS
Ingredients
Muffins
Topping
Votes: 1
Rating: 5
You:
Rate this recipe!
Instructions
Muffins
  1. Preheat oven to 350 F. Line an 8 cup large muffin tin with parchment papers/cups
  2. In a large bowl, whisk together 1 2/3 cups flour, baking soda, baking powder, salt, cinnamon & allspice. In a small bowl, combine pumpkin puree with milk.
  3. In a large bowl, using an electric mixer, beat butter & brown sugar until creamy. Add egg; beat until fluffy.
  4. Alternately add flour & pumpkin mixtures to butter mixture, stirring just until blended. Combine blueberries with 1 Tbsp flour in a small dish. Fold gently into mixture. Spoon batter carefully into prepared muffin cups.
Topping
  1. In a small bowl, combine oats, flour, brown sugar, cinnamon & salt. Using a fork, cut in butter until mixture is crumbly. Add pepitas & combine. Divide evenly over muffin batter.
Baking
  1. Bake for 45 minutes or until a wooden pick inserted in center comes out clean. Remove from oven, cool in pan for a few minutes then remove to a rack to finish cooling. Store muffins in a covered container.
Recipe Notes
  • If you would prefer smaller muffins, divide batter between 12 paper lined standard muffin cups. Bake for about 30-35 minutes or until a wooden pick inserted in center comes out clean.

Apple Crisp Snack Cake

In Canada, apples are available throughout the year. About 100 species of apples are grown in the country. With their bright colors, crisp texture and clean, slightly spicy flavor, apples are the perfect fall icon.

Today’s blog recipe is a bit of a different take on a beloved old classic. Apple crisp is a North American dessert which combines tender apples covered with a delectable crunchy topping. It is one of the common desserts that does not have the regular bottom crust and uses sliced or diced apples, generously doused in cinnamon and sugar, as the bottom layer.

The streusel which covers the apples can employ a wide variety of different flour types, nuts, and oats, commonly combined with butter and sugar. It results in a crumbly topping, which usually completely coats the apples, allowing them to release and cook inside the flavorful juices.

Apple crisp is believed to have stemmed from the British crumble, and today these two classics merely differ in their names. Even though the North American crisp was particularly made with oats, which resulted in a crunchier coating, nowadays both varieties can employ various ingredients.

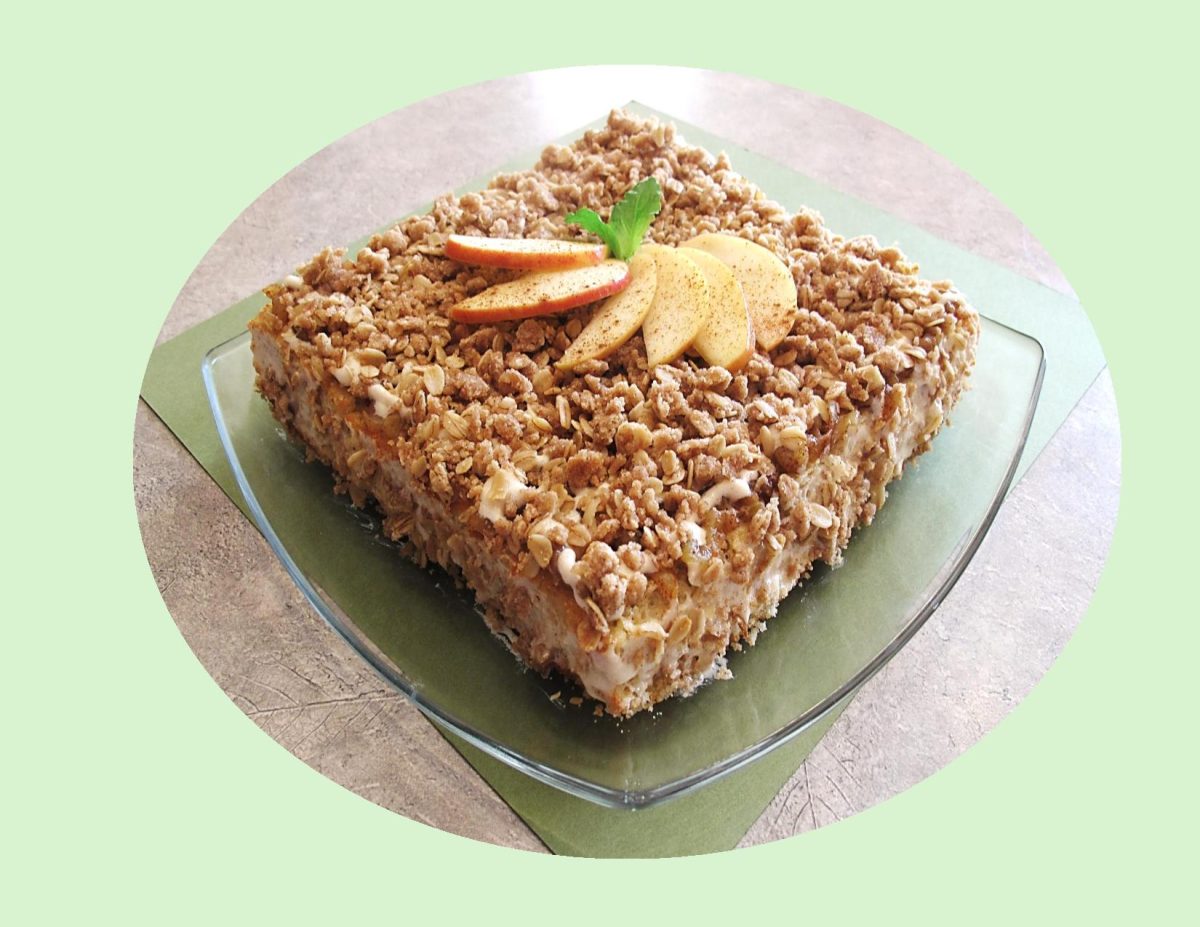
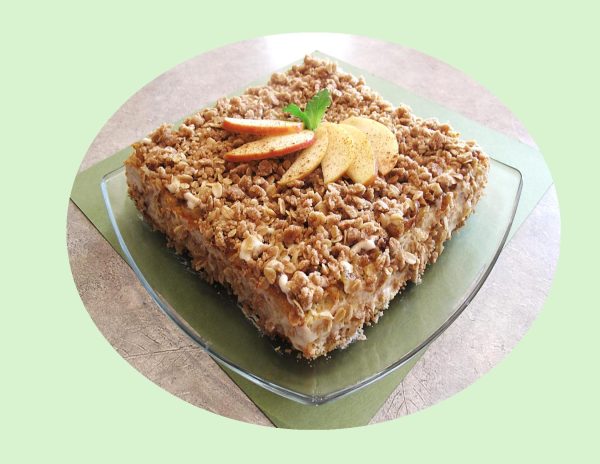
This warm and spicy ‘apple crisp snack cake’ is a comforting twist on the favorite fall dessert. Filled with apples and topped with more apples, cream cheese drizzle the perfect crispy streusel. Orange pumpkins might be more popular this month, but there’s no better time than now to take advantage of apple fresh season.

Print Recipe
Apple Crisp Snack Cake
Votes: 1
Rating: 5
You:
Rate this recipe!
Course dessert
Cuisine American
Servings
SERVINGS
Ingredients
Apple Topping
Baked Crisp Topping
Course dessert
Cuisine American
Servings
SERVINGS
Ingredients
Apple Topping
Baked Crisp Topping
Votes: 1
Rating: 5
You:
Rate this recipe!
Instructions
Cake
  1. Preheat oven to 350 F. Line an 8 x 8inch baking pan with parchment paper. Set aside.
  2. Peel, core & grate apples. Sift flour, cornstarch, baking powder, cinnamon, allspice, cardamom & salt together in a medium bowl & set aside.
  3. Using a mixer, cream butter & sugar until light. Scrape the bowl & add the whole egg, mixing on medium-high for about a minute. Scrape the bowl again & add the egg white & vanilla; mix for another 2 minutes.
  4. Alternately fold in flour mixture & buttermilk, then gently fold in grated apples.
  5. Pour/spread batter into prepared baking pan. Bake for about 30-40 minutes or until a cake tester comes out with just a few moist crumbs. Allow to cool in pan on a wire rack.
Baked Crisp Topping
  1. Line a cookie sheet with parchment paper. Place all ingredients except butter in a bowl. Combine well then add softened butter. Mix until the mixture begins to form pea-sized clusters. Spread mixture evenly on the parchment lined cookie sheet, then bake at 350 F. for 5 minutes. Stir the topping around a bit, then bake for another 5 minutes until it begins to turn golden brown. Let crisp topping cool completely to room temperature. If crisp mixture is too chunky break it up with your fingers slightly.
Apple Topping
  1. Place apples , lemon juice & water in a small saucepan. Cook over medium heat until softened, but not falling apart. Add brown sugar, cinnamon & salt. Cook for a minute to dissolve sugar. Remove & cool until cake is baked & ready to top.
Drizzle
  1. Sift powdered sugar with salt. Set aside. Cream softened cream cheese & butter with a mixer for about 2 minutes. Add vanilla & mix to combine. Add powdered sugar & slowly incorporate into wet mixture. Add milk & beat to create a drizzle consistency.
Assembly
  1. When cake is cool, carefully & evenly spread apple topping over top of cake. Using a small piping bag, drizzle icing over apples (using a spatula, lightly spread a bit of drizzle on sides). Next, top cake with baked crisp topping. Slice & serve.
Recipe Notes
  • To make your own buttermilk, place 2 tsp of white vinegar or lemon juice in your measuring cup & add milk to equal 2/3 cup, stir & let stand until room temperature.
  • If you prefer cupcakes over the snack cake, no problem. Same idea just a different shape. Your choice!


Everything Bagel Pull-Apart Bread

Pull-Apart Bread …. an interesting concept that has been called many names such as bubble bread or loaf, jumble bread, monkey bread etc. Initially it was formed pieces of yeast dough dipped in butter and baked in a loaf to be served with jam or preserves. In 1942, General Mills (Betty Crocker) promoted ‘Hungarian Coffee Cake’, which consisted of balls of yeast dough dipped in melted butter, then in sugar frequently mixed with cinnamon and/or chopped nuts. It was baked in a ring pan because the central tube helped prevent the center from being under baked and sinking due to all the butter. ‘Betty Crocker’ had a real way of turning unknown recipes into mainstream ideas.

By the 1990’s, General Mills promotions began entitling this sugar-coated treat as ‘Monkey Bread’. However, it may have been silent-screen movie star, ‘Zasu Pitts’, who provided this whimsical name. The term and recipe initially appeared in the Thursday, February 8th, 1945 edition of the Winnipeg Free Press (Canada) in the column ‘Culinary Clinic’. Zasu was most often remembered for her extraordinary name, huge eyes and fluttering fingers. Besides acting, she had a passion for cooking and published a 93-page cookbook in 1963.

Most of the early recipes called for rolling out the dough and cutting it into diamond shapes instead of forming balls. The widespread popularization of money bread corresponded to the advent of the commercial refrigerated biscuit dough in the 1950’s. One of the later innovations is to insert a little cinnamon-sugar coated cube of cream cheese in the center of each dough ball or drizzle with a cream cheese glaze.

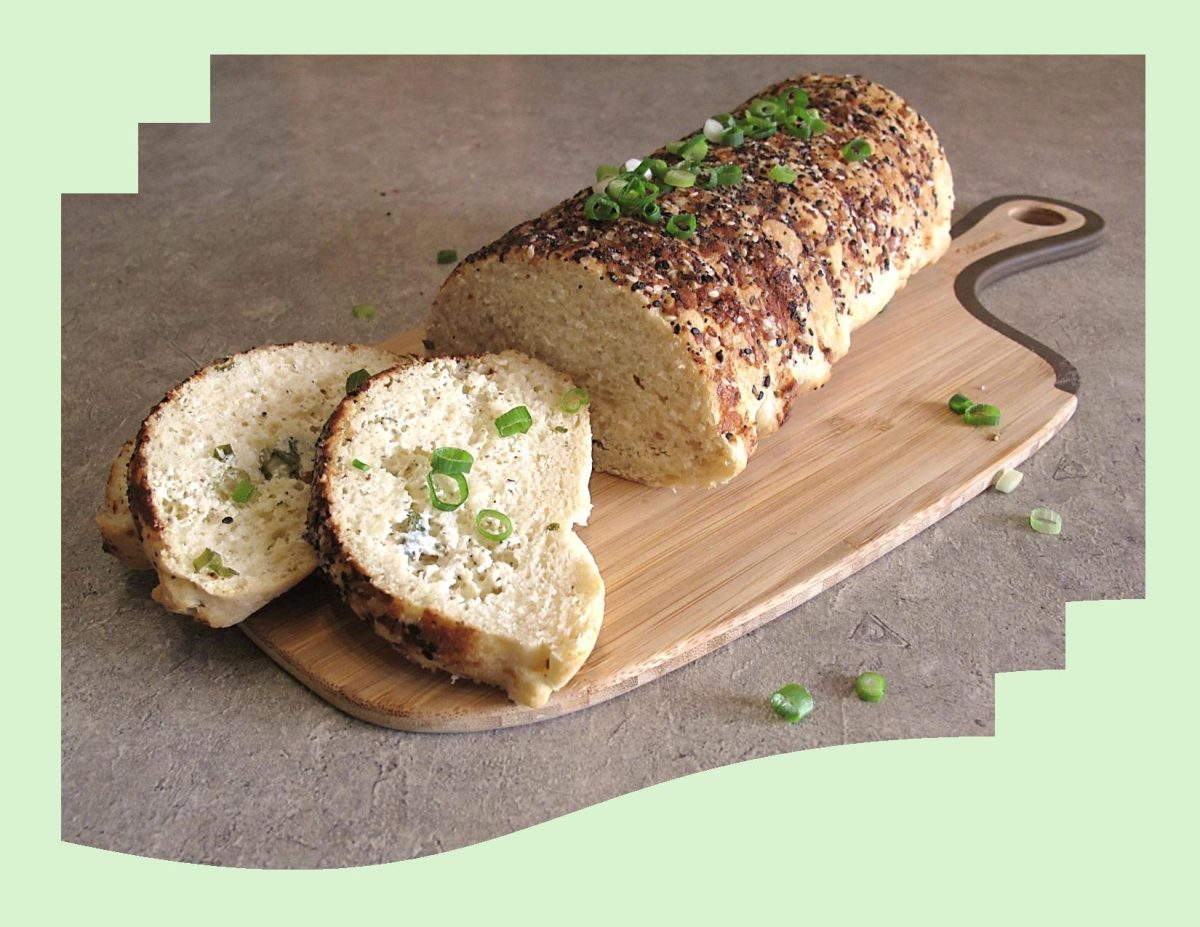
Today, I’m taking the idea in a savory direction, combining buttery homemade dough, garlic herb cream cheese filling and my ‘go-to’ favorite – everything bagel seasoning!

Print Recipe
Everything Bagel Pull-Apart Bread
Votes: 1
Rating: 5
You:
Rate this recipe!
Servings
LOAF
Servings
LOAF
Votes: 1
Rating: 5
You:
Rate this recipe!
Instructions
Dough
  1. In a large bowl, combine lukewarm milk with sugar & yeast. Allow to sit for 5-10 minutes until frothy.
  2. Add butter, egg, flour & salt. With an electric mixer, beat on low for about 3 minutes. Dough will be soft. Transfer to a lightly floured work surface. Using lightly floured hands, knead for 1 minute then shape into a ball.
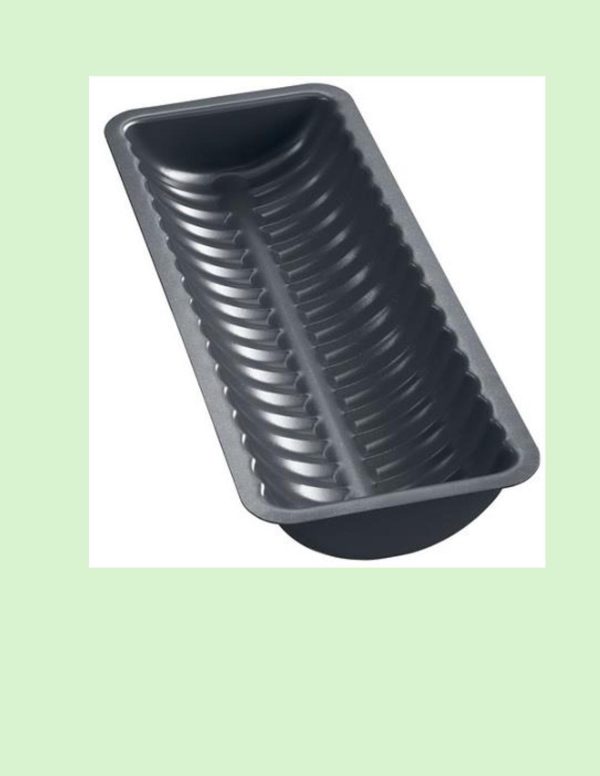
  3. Place the dough in a greased bowl & cover with plastic wrap. Place in a draft-free area to rise until doubled in size about 1 1/2 hours. As dough rises, prepare filling. Butter a 11 3/4 x 4-inch ribbed semi-circle bread pan. Sprinkle with everything bagel seasoning making sure to get the seasoning up the sides & on the ends of the pan. Set aside.
Filling
  1. In a small bowl, using a hand mixer, beat all of the filling ingredients together until combined. Set aside but don't refrigerate unless making well in advance.
Assembly
  1. Flip dough on a lightly floured work surface & with a rolling pin, roll out the dough until it is 1/4-inch thick. Spread cream cheese filling on top & sprinkle with sliced green onions. Using a 3 1/2-inch circle cookie cutter, cut into circles. Fold circles in half & line prepared pan, round side down fitting into the 'ribs' of the pan. Tuck the remaining pieces that are leftover into the crevice's between the folded circles.
  2. Cover with oiled plastic wrap & allow to rise once again in a draft-free area until puffy, about 30 minutes.
  3. Preheat oven to 350 F. when bread is nearly finished rising.
  4. Bake until golden brown, about 30-35 minutes. Remove from oven & place on wire cooling rack. Cool for 10 minutes in the pan then remove from pan, slice or pull apart & serve.
Recipe Notes
  • If you prefer, you can make your own everything bagel seasoning with 1 Tbsp each poppy & sesame seeds, 1 1/2 tsp each dried minced onion & garlic flakes & 1 tsp coarse salt.
  • For this pull-apart loaf I used a European ribbed semi-circle bread/cake pan. The size is bigger than a 9 x5-inch loaf pan so it is quite easy to fit all the dough into it.
  • Brion & I really enjoyed this bread made into a savory French toast for brunch.

Lemon Saskatoon Zucchini Muffins w/ Hemp Hearts

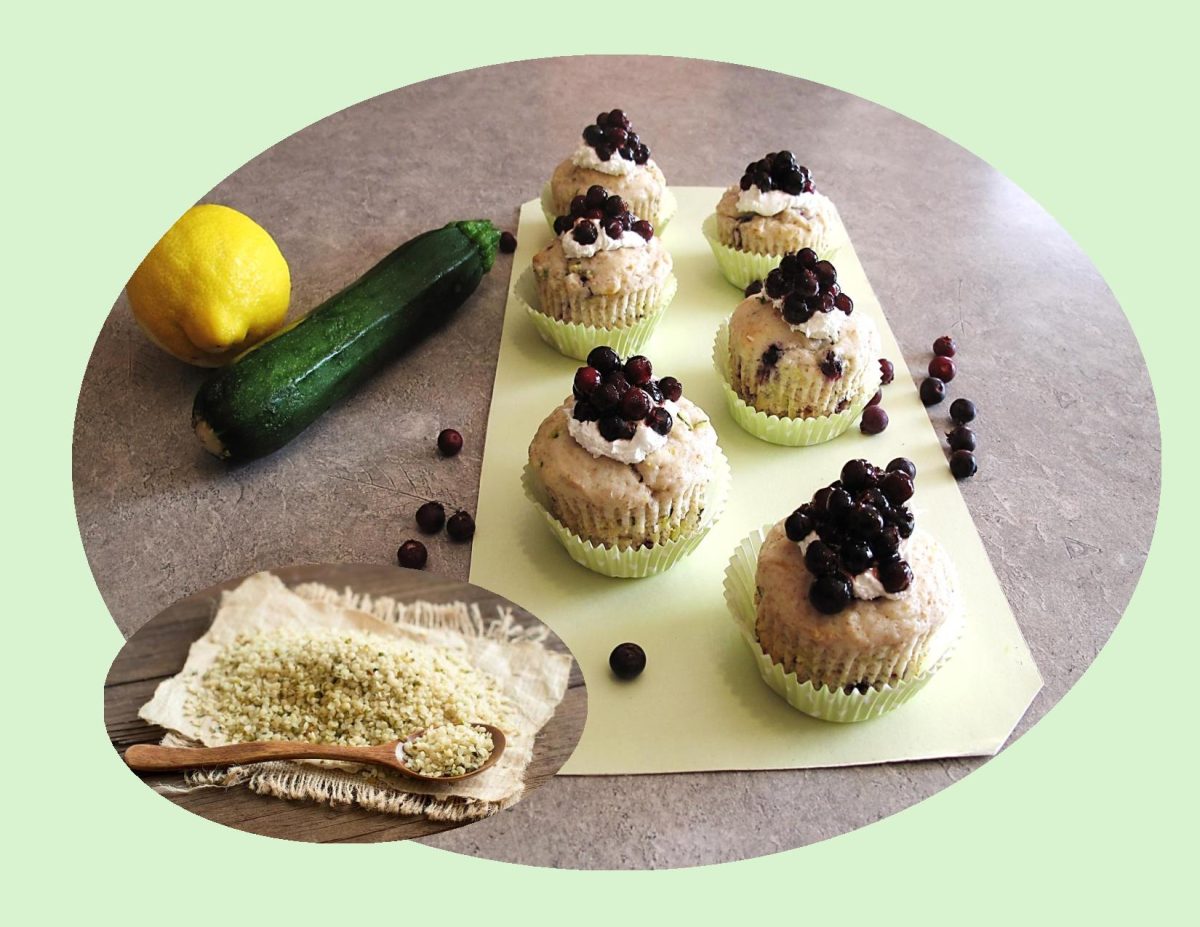
You cannot go wrong when you pair lemon and saskatoons. I guess, it’s kind of a spin-off of the classic lemon blueberry combo. The zucchini just adds more texture and ensures these muffins are never dry and for a little protein and Omega 3, hemp hearts make a fabulous addition to the mix.

Though often mistaken for seeds or grains, hemp hearts are actually a nut and are derived from the hemp plant once its outer hull has been removed.

Like all the ancient grains, its history goes way back. It was found in a 10,000-year-old archeological site near Japan. Its popularity quickly grew as people discovered the variety of its uses. It is a very fibrous plant and was used anciently by the Chinese to make paper, clothes, ropes, and shoes. Hemp seeds were a by-product in the hemp fiber industry and often fed to animals. It was not until recently that the high nutritional value of hemp seeds for human consumption was discovered. 

Hemp hearts provide plenty of nutritional benefits when consumed on their own, but there are plenty of other ways to enjoy them such as:

  • In soup, salad, or vegetable dishes
  • Sprinkled on cereal, oatmeal, or yogurt
  • Added to baked goods or desserts
  • Added to smoothies or protein shakes
  • Spread on toast with nut butter
  • Sprinkled in sandwiches or wraps

Of course, this is just one more reason to enjoy that bountiful seasonal zucchini crop!

Print Recipe
Lemon Saskatoon Zucchini Muffins w/ Hemp Hearts
Votes: 1
Rating: 5
You:
Rate this recipe!
Servings
Votes: 1
Rating: 5
You:
Rate this recipe!
Instructions
Muffins
  1. Preheat oven to 375 F. Line 12 muffin cups with papers.
  2. In large bowl, mix together flours, baking powder, baking soda, hemp hearts, salt & lemon zest.
  3. In separate bowl, mix egg, sugar, oil, almond extract, yogurt (sour cream) & lemon juice.
  4. Add wet ingredients to dry ingredients. Stir just until combined.
  5. Add zucchini & saskatoons until just combined. Spoon into muffin pan.
  6. Bake for 15 to 17 minutes until tops are firm to the touch & centers test done using a toothpick.
  7. Remove from oven & cool for 5 minutes before removing from pan.
Topping
  1. In a small dish, combine jelly with water until smooth. Add saskatoon berries & mix to coat. Prepare small amount of whipped topping.
  2. When muffins are completely cool, top each with a tsp of whipped topping then a Tbsp of glazed saskatoons.
  3. The topping really isn't necessary but adds a nice touch making an ordinary muffin become 'special'.

Savory Heirloom Tomato Tart

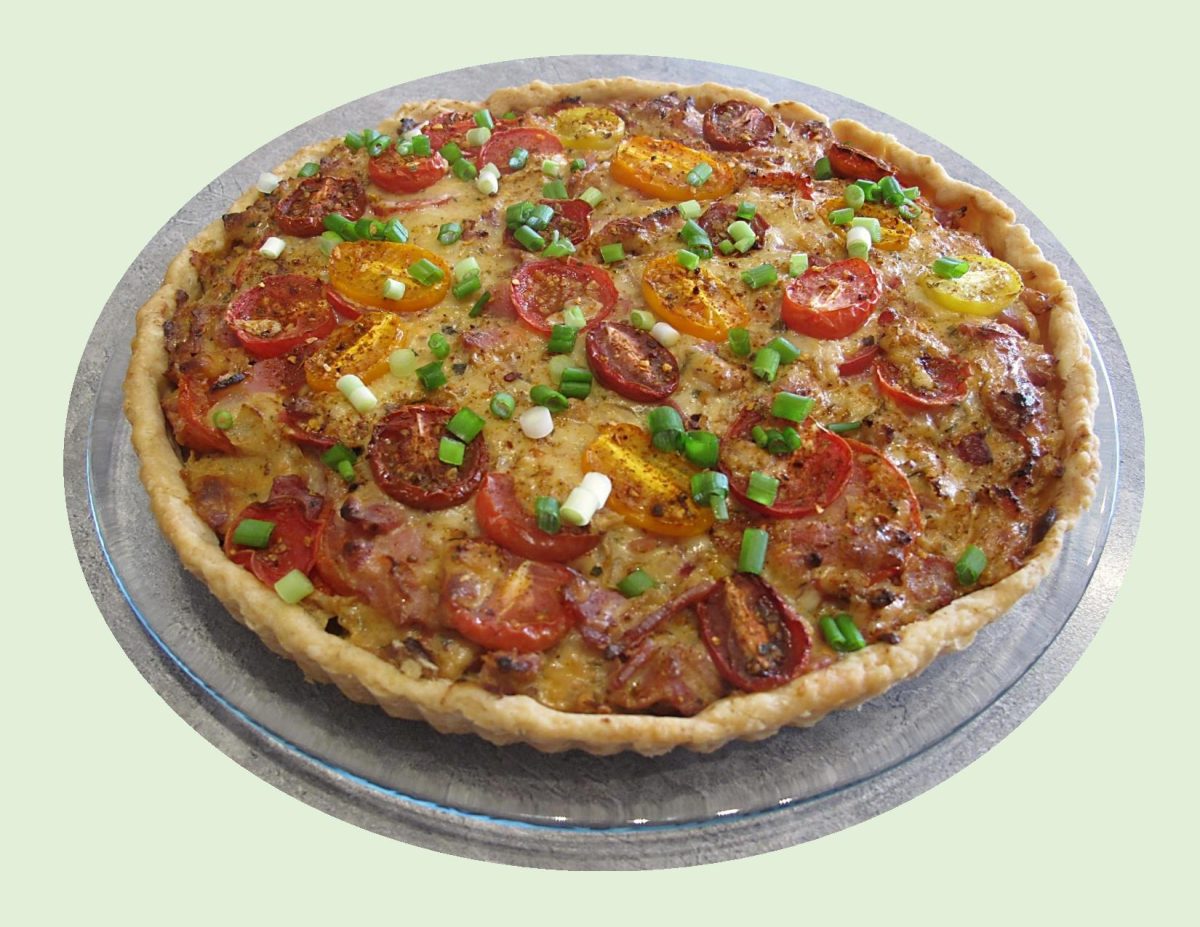
There’s something real special about using heirloom tomatoes as opposed to hybrid varieties. Heirloom tomatoes are ‘breed true’, meaning that the seeds can be saved to grow more of the same tomatoes year after year.  Generally, they are more expensive because they are not as prolific as hybrids, and they do not ship or store well.

The seeds from heirloom tomatoes (also called heritage tomatoes) have been selected over many years for desirable traits, such as size, color, and taste.  They are open-pollinated, meaning that bees, moths, birds, bats, wind, or rain pollinate the tomato flowers.

These days, many hybrid tomatoes are bred for traits such as high yield, disease resistance, and the ability to ship and store well.  This decreases costs for farmers and consumers and minimizes waste due to spoiled produce.

However, this cost savings and efficiency comes at the expense of flavor.  When you cross two tomato plants to make the offspring disease resistant or highly productive, you may also lose other traits, such as rich flavor.

This is exactly what has happened to many hybrid tomato varieties: they have lost some of the sugar and nutrient content that makes heirloom tomatoes taste sweeter and juicier. These little gems add such a special touch to this savory summer tart.

Print Recipe
Savory Heirloom Tomato Tart
Votes: 1
Rating: 5
You:
Rate this recipe!
Servings
Ingredients
Servings
Ingredients
Votes: 1
Rating: 5
You:
Rate this recipe!
Instructions
Filling
  1. Preheat oven to 400°F. Cut tomatoes into ½-inch-thick slices. Place about 7 or 8 slices (enough to cover top of pie) on a baking sheet lined with paper towels, and sprinkle with ¼ teaspoon of the salt. Cover with additional paper towels, and reserve.
  2. Arrange remaining tomatoes in a single layer on a lightly greased wire rack set on a large baking sheet. Sprinkle with ½ teaspoon of the salt. Bake in preheated oven until wilted and slightly dried out, 40 to 45 minutes. Cool completely, about 1 hour.
  3. Make Parmesan-Buttermilk Pie Crust. Instructions below.
  4. While pie crust cools, cook bacon in a skillet over medium-high until fat is beginning to render, 4 to 5 minutes. Add chopped shallots, and cook until bacon is crisp and shallots are caramelized, 6 to 7 more minutes. Stir in garlic; cook until fragrant, about 1 minute. Using a slotted spoon, transfer bacon mixture to a plate lined with paper towels to drain. Cool 20 minutes.
  5. Stir together cheese, ranch dressing, basil paste, chives, Dijon, and egg until combined. Sprinkle with pepper and remaining ¼ teaspoon salt & spices. Fold in bacon mixture.
  6. Gently spread a third of cheese mixture onto cooled Parmesan-Buttermilk Crust; layer with half of the roasted tomato slices in slightly overlapping pattern. Spread another third of cheese mixture on top of tomato slices. Repeat with remaining roasted tomato slices and cheese mixture. Top with reserved sliced fresh tomatoes, pressing filling gently into crust. Shield edges of pie with aluminum foil.
  7. Bake in preheated oven until filling is set, 40 to 45 minutes. Transfer to a wire rack, and let stand 1 hour before serving. Garnish with chopped green onion or chives.
Pastry
  1. Pulse flour, cheese, 1/2 teaspoon salt, and 1/4 teaspoon pepper in food processor until combined. Add butter and shortening. Pulse until butter and shortening are pea size pieces, about 5 times. Drizzle in buttermilk processing until dough begins to just come together. Gather and lightly knead dough into a ball on a large piece of plastic wrap; flatten into disk and wrap tightly. Chill at least 2 hours or up to 2 days.
  2. Preheat oven to 400°F. Roll dough on a floured surface into a 15- to 16-inch circle about 1/3 inch thick. Transfer to a 9-inch deep dish pie plate. Trim edges leaving a 1-inch overhang. Fold edges under and crimp. Freeze dough at least 20 minutes.
  3. Line piecrust with parchment paper, and fill with pie weights or dried beans. Bake at 400°F 20 minutes. Remove parchment and weights and bake until edges are golden and bottom of crust is set, about 8 more minutes. Cool completely, about 30 minutes.
Recipe Notes
  • Whether using store-bought or homemade dough, don't forget to blind-bake the crust (bake it a bit on its own) before adding the filling. This extra step will keep the crust from turning soggy as the pie bakes.
  • Another good pastry alternative would be one with cornmeal in it.

Artichoke & Garlic Chicken Rissoles

Rissole is an interesting group of dishes with an intriguing history. The original French rissoles were prepared by enclosing the main ingredients in pastry dough and frying them, but over time the original recipe has evolved and changed.

Many nations have created their own version of the rissole. This food is commonly on offer in street stalls as a casual snack food, or in fast-food restaurants. Some fancy restaurants also serve rissole dishes, although they may use fancier ingredients and dress things up with complex sauces to make their rissoles more interesting. Today, rissoles can be found in numerous European countries, but also in Australia, New Zealand, and even Indonesia and Brazil.

Some cooks refrain from using any sort of coating for a rissole, preferring to make a blend of meat, potatoes, eggs, and breadcrumbs which can be molded into a firm patty. Ingredients such as onions may be added to rissoles as well, along with various spices, especially in nations with a culinary tradition of heavily spiced food. They can be made with ground or cut meat, seafood, or vegetables, and the sweet varieties are usually made with fruit. Most of them, including both sweet and savory rissoles, are usually served with a sauce on the side. Primarily, rissoles were deep-fried, but today the name also encompasses the varieties that are baked in an oven or fried in shallow oil.

Today, I’m making artichoke & garlic chicken rissoles. The sauce gives the rissoles a nice punch of flavor and pairs so well with creamy mashed potatoes & roasted green beans.

Print Recipe
Artichoke & Garlic Chicken Rissoles
Votes: 1
Rating: 5
You:
Rate this recipe!
Servings
Ingredients
Artichoke & Garlic Sauce
Chicken Rissoles
Servings
Ingredients
Artichoke & Garlic Sauce
Chicken Rissoles
Votes: 1
Rating: 5
You:
Rate this recipe!
Instructions
Sauce
  1. Place all ingredients except oil in a food processor. With motor running, add olive oil in a slow stream to make an emulsion. Continue processing while adding the cream to make a fairly smooth consistency. Remove from food processor & set aside.
Chicken Rissoles
  1. Place chicken, panko crumbs, salt, egg, garlic & soup mix in a bowl. Combine well. Divide into 6 portions. Form each portion into a patty shape.
  2. Heat oil in a large saucepan, Cook rissoles for 2-3 minutes. Turn & cook for a further 1-2 minutes or until golden. Transfer to a plate a wipe out saucepan.
  3. Return rissoles back in saucepan & add sauce. Simmer for 10 minutes until rissoles are cooked through. Nice to serve with creamy mashed potatoes & roasted green beans.

Potato Lefse

From a traditional homemade staple to a quick on-the-go snack from a gas station to ferries or even a fancy dish at a wedding, the story of lefse is intertwined with Norwegian history.

The first lefse didn’t contain potatoes, they were made from flour. Women would travel from house to house, village to village to make lefse to last the winter months. The flour lefse would cook up like a cracker and be able to last through the season. Many households stored their lefse is wooden boxes covered in cloth or just stacked on shelves. When you were ready to enjoy some lefse it was dipped in water and soaked between damp cloth until softened.

Then came the introduction of potatoes, abundant and easy to grow. The potato was incorporated into many Norwegian foods. Like Ireland, Norway suffered from the effects of the potato famine in the mid-1800’s, which is about the time that many Norwegians came to North America. They brought their knowledge and rolling pins. The result is a Norwegian ‘potato bread’ delicacy that is part of a special tradition replicated in many Norwegian-American homes for more than 150 years.

In Norway, the lefse is sweet or savory, thick or thin, can be made from wheat or potatoes, and can be served with a wide variety of accompaniments. Recipes and even names vary considerably across Norway. 

In many parts of western, eastern and central Norway, lefse are used as an alternative to bread. They are eaten with savory, salty foods or with sweet foods.

Common savory fillings include cured ham and cheese. They can also be served as wraps, with fillings such as smoked salmon and cream cheese. Common sweet fillings are sugar and cinnamon. These are often served folded or rolled into tubes. As with waffles, the combination of brown cheese (or ‘brunost’ is a tan-colored ‘whey cheese’ with a distinctive caramel flavor) and jam is another sweet option.

There is no one best lefse recipe. You can choose to make thick, sweet lefse, or thin ones for savory wraps, with potato or without. There are so many options, not to mention the countless ‘secret’ family recipes handed down through generations.

I recall the first time I ever had the opportunity to try Norwegian lefse. I was in grade school and my friend asked me to come to her house for lunch. At the time, I wasn’t really sure what to make of it, but I remember it tasted good … just like a thin potato pancake!

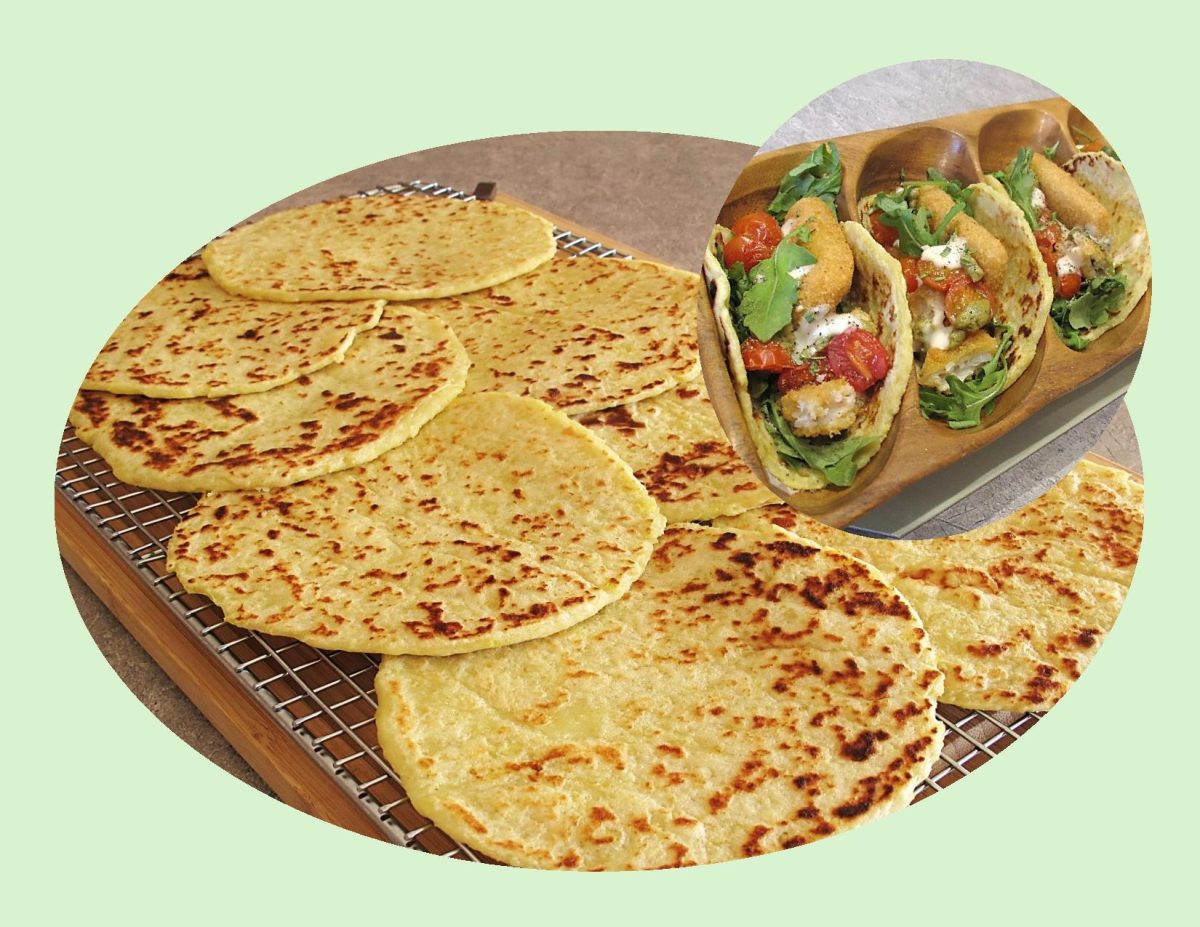
Brion & I decided to use our lefsa as a wrap and make fish ‘tacos’ out of them. It turned out to be a great choice!

Print Recipe
Potato Lefse
Votes: 1
Rating: 5
You:
Rate this recipe!
Course Main Dish
Cuisine Norwegian
Keyword potato lefse
Servings
Ingredients
Course Main Dish
Cuisine Norwegian
Keyword potato lefse
Servings
Ingredients
Votes: 1
Rating: 5
You:
Rate this recipe!
Instructions
  1. In a pot, place potatoes & cover with cold water. Put a lid on the pot & bring to a boil. Reduce heat to a simmer & cook until soft. Drain & put potatoes through a ricer (or grate fine) while still hot. Combine with butter & refrigerate until cool.
  2. Combine potatoes with the rest of the ingredients. Mix just until blended. Add milk only if needed to combine dough. Cover & chill thoroughly.
  3. Divide dough into 8 equal pieces & roll into balls. Between 2 sheets of dry waxed paper roll each ball to a 6-inch diameter.
  4. Heat a flat griddle to 400 F.
  5. Grill lefsa, flipping mid-way through, about 60 seconds on each side, or until freckled.
  6. Serve warm or at room temperature as is or with topping or 'filling' of choice.
Recipe Notes
  • The yield will vary depending on how much dough you use for each one.
  • SOME FILLING SUGGESTIONS:
  • Spread with butter & a sprinkle of brown sugar
  • Spread with mustard & wrap around sausage, brats or hot dogs
  • Spread with butter or cream cheese & wrap around leftover chicken, turkey, pot roast or your favorite deli meat. Eat hot or cold.
  • Use as a wrap for salads such as egg, tuna, chicken & salmon.
  • Spread with cranberry sauce, applesauce or Nutella.
  • Wrap around warm meatballs.
  • Wrap around scrambled eggs with or without crumbled sausage or bacon.

Banana Cream Pie Cookie Cups

It’s hard to pin down the origin of banana cream pie, but it seems adding bananas to the pie happened around the end of the 19th century, when bananas went from exotic to commonplace. Until then, most North Americans have never seen, never mind eaten, a banana.

The turning point in the banana business came with technological advances in transportation and refrigeration. Steamships and railroad cars brought the fruit to market faster, and refrigeration slowed the ripening process. The combination was a bonanza for the industry.

One of the earliest known published recipes for banana cream pie called for sliced bananas and powdered sugar placed in a pre-baked pie shell. The ‘Woman’s Exchange Cook Book’ from 1901 advises cooks to then put the filled pie in the oven for a few minutes and then remove it once the bananas have been softened. After the pie is removed from the oven, the cookbook instructs the cook to cover the filling with whipped cream and to flavor it with lemon juice.

A recipe published just five years later in ‘The Blue-Ribbon Cookbook’ provided a banana and custard filling, but the two were not blended together into today’s familiar, creamy banana filling. Instead, sliced bananas lined the bottom of the crust, and the custard was poured over it. By 1950 we get a version covered with whipped cream and toasted coconut.

An old fashioned dessert , but one of the most comforting treats, banana cream pie offers a rich, sweet and velvety filling. If you like bananas like I do, it’s one of those desserts where you put a spoonful in your mouth and can’t help but lean back and close your eyes as you savor the buttery crust and creamy filling.

Print Recipe
Banana Cream Pie Cookie Cups
Votes: 1
Rating: 5
You:
Rate this recipe!
Servings
Ingredients
Banana Cream Mousse Filling
Servings
Ingredients
Banana Cream Mousse Filling
Votes: 1
Rating: 5
You:
Rate this recipe!
Instructions
Base
  1. Preheat oven to 350° F. Line 12 muffin tins with paper cups.
  2. Use a food processor to grind gingersnap cookies into a fine crumb. Melt butter in a microwave-safe bowl until melted. Combine melted butter with cookie crumbs and stir until there are no dry crumbs left. Divide ginger snap crumbs between the 12 muffin cups. Press down with a spoon or tart shaper.
Banana Cream Mousse Filling
  1. While the cookie cups are cooling, prepare the banana cream mousse filling. Whisk together the box of dry pudding mix and the milk. Add in the whipped topping and stir GENTLY until combined. Transfer to a pastry bag or a zip lock bag and store in the fridge until the cookies are fully cool.
  2. Take cookie cups out of muffin tin. Pipe banana cream mousse into each cup and top with a slice of banana. Sprinkle with a small amount of gingersnap cookie crumbles.
  3. Store in the refrigerator.