The warm notes of ginger and cinnamon paired with the sweetness of the pears & shallots are exactly what makes these pork chops go from good to wow!
Brion & I have come to really enjoy chutneys over the years. I think I could make a chutney out of just about anything. You want the perfect balance of the trinity of chutney which is sweet, sour and spicy.
Chutney originated in India as a simple fruit paste preserved in honey, eventually evolving to incorporate a variety of fruits, spices and vegetables. During the 17th century when the British colonized India, they would bring chutney back to England as a novelty good. Because of its bright and exotic flavor, chutney became a popular condiment all over the world.
As chutney made its way to various parts of the world, people adopted new preparation techniques and experimented with various flavor profiles. This cranberry pear chutney really highlights the those wonderful fall pears.
Print Recipe
Pork Chops w/ Pear Chutney
Votes: 1
Rating: 5
You:
Rate this recipe!
|
|
Votes: 1
Rating: 5
You:
Rate this recipe!
|
Instructions
Pear Chutney
In a medium pot, combine all chutney ingredients. Bring to a slight simmer for about 6-7 minutes until pears soften, but not mushy. Remove from heat. Set aside until pork chops have been cooked. Serve chutney at room temperature or slightly warmed.
Pork Chops
Heat a large skillet over medium-high heat. Pat pork chops dry and season with salt and pepper to taste. Add 1 tablespoon oil to pan and heat until shimmering. Lay 4 chops in pan and sear until golden on one side, about 3 minutes. Turn and cook 1 more minute. Remove from pan; set aside and keep warm. Repeat with remaining oil and chops. Add chutney to pan and, scrape up any brown bits from bottom using a wooden spoon. Simmer until slightly thickened. Stir in cilantro. Serve chops with chutney.

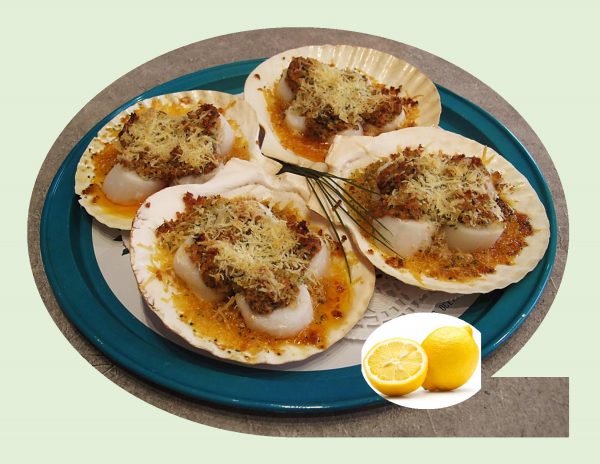
Scallops are an exquisite delicacy brought to us by the sea. Subtle as their flavors may be, the combination of sweet, buttery and nutty always hits the right spot and makes them so addictive.
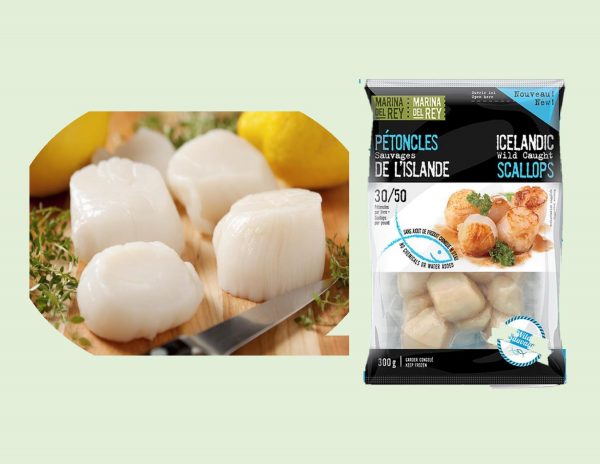
Sea scallops are widely known for their iconic, beautiful shape …. a fan-like shell with fluted grooves. Different varieties are found in oceans all over the world and come in many sizes. For commercial purposes they are labeled similar to shrimp. A number is used to designate how many scallops of a given size it would take to constitute a pound. The label 20/30 means it would take 20/30 scallops to make up a pound and labels like U10 means it would take less than (‘under’) 10 to make a pound.
Scallops are bivalve mollusks (meaning having 2 shells- usually united by a hinge) that have a reddish-pink, upper shell and white or cream colored, lower shell.
Wild scallops feed by filtering microscopic plankton from the water. They are hand shucked immediately and frozen at sea to capture their fresh sweet flavor.
Brion & I don’t have scallops often but when we do we enjoy them to the fullest.
Print Recipe
Parmesan Baked Scallops
Votes: 2
Rating: 3.5
You:
Rate this recipe!
|
|
Votes: 2
Rating: 3.5
You:
Rate this recipe!
|
Instructions
Preheat oven to 350 F. Place 'scallop shells' on a baking pan.
Rinse scallops & thoroughly pat dry on paper towels. Season with salt & pepper.
In a bowl, combine all of the ingredients for the compound butter. Mix well.
Place 4 scallops on top of each shell dish. Divide butter into 4 portions & place one on each dish of scallops. Bake for about 8-10 minutes, depending on the size of scallops. Test at about the 6 minute mark. Try to avoid over baking as you will be broiling for a few minutes to finish.
As scallops are baking, melt butter in microwave for the crunchy topping. Mix in the panko crumbs & fresh parsley.
Remove the scallops from the oven. Turn on the broiler. Top each with a spoonful of the crunchy topping. Sprinkle with a bit more parmesan cheese. Broil for about 1 minute or 2, just enough to brown the topping & melt the cheese.
Nice to serve with rice or pasta. Garnish with fresh parsley & serve with lemon wedges.
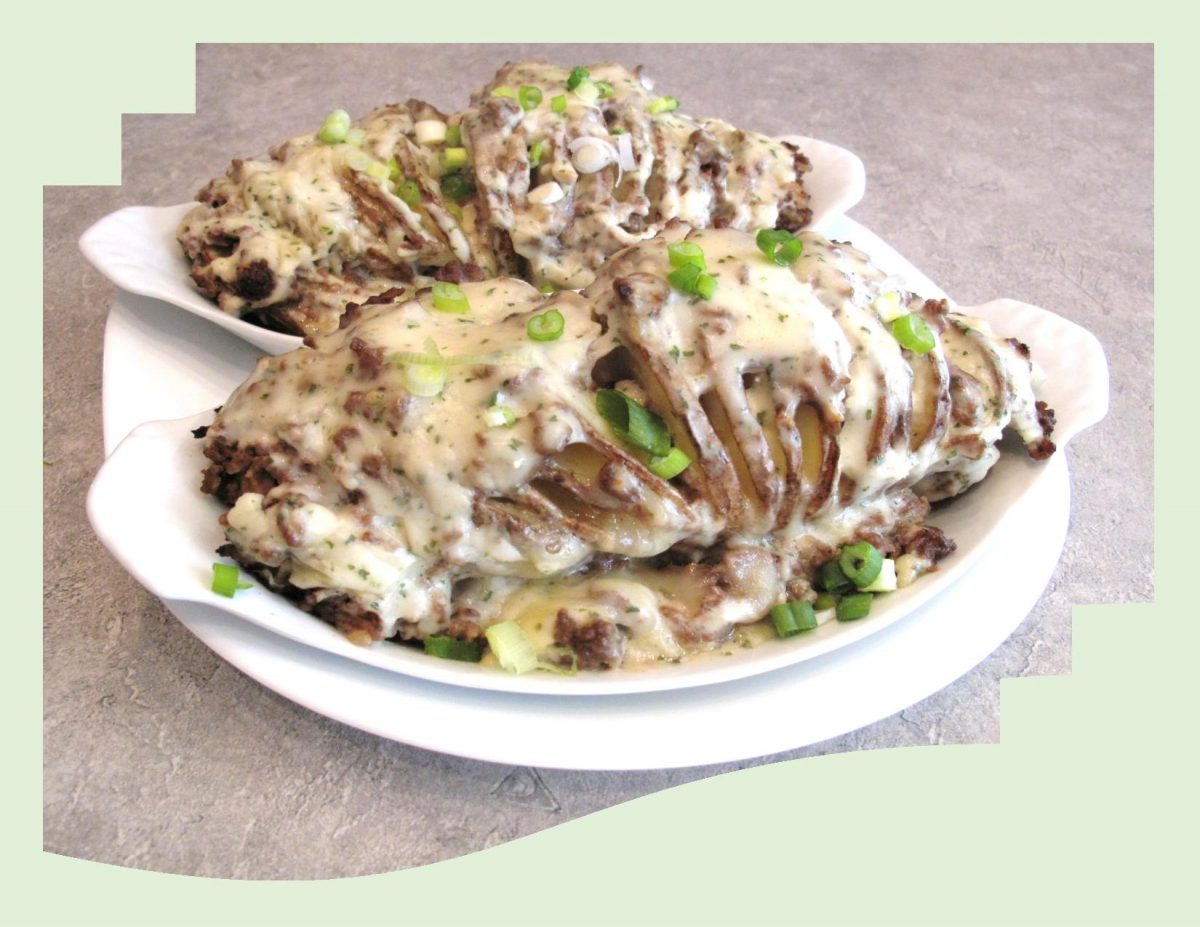
Hasselback potatoes are a type of potato dish, not a variety of potato. In their simplest form, hasselback potatoes are nothing more than whole potatoes cut in such a way as to resemble a fan or accordion when roasted. The outside of the potato becomes crisp and brown while the inside is soft & creamy.
This Swedish dish gets its name from Hasselbacken, the Stockholm restaurant where it was first served. You might say, they are a cross between baked and roasted potatoes. What distinguishes the two is the way the potato is prepared for roasting. The potato, which may or may not be peeled, is cut into very thin slices but without completing the cuts, leaving all slices connected along the bottom of the potato. As the potato cooks, the individual slices separate slightly and give the finished dish its distinctive look. The original recipe drizzles them with melted butter and seasons with salt & pepper which creates their crispy exteriors.
Over time, many variations have been made and are simply products and preferences of the individual preparing them. It is the slicing and roasting that distinguish the dish as hasselback potatoes rather than the variations on seasonings or toppings.
Today, I’m doing a ‘loaded’ version, taking it from a side dish to the main course.
Print Recipe
Loaded Hasselback Potatoes
Votes: 1
Rating: 5
You:
Rate this recipe!
|
|
Votes: 1
Rating: 5
You:
Rate this recipe!
|
Instructions
Potatoes
Preheat oven to 350 F. Make a row of deep cuts in each potato from end to end, they should be just under 1/4-inch apart. Take care not to cut the potatoes all the way through. See 'Recipe Notes' below.
Place the potatoes in a casserole dish, brush them with melted butter & sprinkle with salt & pepper on top. Bake potatoes for an hour OR until TENDER but crispy. Allow potatoes to cool a little then place a small piece of cheese in each gap. Set casserole with potatoes in it aside.
Filling
In a saucepan, heat 1 Tbsp oil & add onions & garlic; saute for a few minutes then add beef & continue to cook until meat is no longer pink. Drain any extra oil/fat from saucepan. Stir in tomato paste (if using) & beef broth; simmering until liquid has been reduced so only a small amount remains.
Bechamel Sauce
In a heavy saucepan, melt butter. Stir in flour & cook, stirring constantly, until bubbly, about 2 minutes. Add hot milk, continuing to stir as the sauce thickens. Bring to a boil; add salt & pepper to taste, lower the heat & cook, stirring 2-3 minutes more. Remove from heat.
Assembly / Baking
Divide the filling between the potatoes, which should still be in the casserole dish. Pour the sauce evenly on top & sprinkle with Parmesan cheese. Place the casserole back in the oven (350 F) for another 30 minutes.
Recipe Notes
- The secret to making hasselback potatoes is to use a large wooden spoon. Place the potato onto the spoon & cut thin slices across the potato. The edges of the wooden spoon will stop the knife from cutting all the way through the potato.
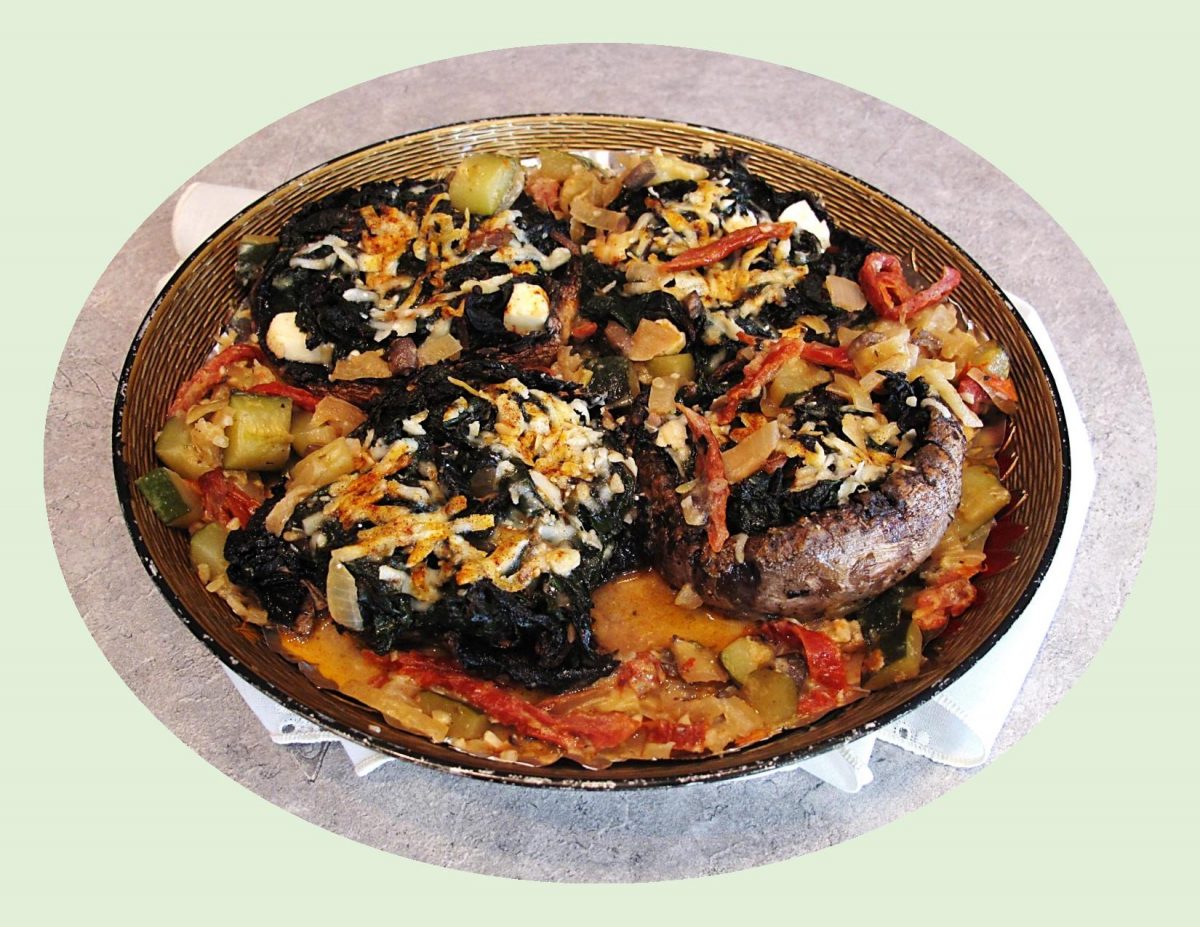
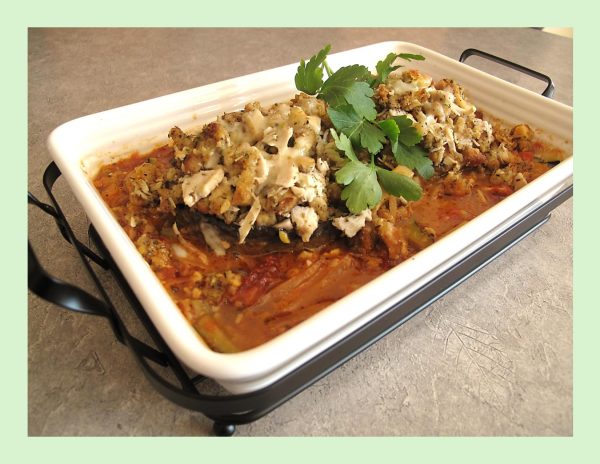
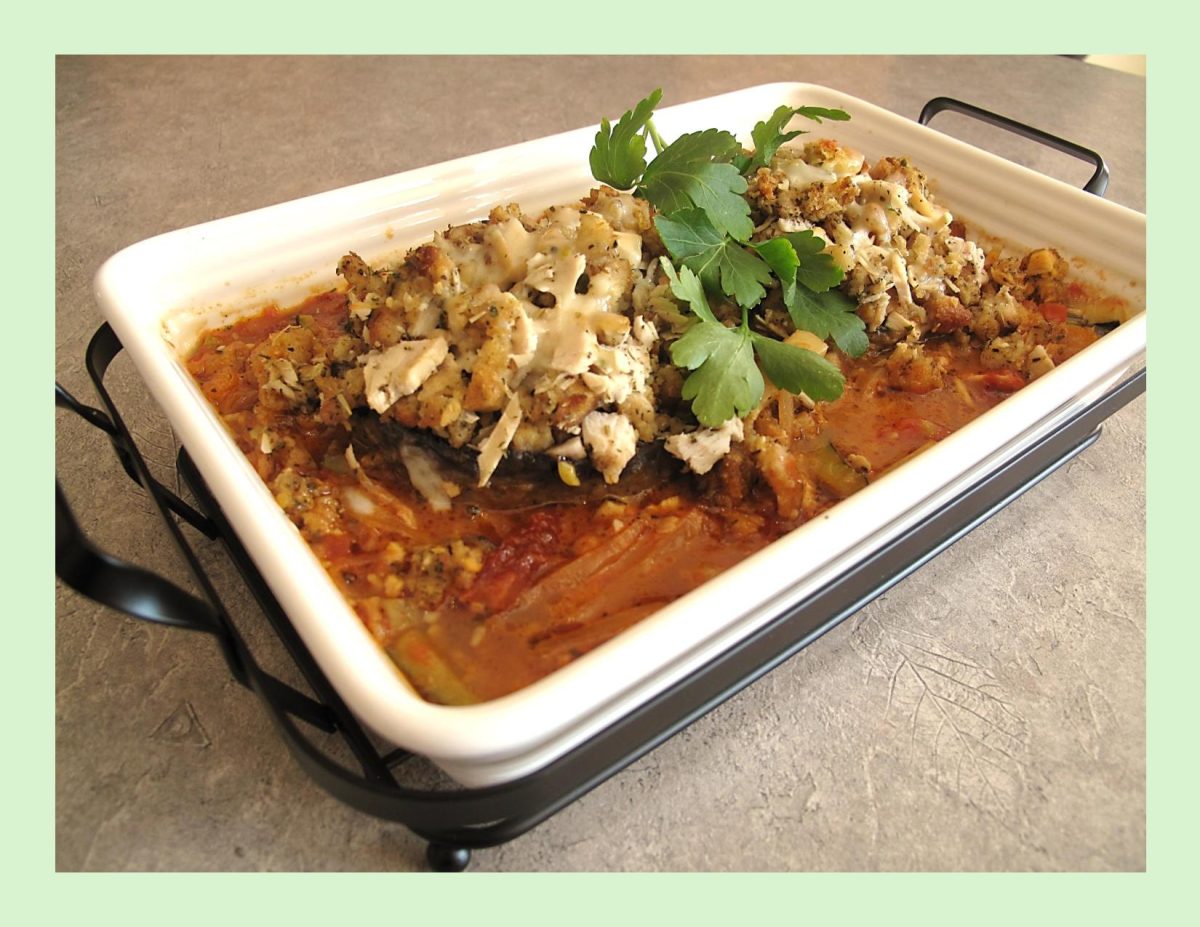
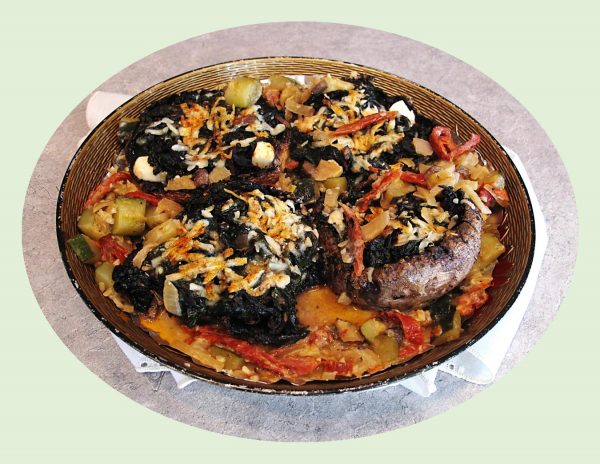
Stuffed mushrooms are one of those items that can be an appetizer as well as a main course. They are as versatile as you can get. The number of different fillings are endless and can be anything from a simple bread stuffing to seafood, veggies or any kind of meat.
Portobello mushrooms are big, meaty and the ideal vessel for stuffing, creating a dish that is a meal unto itself. Few things can match the flavor of stuffed mushrooms.
Depending on the source, this unique dish has been around since the late 19th century or early 20th century. The fact that they resemble stuffed zucchini, it is likely that the Italians should receive credit for their creation.
Print Recipe
Stuffed Portobello Mushrooms in Sun-Dried Tomato Sauce
Votes: 1
Rating: 5
You:
Rate this recipe!
|
|
Votes: 1
Rating: 5
You:
Rate this recipe!
|
Instructions
Mushrooms
Trim stems from mushrooms & finely chop them; reserve for sauce. Whisk the egg lightly in a shallow bowl. In a separate shallow bowl, combine flour, salt, pepper, oregano, thyme, paprika & garlic salt.
In a large skillet, heat olive oil on medium-high. Dip the mushrooms in the egg then in the flour mixture. Coat the outside of the mushrooms, trying not to get too much flour inside the 'cap'.
In a skillet, fry mushrooms on both sides until lightly golden. Use a tongs to help fry the sides as well. Remove mushrooms to a plate. To the skillet, add a splash of water & Swiss chard leaves. Sprinkle with salt & pepper & saute until leaves are wilted, about 1 minute.
Divide cream cheese between the 4 mushroom caps. Top with wilted Swiss chard; sprinkle with grated Parmesan & paprika. Set aside, keeping warm.
Sauce
In a skillet , heat oil. Add onion & cook for 2 minutes until it starts to soften. Add reserved mushroom stems, garlic, oregano, paprika, sun-dried tomatoes, red peppers & zucchini. Cook for 2 minutes while stirring with a spatula. Add wine (or chicken broth) & allow to bubble for 2 minutes then add vegetable broth, salt & pepper. Bring to a boil & simmer for 5 minutes.
Stir the cream & Parmesan cheese into the sauce, then nestle the mushrooms on top. Garnish with chopped fresh parsley. Nice to serve with pasta or potatoes and/or a meat item.
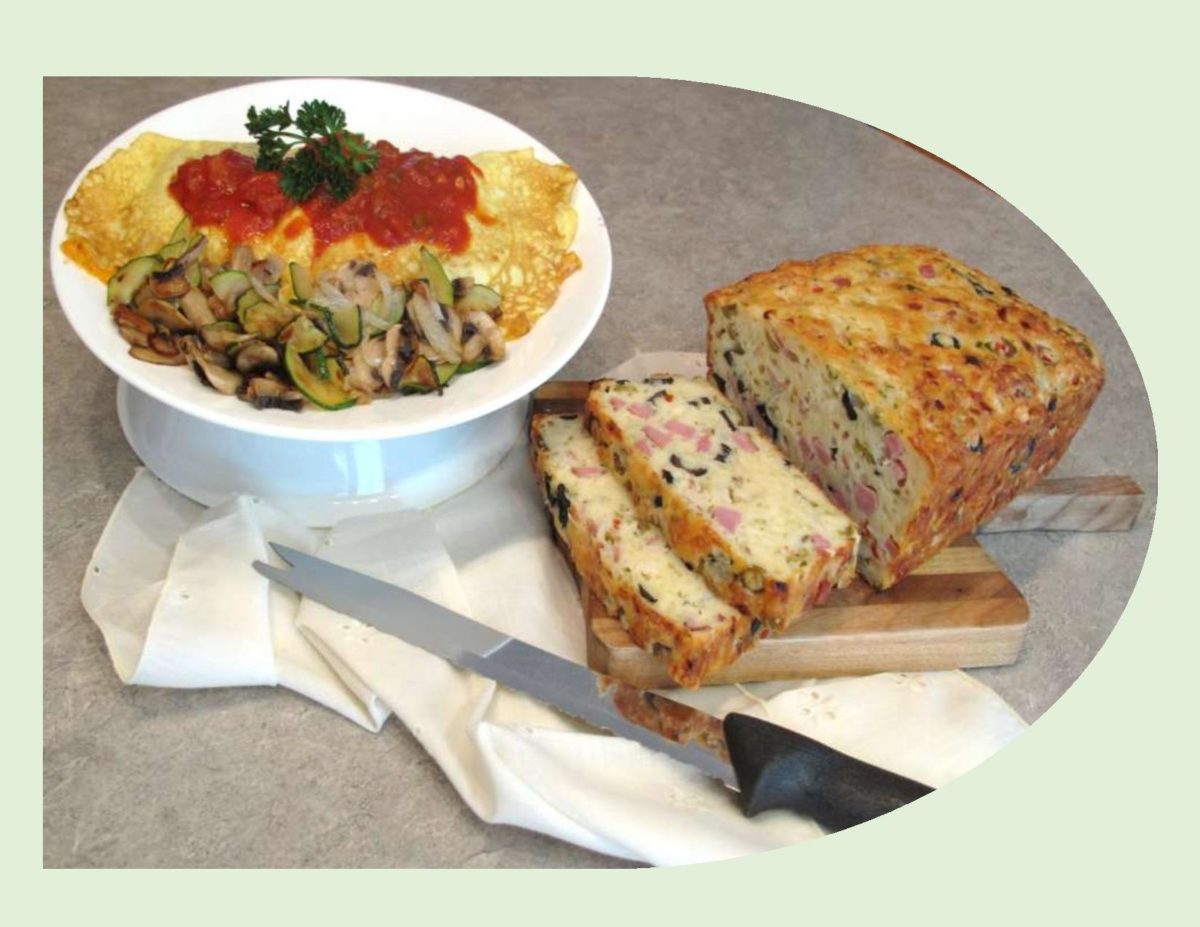
About six years ago, I tasted this popular French cake au jambon et aux olives for the first time. The word ‘cake’ in France refers to a baked savory cake made with ham, olives and cheese. They are exclusively rectangular in shape and made in a bread pan. The texture is between a bread and a cake, making it it good for picnics, cubed as an appetizer with drinks or served with a soup or salad.
This savory cake/bread has endless possibilities when it comes to ingredients. Apart from the original ham, olives and cheese, you can use cooked chicken, sun-dried tomatoes, zucchini, mushrooms, sweet corn kernels, spinach or really any personal choice you have. Well wrapped, it will keep for a few days in the fridge, reheating it or just enjoying it cold.
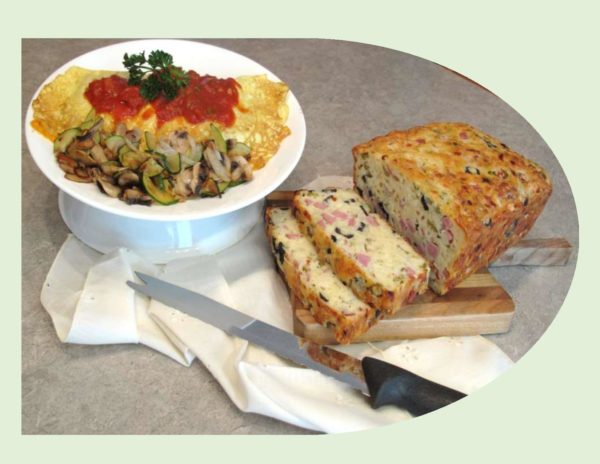
In this recipe I used a mix of black and green olives, ham, bacon and a Gruyere/mozzarella cheese combo. I decided to pair it with a Spanish omelette which complimented the savory bread well. The ‘cake’ I had the opportunity of trying the first time was made by a ‘very’ French lady. It set the bar high for my own to turn out as good. We loved it so I guess this recipe is a ‘keeper’.
Print Recipe
Ham & Olive Bread with Spanish Omelette
Votes: 2
Rating: 4.5
You:
Rate this recipe!
Ingredients
Topping Sauce for Omelettes
Ingredients
Topping Sauce for Omelettes
|
Votes: 2
Rating: 4.5
You:
Rate this recipe!
|
Instructions
Olive Bread
-
In a skillet, saute finely chopped onion with bacon until slightly cooked. Drain on paper towels to avoid soggy dough. Slice olives & chop parsley & ham.
-
Preheat oven to 350 F. Butter a 9 X 5-inch loaf pan. In a large bowl, whisk together wine, oil, eggs & salt. In another bowl, sift flour & baking powder. Stir into liquid mixture along with rest of the ingredients. Pour into prepared loaf pan & bake about 1 hour or until bread tests done.
Omelette Topping Sauce
-
In a saucepan, heat olive oil & saute onion for 3-4 minutes. Add green pepper & garlic; continue to cook another 3-4 minutes. Add tomato sauce, salt & pepper; reduce heat & simmer about 5 minutes. Remove from heat, cover & set aside to keep warm.
Omelettes for Two
-
Grate cheese; set aside. Slice onions, zucchini & mushrooms, On a medium-hot griddle, saute vegetables just until tender crisp in 1 tsp of butter. Remove to a dish until ready to use. In a small bowl, whisk eggs with salt & pepper. Make 2 circles of beaten eggs on griddle. Top each with 1/2 of refried beans, veggies & grated cheese. Carefully fold each omelette in half enclosing filling; add a tiny bit of water to the griddle (in between the omelettes) & cover with a large lid. When omelettes are cooked remove to serving plates & top with the tomato sauce. Serve with warm olive bread.
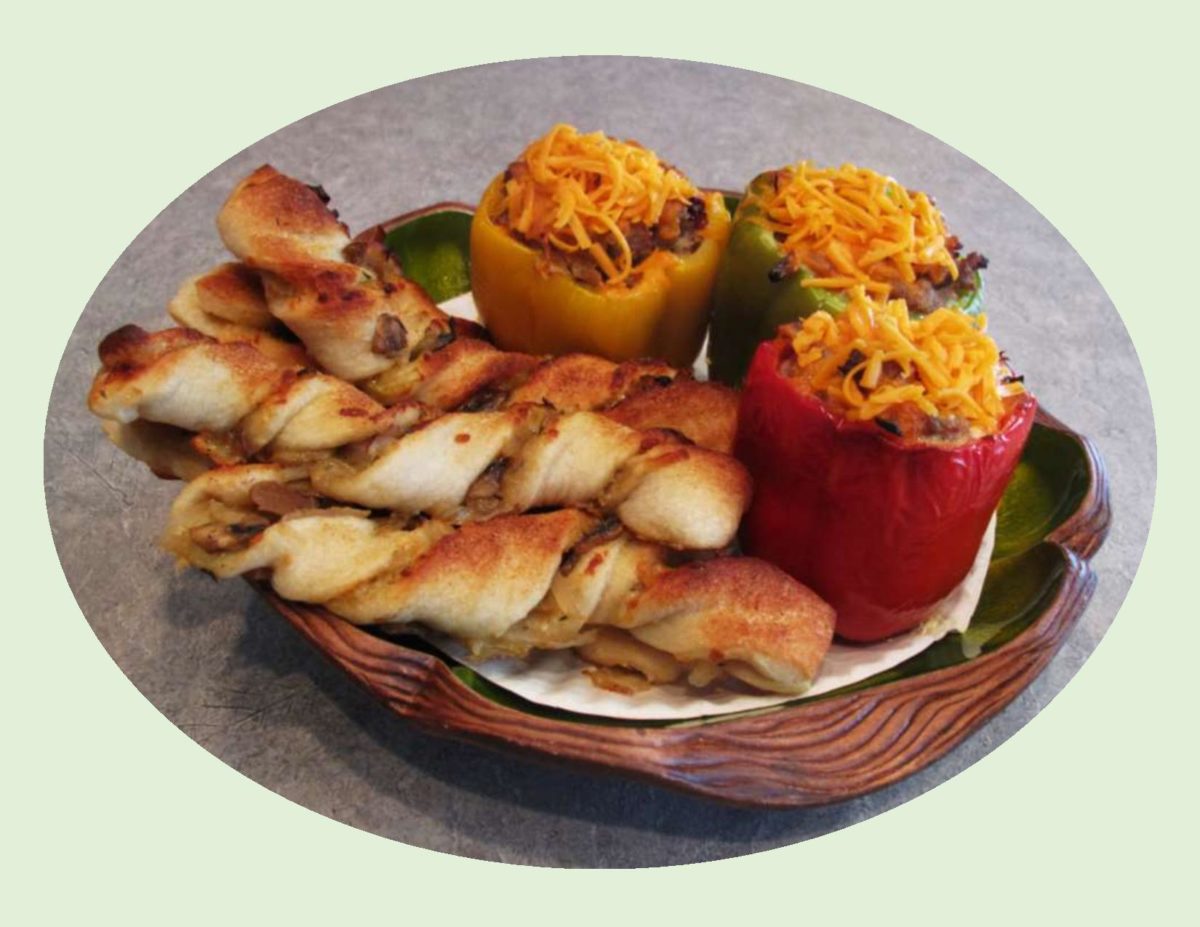
When I think of stuffed peppers, quiche never ever came to mind. I have always enjoyed quiche anytime of day, with or without crust. The idea of using a pepper as your ‘crust’ certainly puts a new twist on the traditional quiche.
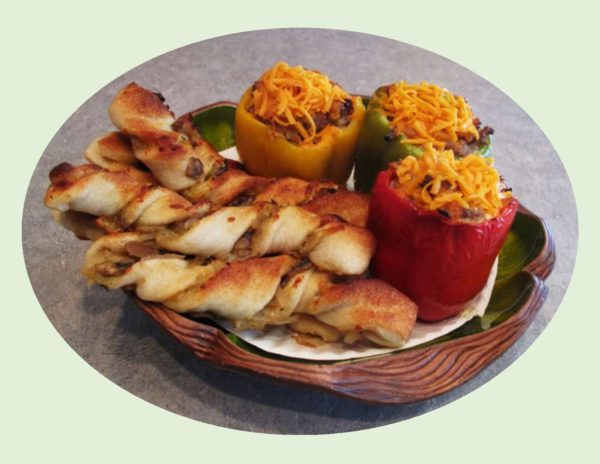
I wanted to make these pepper cups for a supper meal and since there was no pastry involved here, bread sticks seemed like a good accompaniment.
Quiche is like making pizza– there are no limits to what the filling can consist of. For our meal today, I just put together a variety of items I had on hand for both the quiche and bread stick twists. It turned out to be real enjoyable and so easy.
Print Recipe
Pork & Pepper Quiche Cups w/ Onion Mushroom Twists
Votes: 1
Rating: 5
You:
Rate this recipe!
|
|
Votes: 1
Rating: 5
You:
Rate this recipe!
|
Instructions
Onion-Mushroom Twists
In a skillet, saute mushrooms & onion in butter until tender. Add thyme & salt; cook 1 minute longer or until blended. Remove from heat & cool slightly. Roll pizza dough into a 16 X 8-inch rectangle. Sprinkle cheese on half of the dough, then top cheese with HALF of the mushroom/onion mixture. Fold un-topped half of dough over topped side; slice into 8 strips to form twists.
Preheat oven to 375 F. Line a baking sheet with parchment paper. Carefully lift & twist each strip before placing on baking sheet. Sprinkle with garlic powder & salt to taste. Bake 12-15 minutes or until golden brown.
Pepper Quiche Cups
In a skillet, place ground pork, water, salt, rubbed sage, black pepper, red pepper flakes & ground ginger. Stir-fry until no longer pink. Remove from heat & drain on paper towel. Chop sun-dried tomato pieces & shred cheese.
In a large measuring cup with a spout, place 1/2 & 1/2 milk, salt & pepper. Add eggs & beat well. Remove stems, seeds & membrane from peppers & stand in a roasting dish that will hold them upright & level. Divide cooked pork, remaining mushroom/onion mixture & sun-dried tomatoes.
Top each pepper with some grated cheddar, then carefully pour in the milk/egg mixture. Bake until eggs are set. If you prefer, 'float' a piece of foil over peppers for the first part of the baking time. It will help the cheese not to over bake.
