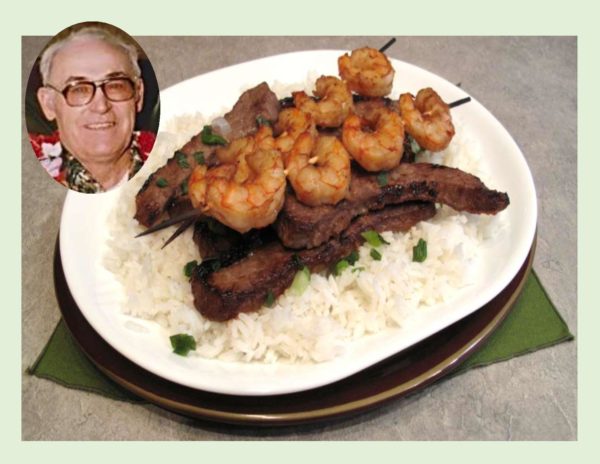
Today, March 21st, our family honors the memory of my father. He passed away at the age of 92, thirteen years ago. As a teenager, I never realized what a special privilege growing up as a farmer’s daughter really was. Coming home on the school bus and having to do ‘chores’ seemed so boring as opposed to being able to spend after school hours with your friends. As I look back on those times now, it all comes clear as to how treasured and valuable those life lessons were.
To be a successful farmer takes a tremendous amount of strength and courage. I think back to those days with great admiration and appreciation of the special man he was.
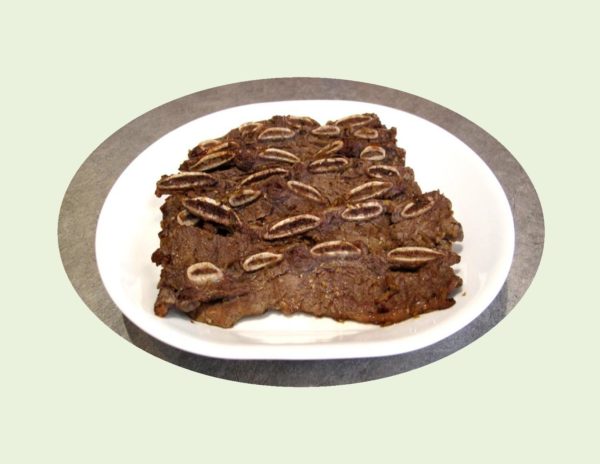
Since my Dad enjoyed to eat both beef and seafood, I thought today’s blog recipe should be a nice combo of just that in honor of his memory.
SPECIAL MEMORIES OF OUR WONDERFUL DAD
Print Recipe
Beef Short Ribs & Shrimp
Votes: 4
Rating: 3.75
You:
Rate this recipe!
|
|
Votes: 4
Rating: 3.75
You:
Rate this recipe!
|
Instructions
In a food processor, puree peeled & cored Asian pear. Add next 8 ingredients & pulse a few seconds to combine. Into a large Ziploc bag pour 2/3 of the marinade; add ribs laying single file so they will marinate evenly. Refrigerate while marinating for at least 2 hours or overnight.
Peel & devein shrimp. Place in another Ziploc bag with remaining marinade. Marinate shrimp about 30 minutes in refrigerator prior to cooking.
At cooking time, thread shrimp on skewers. Barbecue ribs & shrimp on a grill over medium heat or you can broil in the oven if you prefer. Cook to your preferred liking making sure to not overcook shrimp. Place on serving platter & sprinkle with green onions & sesame seeds.
Recipe Notes
- Using an Asian pear in marinade is a great tenderizer for beef.
- If you prefer, keep a bit of the marinade for serving over a rice side dish.
I realize you have probably, long ago used up your (frozen) turkey leftovers from Christmas. Nevertheless, casseroles are always a good choice at this time of year. These satisfying blends of favorite flavors are easily assembled, can be made ahead and you don’t necessarily have to make them from leftovers. One-dish oven dinners are economical and can range from casual to elegant.
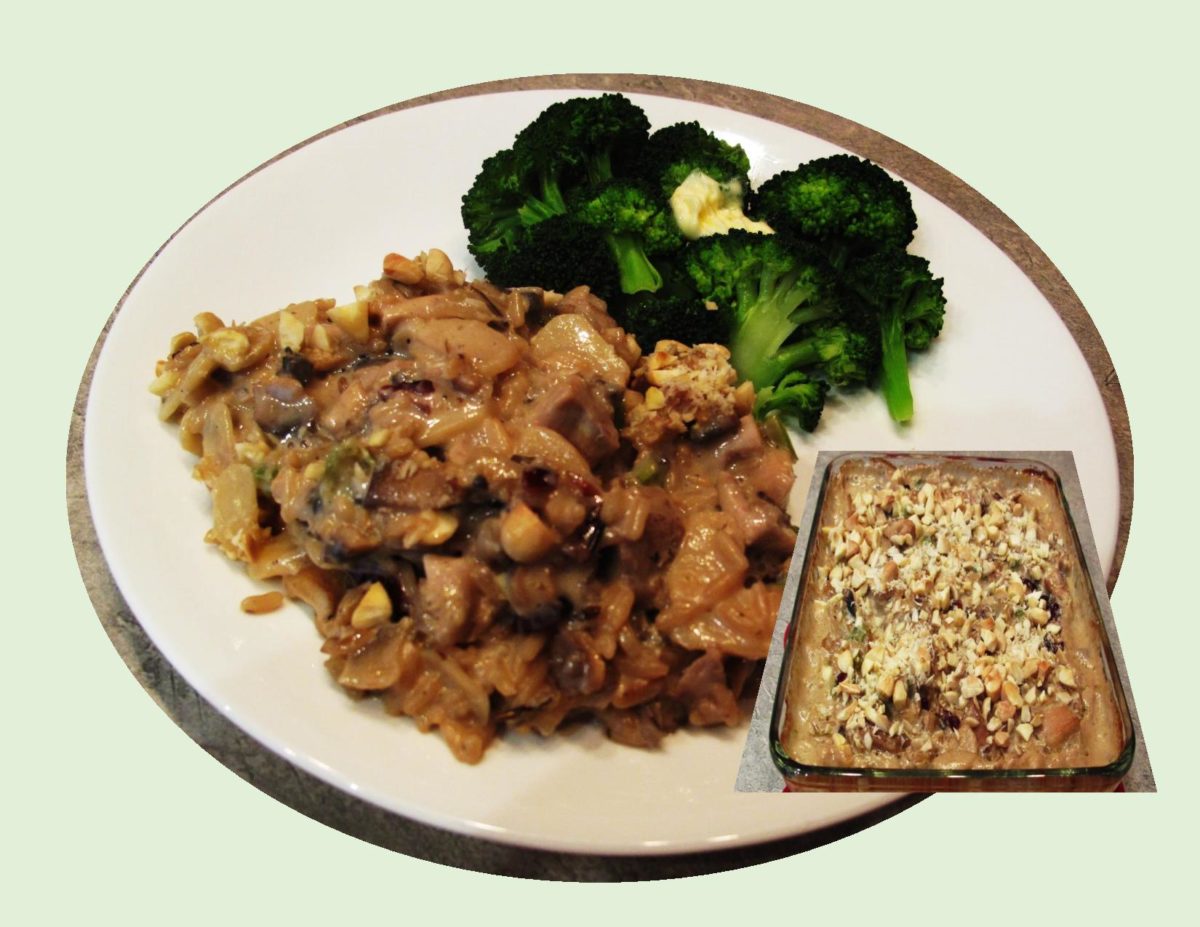
I recall making this particular casserole as one of the buffet entrees at a staff gathering. Wild rice is one of those foods you either like it or not, it seems to have no ‘middle ground’.
Wild rice is actually a semi-aquatic grass that has historically grown in lakes, tidal rivers and bays, in water two to four feet deep. It originated in the area of the upper Great Lakes which is both the USA & Canada. Because it is difficult to grow, with low yields per acre, wild rice usually costs more than other grains. To bring the cost down, it is often mixed with other grains (white and brown rice especially) rather than eaten on its own.
This casserole has a nice mix of ingredients. There seem to be numerous versions of the recipe but this is the one we enjoy the most. Hope it works for you.
Print Recipe
Wild Rice & Turkey Casserole
Votes: 1
Rating: 5
You:
Rate this recipe!
|
|
Votes: 1
Rating: 5
You:
Rate this recipe!
|
Instructions
Prepare wild rice mix, being careful not to overcook. In a saucepan, saute onions, mushrooms & celery in butter until softened. Add soup, sour cream, soy sauce & broth & heat through. Then add turkey, water chestnuts & prepared wild rice mix, stirring gently.
Preheat oven to 350 F. Place mixture into lightly buttered casserole dish. Bake for 25-35 minutes, gently stirring once. After stirring, top with chopped or slivered almonds.
In 2015, Brion & I spent sometime living in Cuenca, Ecuador. We had rented an apartment in the central part of the city. Over the three months we were there, I compiled a little diary of ‘recipes’ I developed, that would work for me. The criteria had to be: foods that were available, seasoning that tasted familiar and meals that could be cooked with the limited kitchen equipment and pots/pans.
Something we realized early on when shopping for various spices, was how important it was to know what the spice was called in Spanish. Such as Cumin- ‘Comino’, Marjoram- ‘Mejorana’, Ginger- ‘Jengibre’. It seems that they had most of the spices if you knew what to look for. Probably the only one that couldn’t be found was Chili Powder. When it came to Soy Sauce, even the familiar brands had a different taste. In the process of trying to replicate flavors we were used to, I decided to make my own versions.
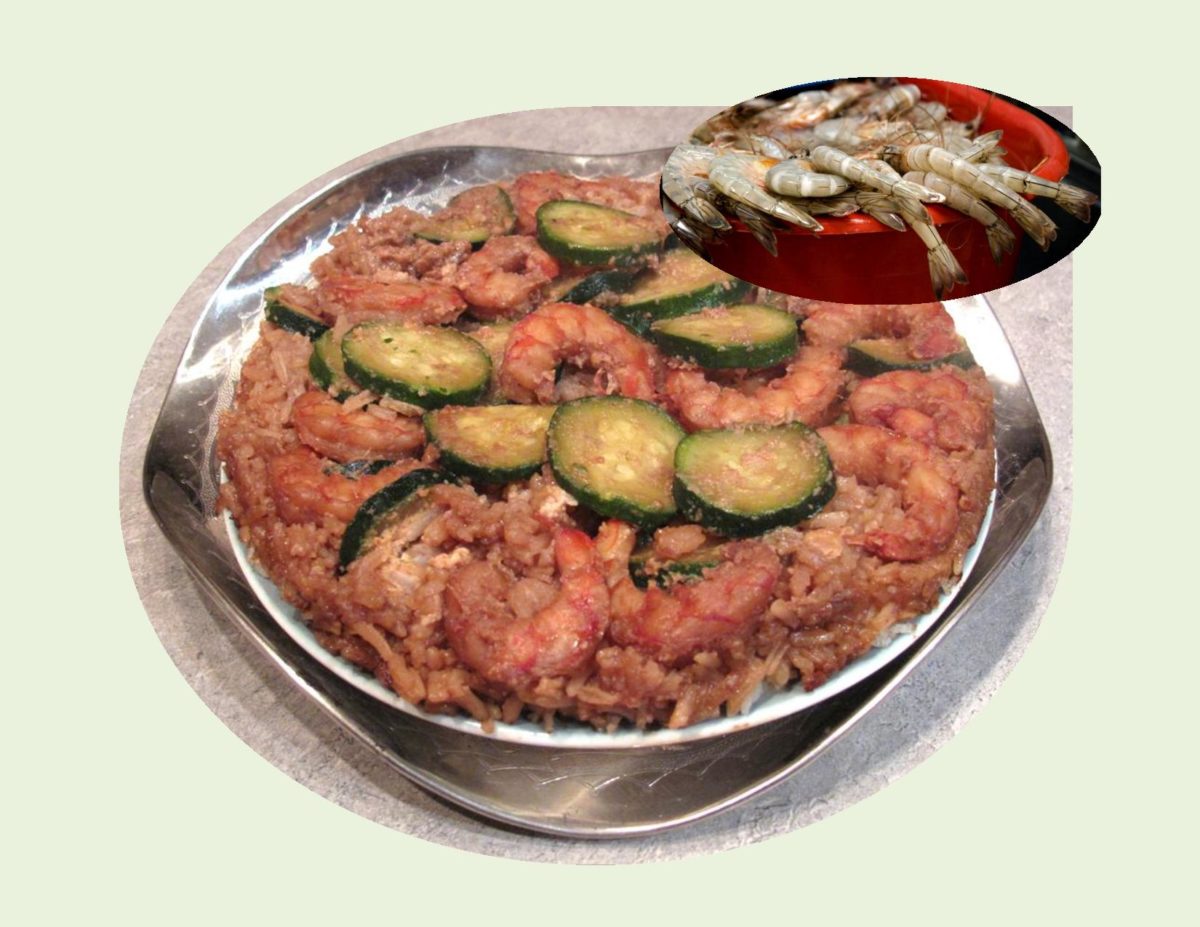
Here’s where a little ‘recipe development’ came into play. Normally teriyaki sauce would have a little ‘mirin’ (sweet cooking rice wine) or sake in it. I was able to come up with a fairly good ‘stand in’ with a few simple ingredients. Fresh shrimp were always available at the seafood markets. You could buy half a kilo for $4.00 Canadian. Rice, as long as you were not looking for the ‘minute’ variety, was in huge supply. Anyway, to make a long story short, today’s recipe was one that became a favorite of ours during that time.
If you care to read a few more articles I have posted in my blogs about our time in Ecuador check out ‘Dutch Apple Pie’ in April 2016 & ‘Fresh Cherry Scones’ in July 2016.
Print Recipe
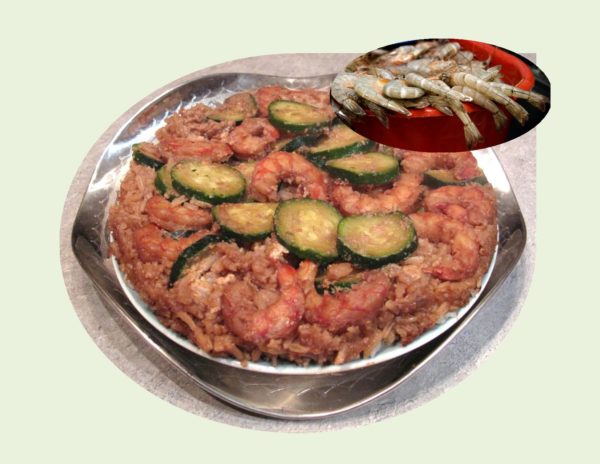
Parmesan Shrimp Rice Bake
Votes: 1
Rating: 5
You:
Rate this recipe!
|
|
Votes: 1
Rating: 5
You:
Rate this recipe!
|
Instructions
In a small bowl, marinate raw, cleaned shrimp in soy sauce, honey, water, ginger & garlic powder for at least 30 minutes or longer. Cook rice in chicken broth.
-
In a small bowl, combine Parmesan & garlic powder. Melt margarine; toss zucchini slices in it, then coat with Parmesan mixture.
In a round, 8" baking pan, alternate drained shrimp (reserve marinade) & zucchini slices to form bottom layer. Top with cooked rice. Drizzle marinade from shrimp over rice. Bake for 20-25 minutes.
We really enjoyed having this meal with warm cornbread.
With New Years Eve gatherings fast approaching, these little gems come to mind in the form of hors ‘d’ oeuvres. Of course, they are always great for a main dish as well.
The Swedish word for meatball, ‘Kottbullar’, first appeared in print around 1754. They are traditional Swedish ‘old-world’ fare at Smorgasbords and other festive occasions. Initially Swedish meatballs were only enjoyed by upper class Swedes but the increased availability of wood stoves and meat grinders in the 1850’s made meatballs accessible to the middle class as well. In northern Scandinavian countries beef was considered a luxury item, which meant meatballs were highly prized.
The meat content can vary based on geography. In southern Sweden, they are most often a 50/50 mix of beef and pork whereas further north in Sweden 70/30 of beef to pork is typical. Likely other options would be veal, venison, lamb or moose. Size-wise, they are smaller than those of Italy or Germany, typically not larger than a golf ball or smaller than 3/4″(2.5 cm) across.
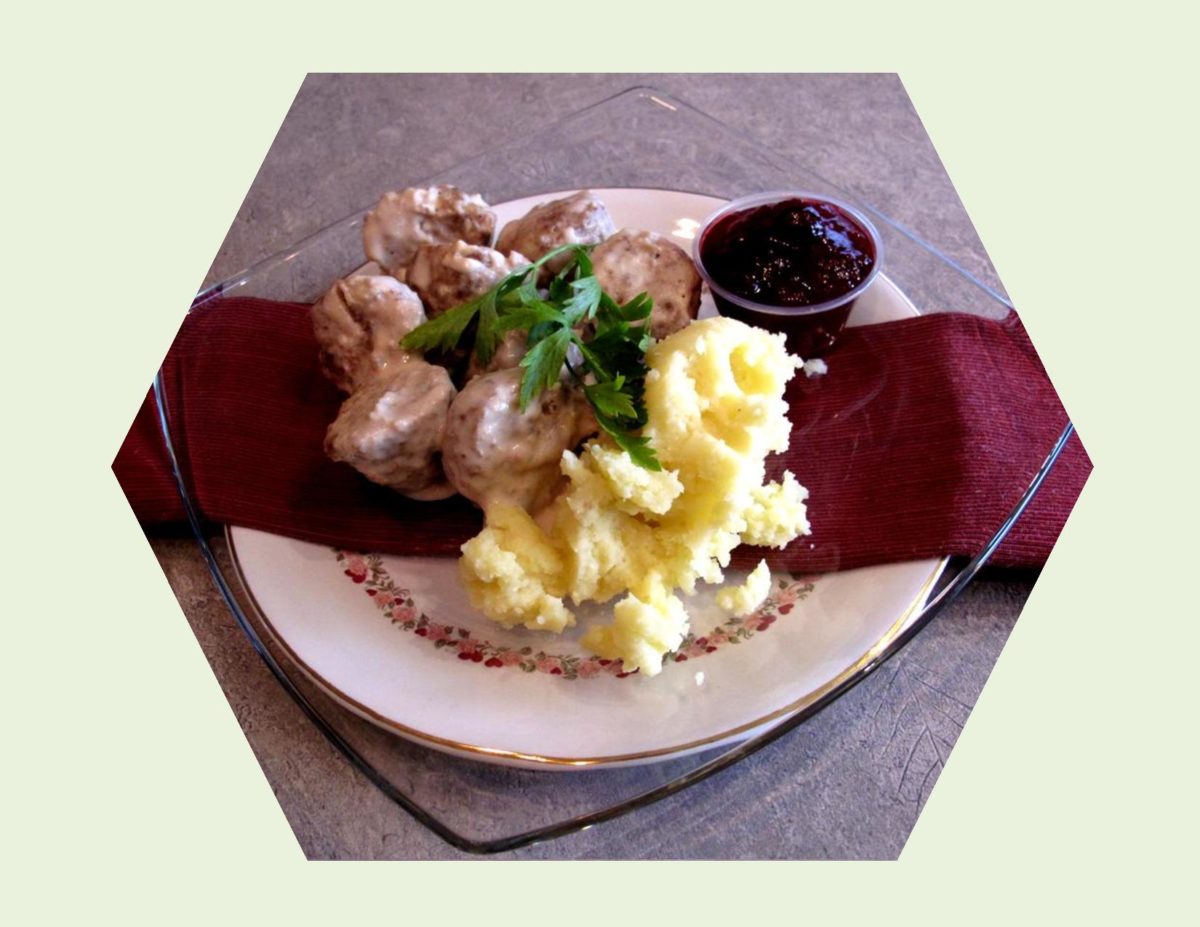
The cream gravy (sauce) and spices play a big part in the taste of this dish, traditionally served with lingonberry preserves, mashed potatoes and pickled cucumber salad. The ‘pressed cucumber’, as it is called, provides some crunch, saltiness and acidity to the sweet creaminess of the rest of the meal.
In America, Swedish meatballs were very popular in the beginning of the 20th century and again in the 1950’s-1960′.
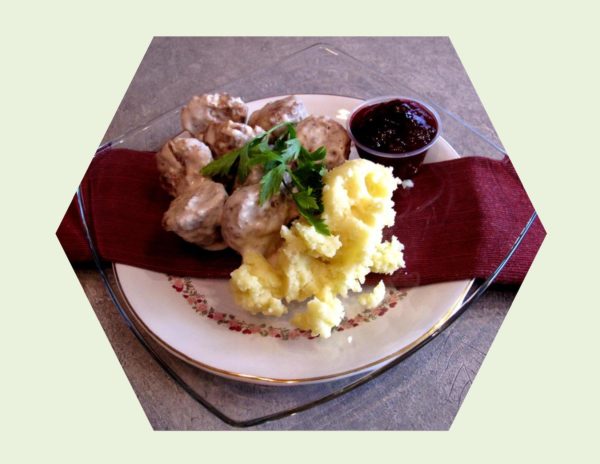
Brion and I have always enjoyed these tasty little meatballs so we are having them as our main course meal today.
Print Recipe
Swedish Meatballs
Votes: 1
Rating: 5
You:
Rate this recipe!
|
|
Votes: 1
Rating: 5
You:
Rate this recipe!
|
Instructions
Meatballs
Soak breadcrumbs in 2 cups of 1/2 & 1/2 cream. Fry onion in margarine. Combine all meatball ingredients & mix well. Shape into 1-inch balls. Preheat broiler to a high setting.
Place meatballs in a large baking dish, allowing a bit of space in between each one. Broil about 4" (10 cm) from heat until the tops are browned nicely. Watch carefully to avoid burning. Set oven to bake & reduce temperature to 300 F. Bake until meatballs are cooked through, depending on their size. If it seems they are getting too brown, cover lightly with a piece of foil to finish baking.
Cream Sauce (Gravy)
In a small saucepan, cook margarine & flour until bubbly. Slowly add broth & cream; boil for a FEW minutes, add soy, salt & pepper. Pour over hot meatballs.
Recipe Notes
- This recipe can easily be made in whatever amount you need but I find making the whole thing & freezing them in various amounts works great for quick future meals. Freezing them without any sauce also gives you the option to adapt them to other types of meals.
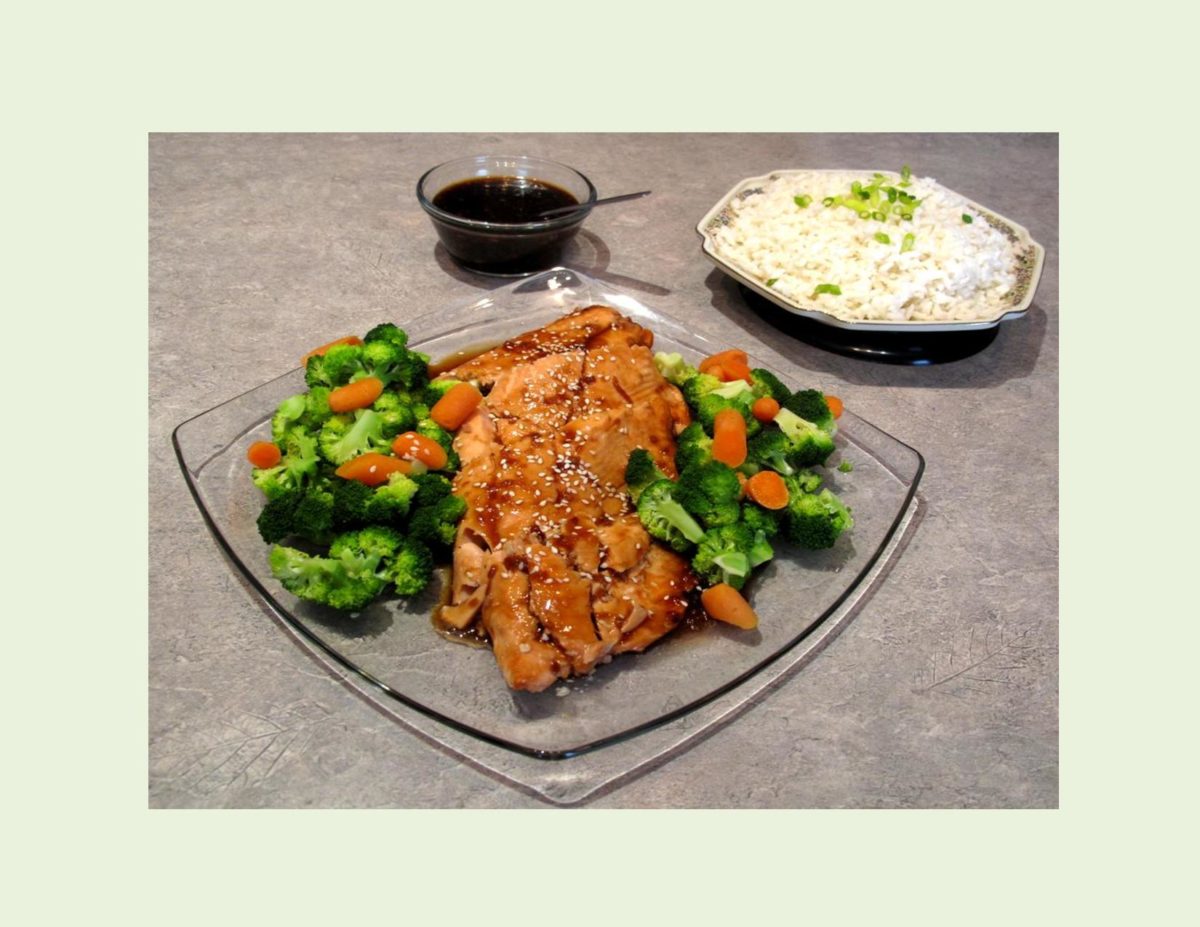
I’m sure you use or are probably aware of the technique of cooking in parchment paper. The French call it ‘en papillote, the Italians ‘al cartoccio but we Canadians just call it cooking in parchment. This simple, yet elegant culinary tradition infuses the meats, vegetables and herbs together to create unbelievable flavor. Not only does this enclosed packet keep delicate foods like fish moist and intact but cuts down on your clean-up time. It is a super easy way to cook for one and not have lots of leftovers.
Since fall is upon us and we are back to more of those oven meals, HONEY TERIYAKI SALMON is the perfect, no-fuss Sunday meal.
Print Recipe
Honey Teriyaki Salmon
Votes: 2
Rating: 4.5
You:
Rate this recipe!
|
|
Votes: 2
Rating: 4.5
You:
Rate this recipe!
|
Instructions
Honey Teriyaki Sauce
In a small saucepan, whisk together soy sauce, 3 Tbsp water, honey, rice vinegar, garlic, ginger & sesame oil. Bring to a boil over medium heat. In a small bowl, whisk together cornstarch with remaining 2 Tbsp water until well combined. Pour into sauce mixture; boil for 1 minute, stirring constantly. Remove from heat & allow to cool slightly about 5-10 minutes.
Salmon & Veggies
Toss broccoli & carrots in olive oil; season with salt & pepper. Cut 4 sheets of 14-inch lengths of parchment paper. Divide broccoli & carrot mixture among sheets layering in center in an even layer. Set aside 1/4 cup of the sauce mixture then brush bottom sides of salmon fillets with a scant tablespoon of the sauce then rotate the salmon over veggies.
Preheat oven to 400 F. Brush tops of salmon with another scant tablespoon of the sauce mixture. Pull sides of parchment inward & seal then roll edges up, leaving a little room for heat to circulate, not wrapping to tightly. Place packets on a baking sheet. Bake until salmon is cooked through, about 25 minutes. Serve with white or brown rice if desired & remaining sauce. Sprinkle with green onions.

From what archaeologists can determine, pita bread originated with peoples west of the Mediterranean. Pitas have been both a bread and a utensil throughout the Middle East and Eastern Mediterranean.It is a rather simple bread that could be made with limited technology. Pitas are cooked quickly at a relatively high temperature. The flat dough expands dramatically to form an interior pocket from steam.
Pitas’ popularity is partially attributed to using the pocket like a sandwich bread. Many traditional cultures use the pita more like a soft taco or the pita is pulled apart into pieces and dipped in a variety of sauces.
The possibilities of being able to pack, dip or wrap whatever you choose in the pita bread is limitless. Their taste can only be appreciated when eating your pita with different foods that will compliment them.
Although pitas are enjoyed all through the year, they seem like an easy summer meal to enjoy.
Print Recipe
Pita Pockets
Votes: 1
Rating: 5
You:
Rate this recipe!
|
|
Votes: 1
Rating: 5
You:
Rate this recipe!
|
Instructions
Filling
In a large skillet, cook beef, onion & green pepper over medium heat until meat is no longer pink; drain. Add the Worcestershire sauce, soy sauce, garlic powder, cumin & Italian seasoning; mix well. Simmer, uncovered, for 5-10 minutes.
Sauce
In a small saucepan, bring all the sauce ingredients to a boil. Reduce heat; simmer uncovered for 5-10 minutes. Spoon meat mixture into pita halves; top with sauce, tomatoes & lettuce.

With the passage of time, Kebabs have managed to find a very significant place in modern day cuisines. Although kebabs have their roots in the Mediterranean and Middle East, they have been able to make their way around the world.
There is something special about warm weather and the smell of grill aromas saturating the air; it just seems to take food to a whole new level.
Tradition has it that kebabs were invented by medieval soldiers who used their swords to grill chunks of freshly hunted animals over open field fires. The word kebab means ‘fry’ but is also synonymous to ‘burning’. The first kebab dates back to 17th century BC, Greece. Akrotiri, a settlement on the Island of Santorini was buried in volcanic ash which preserved the remains of many objects, etc. In 1967, the site was excavated and unearthed stone sets for barbecuing. The stones were carved to resemble long dog-like animals that would have slots for skewers to lay in. These were called ‘firedogs’.
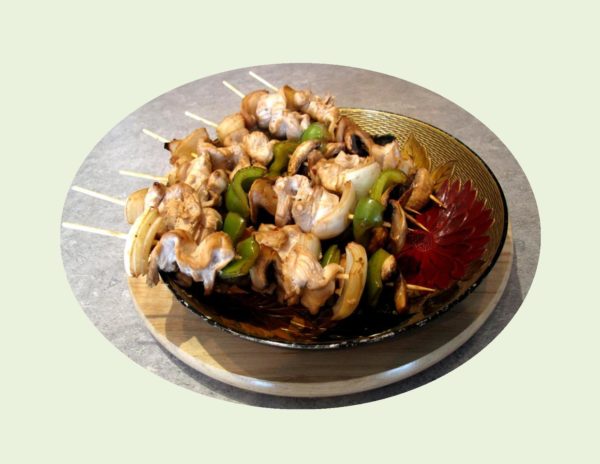
The nice thing about this meal is that its simple and easy. I guess you could say ‘the pizza of the grill’. The picture at the end of the blog is a very common sight we saw in the streets of Ecuador. Brion and I were never brave enough to try them but it sure smelled good in the open air.
I am using chicken breast for my kebabs today. Nothing fancy, just good eating. Enjoy!
Print Recipe
Chicken Kebabs
Votes: 1
Rating: 5
You:
Rate this recipe!
|
|
Votes: 1
Rating: 5
You:
Rate this recipe!
|
Instructions
Cut chicken breasts into 18 lengthwise strips; place in a large resealable plastic bag. In another resealable plastic bag place green peppers, onions & mushrooms.
In a large bowl, combine salad dressing, soy sauce, Worcestershire sauce & lemon juice. Remove 1/3 cup; cover & refrigerate. Divide the remaining salad dressing mixture between chicken & the vegetables; seal both bags & turn to coat. Refrigerate 4 hours or overnight, turning occasionally.
Drain & discard marinade from chicken & vegetables. Alternately thread chicken & vegetables on 18 metal or soaked wooden skewers. Grill over medium heat for 12-15 minutes or until chicken juices run clear, turning & basting with reserved marinade occasionally.
-

Nothing says summer like barbecued ribs — big, bold flavor, finger licking goodness and that fall-off-the-bone texture.
Outdoor cooking is a very popular pastime uniting us with friends, family and of course great food. It seems there is no end to ideas on how to make the best barbecued ribs. I’ve definitely tried my fair share of recipes. One that I found quite unique is for the Korean-style Kalbi ribs.
As in every culture, I’m sure there are many recipes that have been handed down through generations of family members. Korean beef short ribs are cut across the bone (instead of between bones) with 3 bones per slice. The result is a thin strip of meat, about 8-10 inches in length, lined on one side with 1/4 inch thick rib bones. This cut is also known as beef ‘flanken’ ribs.
While in North America, we often braise short ribs for hours in a slow oven, Koreans have a very different approach to cooking this cut of beef. Kalbi is marinated for hours in an Asian inspired marinade and then barbecued for a short amount of time. Kiwi, Asian pears, bottled soda and sugar are all common tenderizing agents used in the marinade for making Kalbi. They are definitely worth a try if you haven’t already.
Print Recipe
Kalbi - Korean BBQ Ribs
Votes: 1
Rating: 5
You:
Rate this recipe!
|
|
Votes: 1
Rating: 5
You:
Rate this recipe!
|
Instructions
Using your hands, massage the short ribs with the kiwi puree. Sprinkle each piece evenly with sugar & let sit while you make the marinade.
In a bowl, mix together soy sauce, garlic, ginger, sesame seeds, sesame oil, honey, red pepper powder, pepper & soda. Place the ribs in a single layer in a wide shallow pan & pour the marinade over, turning to coat. Cover with plastic wrap & marinate in the refrigerator, turning occasionally, for at least 1 hour, or preferably 12 hours.
Preheat barbecue to medium heat with a rack 4-6-inches from heat. Drain ribs from marinade. Reserve marinade for basting, if desired.
Brush the grill rack with oil & grill ribs until they turn caramel brown, 6-8 minutes on each side. Baste with reserved marinade during the first 10 minutes of grilling if you wish.
-
Recipe Notes
- If you prefer, omit the soda & add more sugar or honey for a little extra sweetness.

Lemon chicken is the name of several dishes found in cuisines around the world which include chicken and lemon.
In Canada, we usually either use breading or batter to coat the chicken before cooking it and serving it in a sweet lemon flavored sauce. A completely unrelated dish from Italy, also called lemon chicken is where a whole chicken is roasted with white wine, fresh lemon juice, fresh thyme and vegetables. In France, lemon chicken generally includes Dijon mustard in the sauce and is accompanied by roasted potatoes. I would presume the German version would be a chicken schnitzel with fresh lemon.
Having an inherited love of ‘sweet things’, lemon chicken has always appealed to me. I prefer to make a tempura batter to dip the chicken strips in and then fry them on a griddle. I’m not big on anything deep fried so this is as close as it gets for me. Some years ago I came across a recipe on a kraftfoods.com site for a very unique and easy ‘lemon sauce’ for chicken. It might not appeal to everyone but we enjoy it every so often.
Print Recipe
Lemon Chicken
Votes: 1
Rating: 5
You:
Rate this recipe!
Ingredients
Tempura Batter for Chicken
Ingredients
Tempura Batter for Chicken
|
Votes: 1
Rating: 5
You:
Rate this recipe!
|
Instructions
Stir-Fry Vegetables
Prepare vegetables & saute in 1/2 cup chicken broth until tender-crisp. Drain broth & reserve for later.
Tempura Batter
In a bowl, whisk together all batter ingredients. Slice chicken breast into thin strips & place in batter; mix well. Heat griddle to 325 F. Add a small amount of oil; remove chicken strips from batter & place on griddle. Fry on each side until cooked & golden. Lay on paper towel to blot off oil.
Lemon Sauce
In a small saucepan, combine jelly powder & cornstarch. Add 1 cup chicken broth, dressing, garlic & ginger; stir until jelly powder is dissolved. Simmer over medium heat until sauce is thickened, stirring frequently. Add reserved broth from vegetables.
Combine vegetables chicken & lemon sauce. Serve over hot cooked rice, if desired.

Soups are for all occasions; from an elegant fruit soup at the start of a meal to a stick-to-your-ribs, homemade chowder or gumbo that is a meal in itself.
Homemade soups need need little attention, cooking by themselves. Most soups freeze well so they are an easy supper to pull from the freezer. At our house, we don’t eat a lot of ham but it’s nice once in a while. Even though there are just the two of us, I like to buy about 1.3 kg. This generally gives me enough for three different meals such as a glazed roast ham supper, pizza and a split pea/ham soup.
Split pea soup has been around for thousands of years. There are records of this soup being made and sold by street vendors in Greek and Roman societies.
This particular recipe has a delicious variety of healthful ingredients. Making it a day in advance allows the flavors to develop nicely. Of course, nothing rounds out a soup meal in winter better than a bread item. Warm, parmesan scones or bread sticks seem to be our favorites since they can be made and baked in about half an hour just before suppertime.
Print Recipe
Ham & Split Pea Soup / Parmesan Scones
Votes: 1
Rating: 5
You:
Rate this recipe!
|
|
Votes: 1
Rating: 5
You:
Rate this recipe!
|
Instructions
Ham & Split Pea Soup
In a large stockpot, combine water, split peas, barley, bay leaves, soy sauce, garlic, salt, pepper, thyme, sage, & cumin; bring to a boil. Reduce heat, cover & simmer for about 45 minutes. Add onion & chicken broth. Cover & simmer until onion is tender, about 10 minutes. Discard bay leaves & stir in diced ham.
Parmesan Scones
Preheat oven to 350 F. Line baking sheet with a small piece of parchment paper. In a small bowl, combine flour, parmesan, baking powder & soda. With fingers, work in margarine until mixture resembles coarse crumbs. Stir in sour cream OR buttermilk until a soft dough forms; gently kneading until no longer sticky.
Place ball of dough on the parchment paper & press into a 5" (12.7 cm) circle about 3/4" (1.9 cm) thick. Score top to make 6 wedges. Bake for about 20-25 minutes. Re-cut into wedges & serve.
