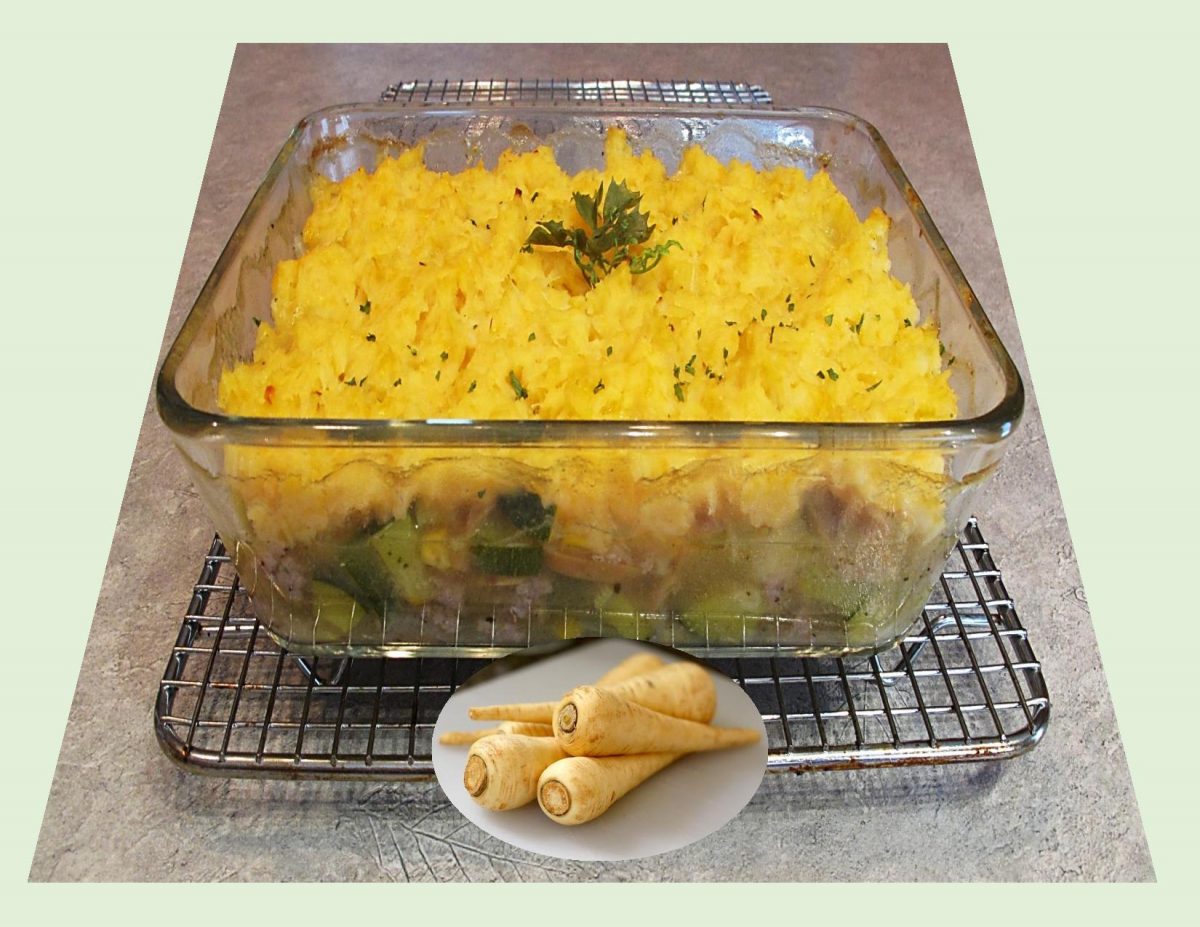
Parsnips are one of those vegetables that very often gets over looked as being bland and tasteless. The unassuming parsnip has neither carrots’ obvious sweetness or potatoes mashable, fryable, butter-loving appeal.
I’ve always loved their sweet, mellow, complex flavor. To me, parsnips have a taste reminiscent of hazelnuts, cardamom and a gentle peppery spice. They are at their best after a few autumn frosts, which converts the tuber’s starches into sugar. In fact, if they are left in the ground over winter and dug at the first sign of spring, parsnips are nearly as sweet as carrots.
Over the years, I have used them in many different applications. Pork with parsnips is a common savory pairing but grating them into breads and spice cakes is equally good. Making cakes with vegetables used to be a necessary economy, while today we use it as a way to improve the quality and it adds a range of flavors we’d forgotten about.
Using some fresh root veggies at this time of year seems to be a good choice. This cheesy parsnip bake makes such a flavorful meal.
Print Recipe
Pork & Cheesy Parsnip Bake
Votes: 1
Rating: 5
You:
Rate this recipe!
|
|
Votes: 1
Rating: 5
You:
Rate this recipe!
|
Instructions
Parsnips
Peel parsnips & cut into chunks. Cook in salted boiling water until they are tender, about 20 minutes.
Casserole
In saucepan, heat oil & sauté onion until tender crisp. Add the mushrooms & cook gently for an additional 5 minutes. Stir in pork & fry, breaking it up as it cooks, until lightly browned.
In a small container, combine vegetable broth with cornstarch. Carefully add to meat mixture, stirring until it starts to thicken. Add extra broth if needed. Stir in chopped zucchini & cover. Turn heat to low & cook gently while preparing the parsnip topping.
Turn oven on to broil. When parsnips are soft, mash thoroughly. Stir in butter, milk & grated cheese. Spoon pork mixture into an ovenproof dish. Evenly spread the cheesy parsnip mixture on top. Place under a broiler until the topping starts to brown. Serve immediately.

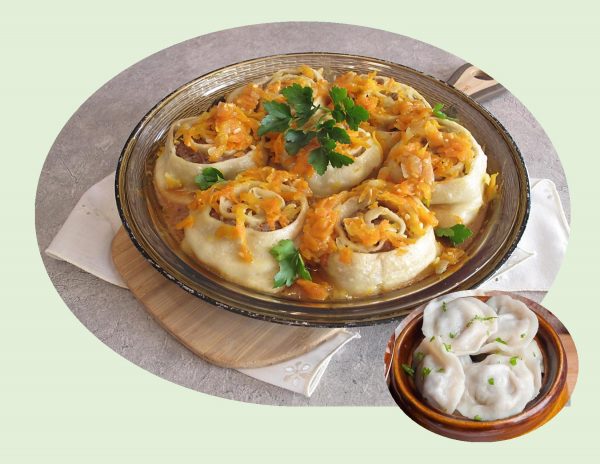
My love for noodles, dumplings, etc. probably could be accredited to my German heritage. This recipe for Russian pelmeni has been hovering in my ‘must try’ file for quite some time, so today’s the day.
It seems most food historians agree that these Russian dumplings originated in Siberia. Although pelmeni forms the heart of Russian cuisine and culture, it does have numerous look-a-likes in particular the Ukrainian vareniki and the Polish pierogi. The easiest way to spot the difference is to look at the shape and size; a typical pelmeni is almost circular and about two inches in diameter. The other forms are usually more elongated and larger in size. Also, the fillings in pelmeni are usually raw, while the fillings of vareniki and pierogi are typically precooked. Pelmeni will never have a sweet filling , unlike its Ukrainian counterpart. The recipe may actually be an adaptation of Chinese pot stickers.
Fillings differ but essentially they are ground meat (pork, beef or sometimes lamb), fish or mushrooms as well as being quite spicy.
The word pelmeni comes from ‘pelnyan’ which means ‘bread ear’, a reference to the food’s ear-like shape.
Although this meal was favored by hunters who were looking for light, easy to prepare, nourishing food to take with them on long trips in the winter, its also seen as Russian fast food among students or bachelors.
This recipe gives you the option of making traditional pelmeni or using an alternate method called ‘lazy’ pelmeni. Both equally as good.
Print Recipe
Russian Pelmeni
Votes: 1
Rating: 5
You:
Rate this recipe!
Ingredients
For Cooking 'Lazy' Pelmeni
Ingredients
For Cooking 'Lazy' Pelmeni
|
Votes: 1
Rating: 5
You:
Rate this recipe!
|
Instructions
Dough
In a bowl, combine all dough ingredients & knead until a smooth dough ball forms, about 10 minutes. Cover, set aside & allow dough to rest until your filling is prepared.
Filling
In a bowl, combine ground meats, onion, garlic, salt & pepper. Mix well.
Assembly
FOR THE TRADITIONAL PELMENI:
Divide the dough in half & roll each portion out into 1/8-inch thickness on a lightly floured surface. Cut into 2-inch diameter circles & place about a teaspoon of the filling on each circle. Fold the circle in half & crimp edges well, then bring the ends together & crimp. Repeat to use remaining dough & filling. It is best to refrigerate or freeze finished pelmeni before you are ready to boil them.
To cook, bring a large pot of salted water to a boil. Place pelmeni in the boiling water & cook until they float to the top then cook for about 5 minutes more. Remove with a slotted spoon to a bowl. Add butter & mix to coat. Serve with sour cream & fresh parsley.
FOR 'LAZY' PELMENI VERSION:
Once dough has rested, transfer to a floured surface. Roll out the dough into a large thin rectangle. Spread meat filling over the dough, leaving a 1/4-inch at the far side of the dough.
Tightly roll the dough up, starting from the wider side, forming a log. Put seam side down to seal the edges. Seal ends of the dough as well. Using a very sharp knife, cut the dough log into 2-inch sections.
In a large skillet that will accommodate all pelmeni, heat oil & cook onion until translucent. Add garlic & continue cooking until fragrant. Add carrot & 1 bay leaf; cook until the carrot is tender, about 1-2 minutes.
Place pelmeni rolls into the skillet with veggies, add the vegetable broth, salt, pepper & the other bay leaf. Cover with the lid & cook for 30 minutes on low heat. Check pelmeni from time to time, to make sure there is liquid in the skillet. Add more if it evaporates too fast. Garnish with fresh parsley. Serve immediately with sour cream if you wish.
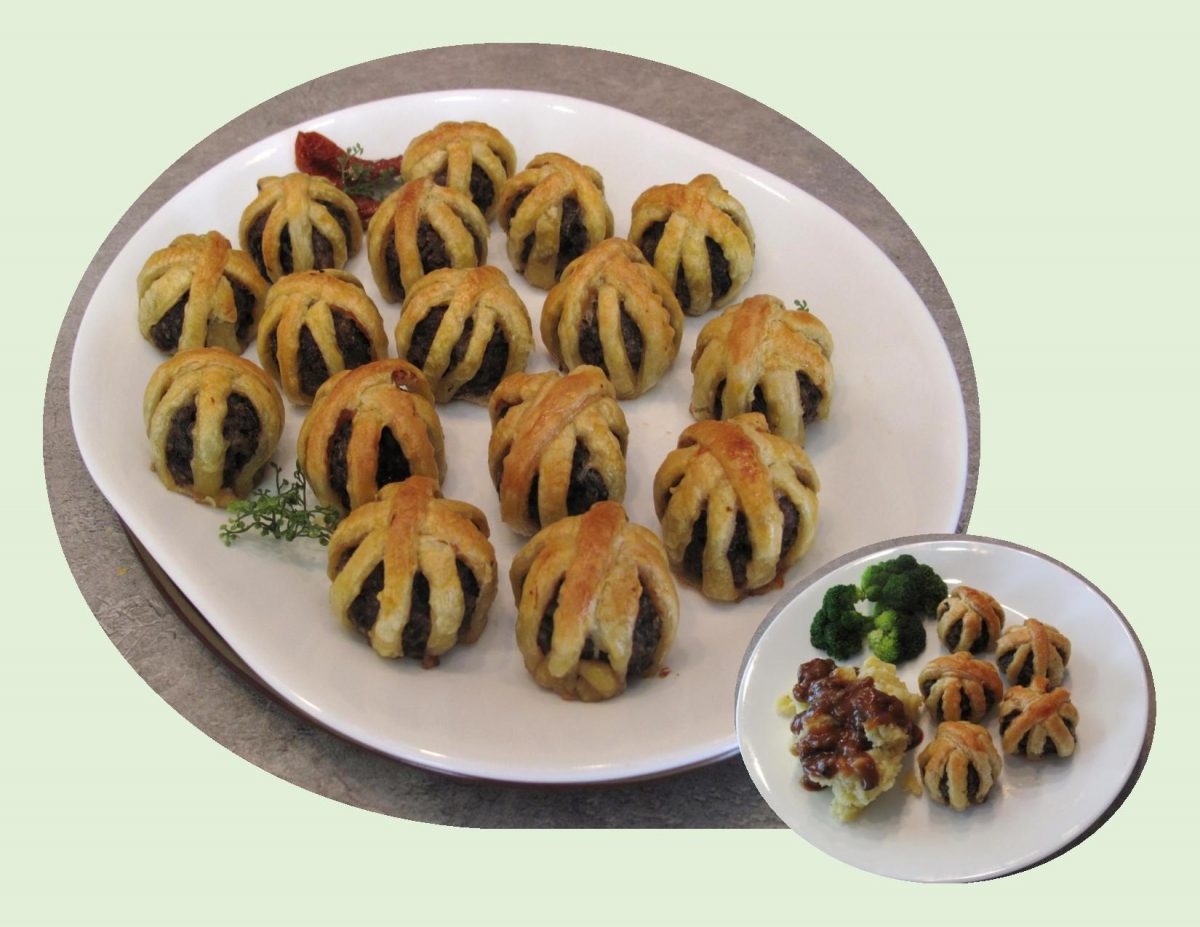
Meatballs don’t have to be boring. Tender, juicy meatballs, wrapped in puff pastry and served with a zesty sauce makes an easy, inexpensive version of the classic beef wellington.
Economical and versatile, cooking with ground meat opens up plenty of avenues for experimenting. Beyond reliable beef, almost all meats can be ground, but each kind of meat should be treated differently to fully enjoy the benefits.
Consider the fat content of ground meat before you buy. Some fat content is desirable as it adds flavor and helps to keep meat moist during cooking. Choose different types of ground meat for specific dishes. For example …. fatty beef makes juicier burgers but leaner ground turkey or chicken works better served as smaller meatballs or in a sauce. Ground pork makes for a cheaper burger than beef, plus it is unlikely to dry out. Flavor pork with spices like mace, or herbs like sage, thyme and fennel seeds and of course always ensure its cooked through. Ground meat is one of those things that generally ‘you get what you pay for’.
These meatballs make a tasty meal that can be ‘dressed up or down’, depending on what it is served with.
Print Recipe
Meatball Wellington
Votes: 1
Rating: 5
You:
Rate this recipe!
|
|
Votes: 1
Rating: 5
You:
Rate this recipe!
|
Instructions
In a skillet over medium heat, melt butter. Saute mushrooms, onion & garlic until onions & garlic are soft & most of the moisture has been released from the mushrooms, about 3-5 minutes. Set aside to cool.
Preheat oven to 400 F. Line a baking tray with parchment paper.
In a large bowl, combine cooled veg mixture, pork, breadcrumbs & seasonings; mix all ingredients until incorporated. Shape mixture into 1 1/2-inch meatballs.
Cut thawed puff pastry into thin strips. Wrap each meatball with a few strips of the pastry & place on the baking sheet. Brush pastry with egg wash.
Bake 25-30 minutes or until golden & meat is cooked through. Remove from oven & place on serving platter. These are nice to serve with steamed broccoli, mashed potatoes and mushroom gravy.

That expression, ‘what’s old is new again’, definitely can be applied to so many things in today’s world. Very often, when you think you have come up with a new idea its really just a modernized version of an old one.
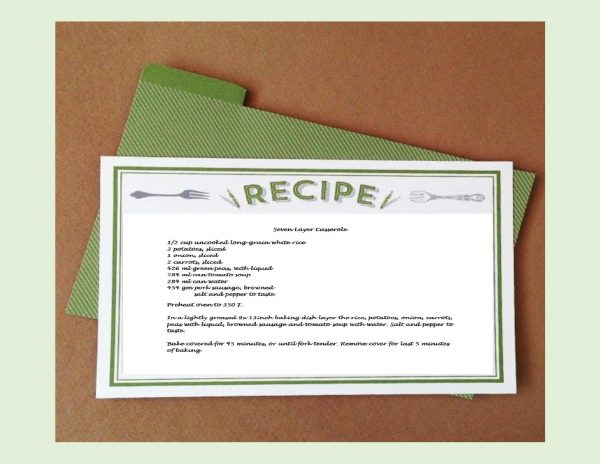
As I’ve probably mentioned before, Brion & I really enjoy casseroles. I happened to recall a casserole that was published in Good Housekeeping in 1958. My mother made a version of it at that time. Being mostly vegetables, it had such a nice flavor. It was called Seven Layer Casserole consisting of vegetables, rice, tomato soup and sausage or ground meat.
With that ‘taste of a memory’ in mind, my recipe development turned into a savory layered casserole. I used vegetables, rice, cheese and ground pork with a layer of puff pastry. When you prepare it, the sheet of puff pastry is on top so it gets crispy, but when it is baked, you flip it over and it becomes a bottom crust.
Of course, we are talking about frozen puff pastry here. It seems it has become a supermarket staple, delivering all the glories of puff pastry without all the hard hours of work. This is a convenience food that’s perfectly useful for cooks of all skill and commitment levels.
All this talk of frozen puff pastry probably seems odd coming from someone who has made a living in the food industry. But lets face, to make it from scratch is either a labor of love or a sign of madness depending on who you are. So here’s my remake of that vintage 7-layer casserole.
Print Recipe
Savory Layered Puff Pie
Votes: 1
Rating: 5
You:
Rate this recipe!
Ingredients
- 1 cup cooked rice
- 2 Tbsp butter, divided
- 1 medium onion, diced small
- 454 gm ground pork
- 2 Tbsp water
- 1 tsp salt
- 1 tsp rubbed sage
- 1/2 tsp pepper
- 1/8 tsp red pepper flakes, crushed
- pinch of ground ginger
- 284 ml mushrooms, sliced, drained
- 300 gm cheese, shredded ( I used a combo of mozzarella, Parmesan & cheddar)
- 100 gm young green beans, frozen
- 1 sheet frozen puff pastry, thawed
- 1 egg plus 1 Tbsp water, beaten for egg wash
|
Votes: 1
Rating: 5
You:
Rate this recipe!
|
Instructions
Cook rice. In a skillet, saute onion in 1 Tbsp butter for a few minutes. Add ground pork, water & seasonings; scramble-fry until cooked. Drain well & remove from skillet. Add another Tbsp of butter to skillet & saute drained mushrooms then blot on paper towel.
Grate cheese combo of choice. Preheat oven to 375 F. Line casserole baking dish with foil & butter.
Start layering with mushrooms, cheeses, rice, meat/onion combo & frozen green beans. Top with puff pastry. Cut a few slits in the pastry for vents. Brush with egg wash.
Bake for about 30-40 minutes or until pastry is golden. Remove from oven & allow to stand for about 15-20 minutes then invert on a serving plate. Remove foil paper & cut into serving pieces. If you wish, serve the casserole with a brown gravy.
-
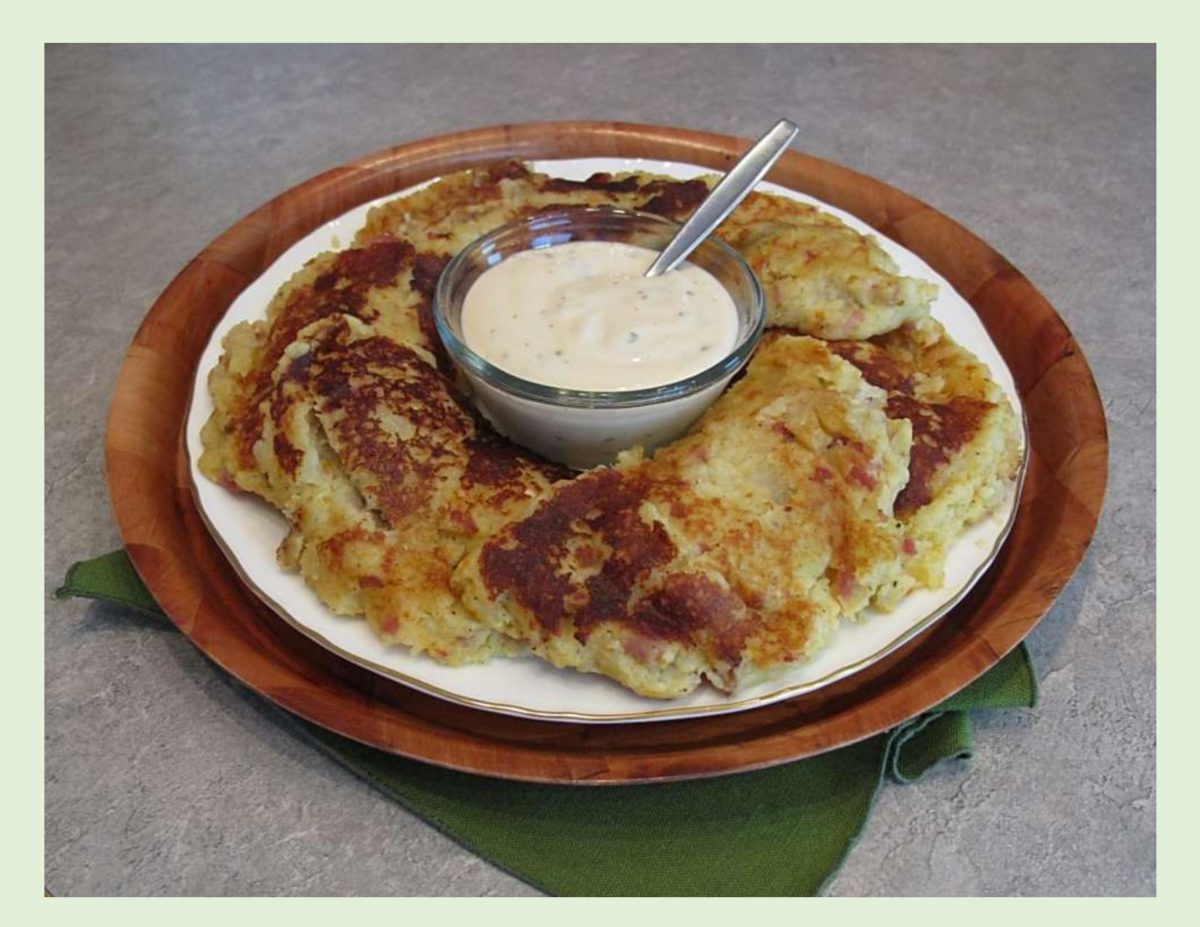
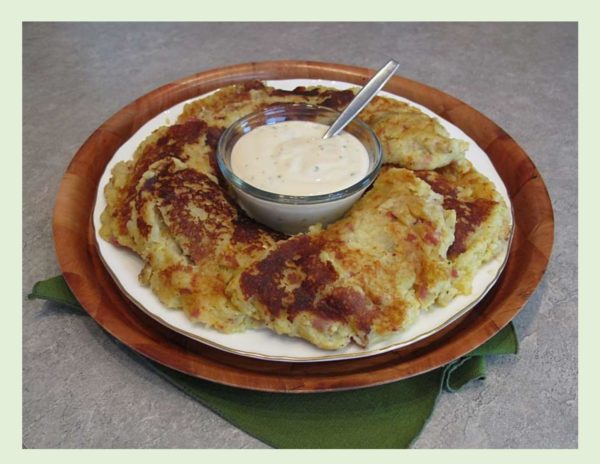
Potato pancake variations are present in National cuisines all over the world and considered by many to be pure comfort food. The nice thing is, you can create this great meal by using leftover mashed potatoes. It can be kept simple or you can amp up the flavor with cheese, onion, bacon or a variety of spices. I recall my mother making them. I think she just added some eggs, onion, a bit of flour and some salt & pepper to the leftover, mashed potatoes. They were made into patties and pan fried as you would a pancake.
Depending on which part of Eastern Europe you come from, the name varies — Kolduny, Zrazy, Kartoffelpuffer are just a few. Regardless of the name you call them, they are just simply delicious. The Russian version takes it a bit further. The potato pancake is stuffed with a filling and then fried to a golden brown.
After reading through numerous recipes, I decided to ‘meld’ some of them into my own creation. These are what developed — nothing pretty but really good flavor. Yes, truly comfort food.
Print Recipe
Potato Pancakes w/ Pork Filling
Votes: 1
Rating: 5
You:
Rate this recipe!
|
|
Votes: 1
Rating: 5
You:
Rate this recipe!
|
Instructions
Pork Filling
-
In a bowl, combine pork filling ingredients; divide into 8 portions & form each into a patty shape. Refrigerate until potato pancake 'batter' is prepared .
Potato Pancakes
-
In a skillet, fry bacon until crispy; drain on a paper towel until cool. In skillet with remaining bacon grease, saute onion & garlic until translucent.
-
In a large bowl, crumble bacon into small bits. Add cold mashed potatoes, onion, garlic, beaten egg, cheddar (if using), flour, salt & pepper. Combine well. Using a large piece of waxed paper, form 16 patties. On top of each one, place one of the pork patties & then top each with the remaining potato patties. With a pair of scissors, cut waxed paper to separate filled potato pancakes so it will be easy for you to place them on a griddle for frying.
-
Lightly oil a frying pan or griddle. Using the waxed paper remaining under each pancake, carefully flip each filled pancake onto the griddle. Flatten a bit & press edges to enclose filling better. Fry first side to a nice golden brown then carefully flip with a spatula & brown second side a few minutes. Cover with a lid (or foil) for remaining cooking time to ensure pork is cooked through.
-
Once cooked, remove from griddle & serve with sour cream or Ranch dressing.
Recipe Notes
- Don't hesitate to make the pancakes the size that works best for you.
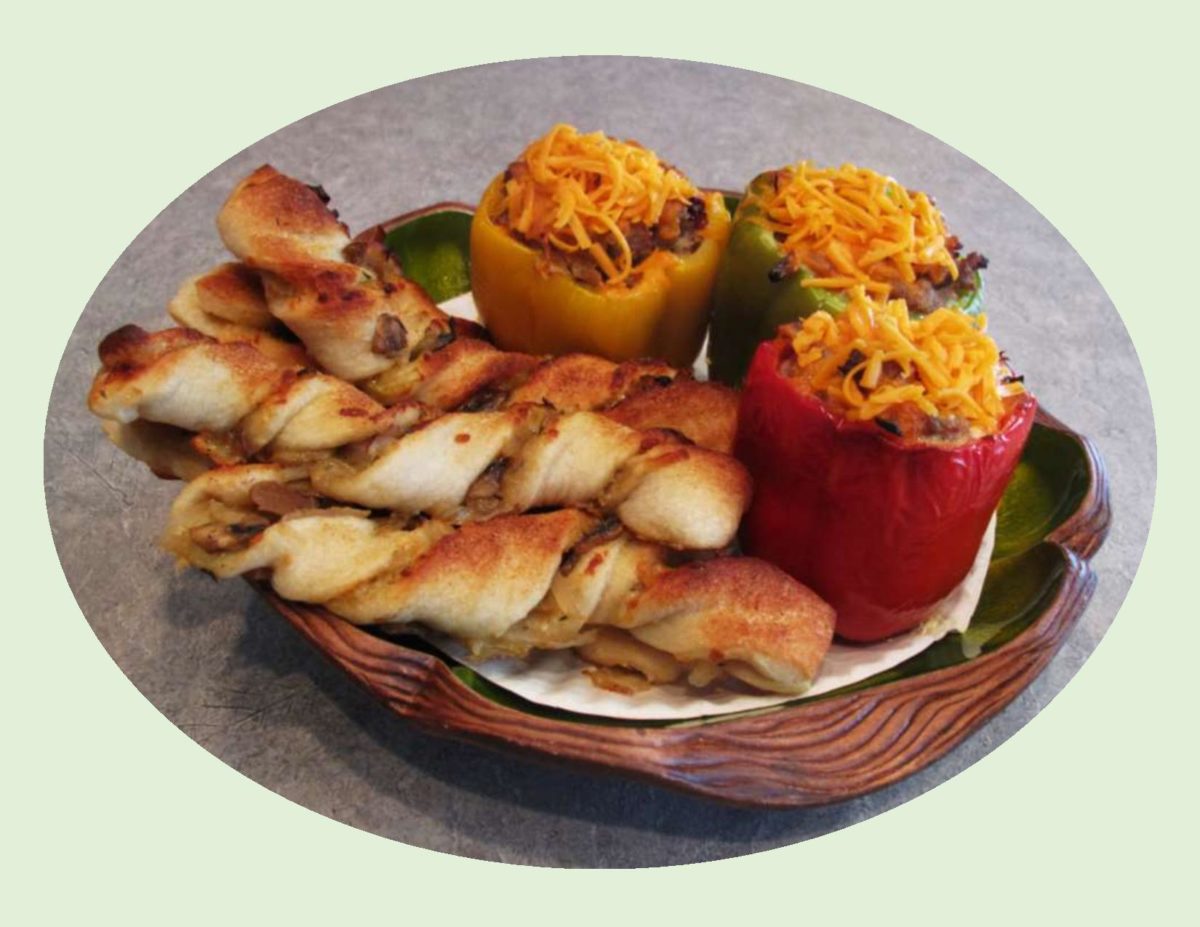
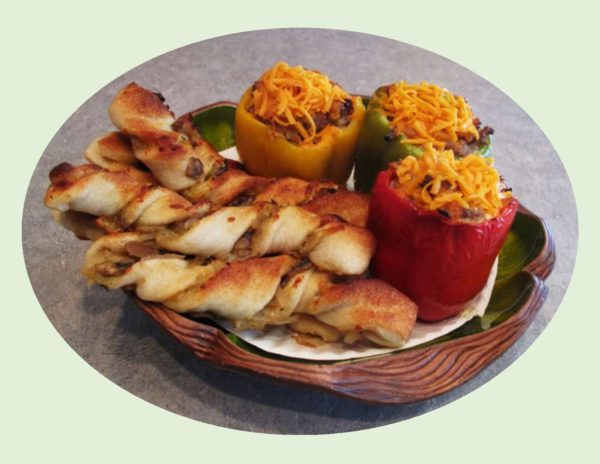
When I think of stuffed peppers, quiche never ever came to mind. I have always enjoyed quiche anytime of day, with or without crust. The idea of using a pepper as your ‘crust’ certainly puts a new twist on the traditional quiche.
I wanted to make these pepper cups for a supper meal and since there was no pastry involved here, bread sticks seemed like a good accompaniment.
Quiche is like making pizza– there are no limits to what the filling can consist of. For our meal today, I just put together a variety of items I had on hand for both the quiche and bread stick twists. It turned out to be real enjoyable and so easy.
Print Recipe
Pork & Pepper Quiche Cups w/ Onion Mushroom Twists
Votes: 1
Rating: 5
You:
Rate this recipe!
|
|
Votes: 1
Rating: 5
You:
Rate this recipe!
|
Instructions
Onion-Mushroom Twists
In a skillet, saute mushrooms & onion in butter until tender. Add thyme & salt; cook 1 minute longer or until blended. Remove from heat & cool slightly. Roll pizza dough into a 16 X 8-inch rectangle. Sprinkle cheese on half of the dough, then top cheese with HALF of the mushroom/onion mixture. Fold un-topped half of dough over topped side; slice into 8 strips to form twists.
Preheat oven to 375 F. Line a baking sheet with parchment paper. Carefully lift & twist each strip before placing on baking sheet. Sprinkle with garlic powder & salt to taste. Bake 12-15 minutes or until golden brown.
Pepper Quiche Cups
In a skillet, place ground pork, water, salt, rubbed sage, black pepper, red pepper flakes & ground ginger. Stir-fry until no longer pink. Remove from heat & drain on paper towel. Chop sun-dried tomato pieces & shred cheese.
In a large measuring cup with a spout, place 1/2 & 1/2 milk, salt & pepper. Add eggs & beat well. Remove stems, seeds & membrane from peppers & stand in a roasting dish that will hold them upright & level. Divide cooked pork, remaining mushroom/onion mixture & sun-dried tomatoes.
Top each pepper with some grated cheddar, then carefully pour in the milk/egg mixture. Bake until eggs are set. If you prefer, 'float' a piece of foil over peppers for the first part of the baking time. It will help the cheese not to over bake.
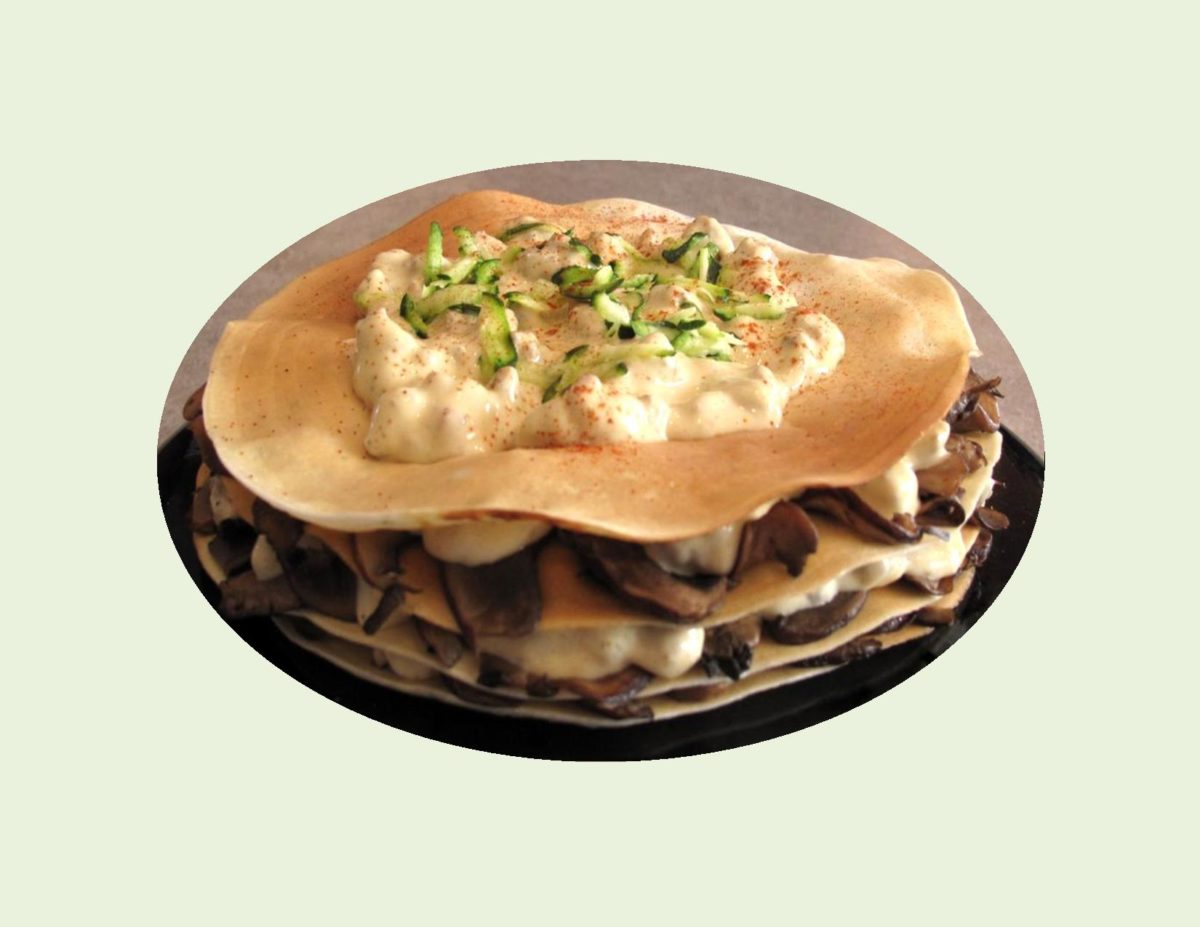
Savored for centuries, crepes are popular not only throughout France but worldwide. Crepe making has evolved from being cooked on large cast- iron hot plates heated over a wood fire in a fireplace to pans or griddles that are gas or electrically heated.
Around the 12th century, buckwheat was introduced to Brittany, France from the east. Buckwheat could thrive on the desolate, rocky Breton moors and was high in fiber, protein and essential amino acids. At that point, all crepes were being made from buckwheat flour. White flour crepes appeared only at the turn of the 20th century when white flour became affordable.
Almost every country in the world has its own name and adaptation of crepes including Italian crespelle, Hungarian palacsintas, Jewish blintzes, Scandinavian plattars, Russian blini and Greek kreps.
Although crepes are simple in concept, by creating fillings that are complex in flavors, takes this entree to a whole new level.
On July 25/2016, I posted a blog featuring both sweet and savory crepes you might enjoy to read. For something different today, I made ‘crepe stacks’ which have a savory filling of my own ‘design’. Hope you find time to make some.
Print Recipe
Savory Portobello & Pork Crepe Stacks
Smoked Gouda cheese gives such a nice flavor to these crepes.
Votes: 1
Rating: 5
You:
Rate this recipe!
|
|
Votes: 1
Rating: 5
You:
Rate this recipe!
|
Instructions
Crepes
In a large container with a cover, beat eggs well on medium speed. Gradually add dry ingredients alternately with milk & oil. Beat until smooth. Refrigerate at least 1 hour before cooking.
Gouda Sauce
In a saucepan, melt margarine; add flour while stirring for a couple of minutes. Gradually whisk in milk, chicken broth & spices. Add cheese; cook, stirring until cheese is melted. Set aside to cool slightly then place in food processor. Process until smooth & fluffy.
Filling
In a bowl, combine water & seasonings. Add ground pork & mix well. In a skillet, saute mushroom slices in margarine; remove from skillet & set aside. Scramble fry pork until no longer pink. Spoon onto paper towels to drain. Add to Gouda sauce.
To Assemble:
Place one crepe on each dinner plate. Top with slices of sauteed mushrooms & some pork/Gouda sauce. Repeat 3 more times on each plate. Garnish if you prefer. It may be necessary to reheat for a couple of minutes in the microwave before serving.


