Sweet & Sour Cabbage Casserole

Stuffed cabbage rolls are a unique blend of various flavors. The art of seasoning is about far more than adding a few grinds of salt and pepper. It’s more about sorting out the sweet, sour, savory and bitterness balance.

Food history tells us cabbage rolls have their roots in the ancient Middle East and spread to Eastern Europe as trade routes flourished with various ethnic groups migrating. Many countries lay claim to their origin, which accounts for the several interesting versions on the traditional recipe. For example:

Ukrainian holubtsi  are typically vegetarian, filling pickled cabbage leaves with either buckwheat and wild mushrooms or a mixture of whole grains and root vegetables, braised in tomato juice or vegetable stock served with perogies.

Poland’s golabki, translating to ‘little pigeon feet'(named after the French dish that wrapped cabbage around cooked pigeon), stuffs the leaves with pork, beef, rice or barley, accompanied by sour cream and sweet paprika.

Romanian sarmale combines ground pork, caramelized onions and rice nested in a pickled sauerkraut leaf, then smothered in dill and tomato sauce. It is often topped with bacon or smoked sausage.

The Asian variation wraps Chinese cabbage around seafood blends, tofu and shiitake mushrooms.

Egyptian mahshi kromb are simmered in an aromatic tomato-based sauce with mint, cumin and other Middle Eastern herbs and spices.

Jewish holishkls are a combination of ground beef, rice and raisins enveloped in cabbage leaves and simmered in a sauce of brown sugar, lemon and tomatoes.

Today’s blog recipe gives you some of those same traditional flavors without the fuss of rolling the cabbage and meat. Brion and I really enjoy this particular version. Of course, it’s a given that most recipes will always need tweaking to account for the different cooking conditions and personal tastes.

Print Recipe
Sweet & Sour Cabbage Casserole
Votes: 1
Rating: 5
You:
Rate this recipe!
Servings
Votes: 1
Rating: 5
You:
Rate this recipe!
Instructions
  1. Remove 5 large leaves from a head of cabbage; steam until tender. When cool enough to handle, roll up & cut into 1/2" slices; set aside.
  2. In a large bowl, combine beef, cooked rice, minced garlic, egg, breadcrumbs, salt, pepper & 2 Tbsp parsley.
  3. In a large saucepan, heat oil. Cook onion & chopped garlic for a couple of minutes until fragrant but not brown.
  4. Add sugar, lemon juice, tomatoes & pineapple juice; bring to a boil. Add 2 Tbsp parsley & cook for 15 minutes, breaking up tomatoes with spoon. Season with salt & pepper.
  5. Preheat oven to 350 F. Line a 2 L casserole with 1/3 of the cabbage slices. Spread with half of the meat mixture & 1/3 of the sauce. Repeat with cabbage, meat & sauce. Top with remaining cabbage & sauce.
  6. Bake for about 1 1/2 hours until a meat thermometer reads at least 160 F. Sprinkle with remaining 2 Tbsp parsley & allow to rest for 10 minutes before serving.

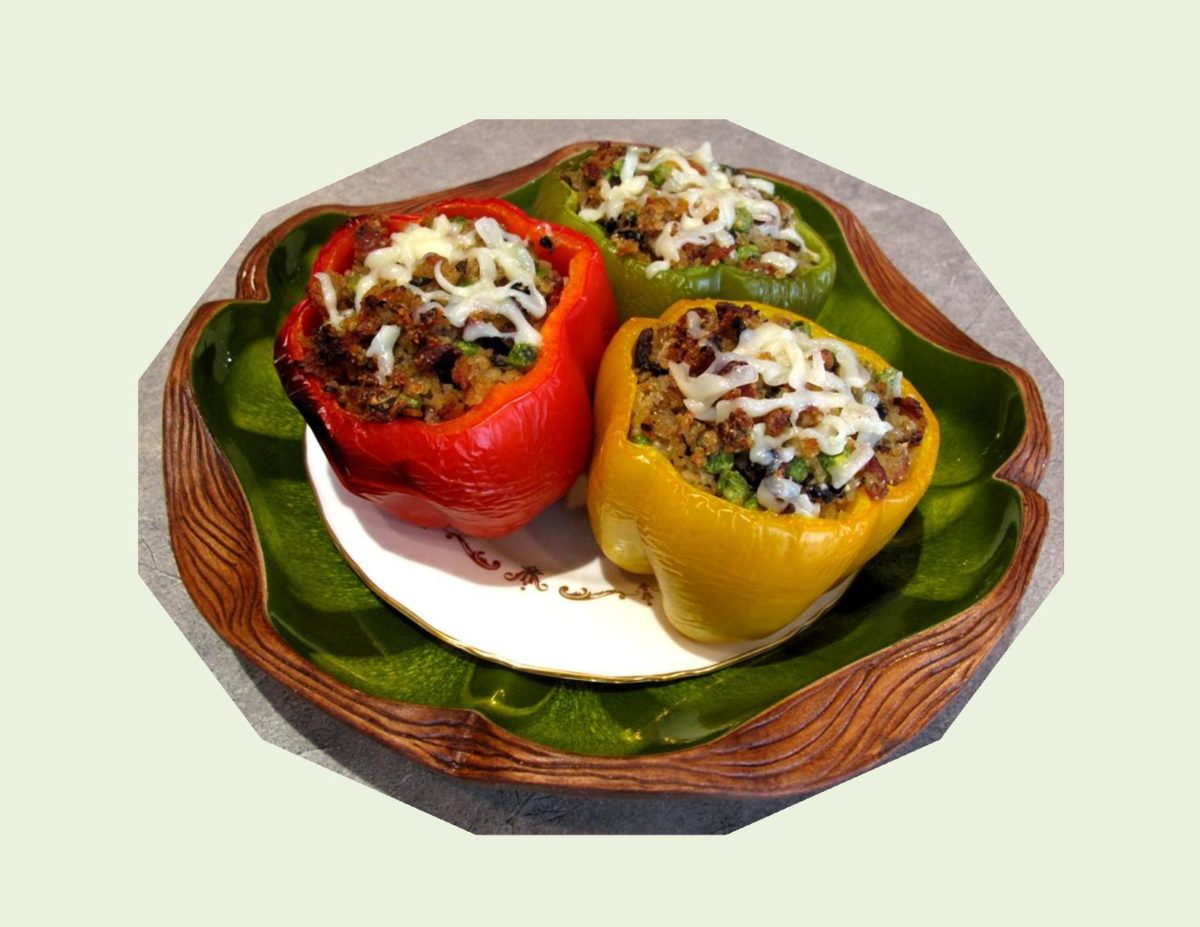
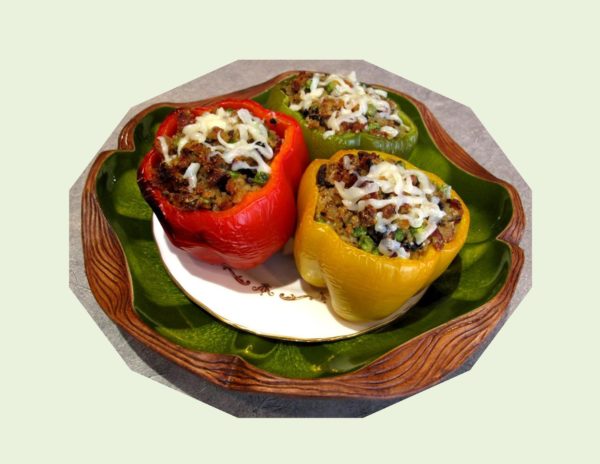
Peppers Stuffed with Bacon Risotto

One of the most interesting facets of the culinary revolution is our growing fascination with culinary history. It seems the more I learn about the ethnic melting pot that makes up our dinner table, the more curious I become about regional cuisines and the origin of specific dishes.

Stuffed peppers probably go further back than the 1890’s. Many cuisines around the world have a traditional stuffed pepper that has been passed down for generations. Here’s a few I found interesting:                                             Denmark:     Fyldte Peberfrugter – Bell pepper stuffed with bulgur,  mushrooms and kale                                                                                                          Hungary:     Toltott Paprika – Bell pepper stuffed with ground meat, rice and paprika. Served with sour cream.                                                                      India:            Bharawn Shimla Mirch – Bell pepper stuffed with spiced mashed potatoes                                                                                                                   Korea:          Gochu Jeon – Chili peppers stuffed with tofu                                   Mexico:       Chili Rellenos – Poblano pepper stuffed with carnitas meat, kielbasa and topped with cheddar cheese                                                            Phillippines: Pandak na tao pinalamanan peppers – – Bell peppers stuffed with shrimp, pork and water chestnuts                                                             Romania:     Ardei Umpluti – Bell peppers stuffed with pork and rice and served in a creamy sour cream sauce                                                                         Spain:            Pimientos Rellenos de Arroz con Salsa de Tomatoes – Bell pepper stuffed with Valencia or arborio rice and saffron, then cooked in a tomato sauce                                                                                                                            Tunisia:        Fil Fil Mashsi – Bell pepper stuffed with lamb, rice and sprinkled with nutmeg, saffron and cardamom                                                              United States & Canada:  Classic Stuffed Peppers – Bell pepper stuffed with ground beef, rice and cooked in a tomato sauce

The recipe today, pairs flavorful bacon risotto with colorful sweet bell peppers. The fact that they can be frozen for up to 6 months sure makes for an easy meal on a busy day.

Print Recipe
Peppers Stuffed with Bacon Risotto
Instructions
  1. In a large saucepan, cook bacon over medium heat until crisp. Lay on paper towels, reserving 1 Tbsp of the bacon drippings in saucepan; set aside. Cook onion & mushrooms in drippings until tender; add rice, cook & stir 2 minutes more. Carefully stir in broth; bring to boiling & reduce heat. Simmer, covered, about 20 minutes or until liquid is absorbed. Remove from heat; stir in bacon & peas. Let stand, covered for 5 minutes. Stir in cheese. If desired, season with salt & pepper to taste.
  2. Preheat oven to 375 F. Cut large peppers in half lengthwise. Remove membranes & seeds. Spoon risotto mixture into peppers. Place in a shallow baking dish. Cover with foil; bake, covered, for 30-45 minutes or until heated through. If desired sprinkle with shredded mozzarella cheese. Serve with heated zesty pasta sauce.
Recipe Notes
  • Can be chilled for up to 12 hours then baked for 50-55 minutes.
  • Can be frozen for up to 6 months then baked (frozen), covered, about 1 hour or until heated through.

European Easter Bread

The aroma of Easter bread baking certainly brings back precious childhood memories. What I recall about my mother’s Easter bread, was that it was a dense, mildly sweet & a very egg rich bread. It was always baked in round ‘cans’ and the taste was unforgettable.

Nearly every country around the world has a traditional Easter bread. Each one is different in some way, a mix of symbolism and satisfying taste. They represent a continuity of traditions from centuries past, including much earlier pre-Christian times. Often these rich, yeasted breads are made in symbolic shapes and are elaborately decorated.

Germany and Austria make several shapes such as : Osterzopf – Easter braid, Osterkranz – Easter wreath or crown, Osternester – Easter nests, Eierimnest – Easter egg nest, Striezel – stacked braided bread.

That being said, I couldn’t resist doing a little ‘version’ of my own. I started with my favorite sweet yeast bread, added some anise flavor and a cream cheese filling. So now you have German osterkranz, Italian panettone and Romanian pasca all in one beautiful EUROPEAN EASTER BREAD.

Print Recipe
European Easter Bread
A heavenly creation!
Votes: 1
Rating: 5
You:
Rate this recipe!
Servings
Ingredients
Bread Dough
Glaze
Servings
Ingredients
Bread Dough
Glaze
Votes: 1
Rating: 5
You:
Rate this recipe!
Instructions
  1. In a large bowl, whisk yeast & sugar into lukewarm water; let stand about 10 minutes. With an electric mixer, beat together 3/4 cup sugar, eggs, oil, anise extract, lemon zest, lemon extract, salt & anise seed. Combine egg mixture, melted butter & milk with yeast mixture.
  2. Add 4 CUPS flour, 1 cup at a time to wet mixture. Stir well after each addition. Turn dough out onto a floured surface & knead until smooth & elastic, about 5-6 minutes, adding remaining 1/2 cup flour if necessary.
  3. Coat a large bowl with oil. Place dough in bowl & turn to coat. Cover with plastic wrap & set in a warm place to rise until it doubles in bulk. Meanwhile, cut a piece of parchment paper big enough to cover the bottom & go up the sides of a 10" spring form pan. When dough has risen enough, cut into four pieces.
  4. On the parchment paper, press one piece of the dough into a circle measuring about 10" in diameter. Sprinkle with 1/3 of the mixed peel, leaving a gap at the edge. Press out second piece of the dough on a lightly floured piece of wax paper, place it on top of the first layer & sprinkle with another 1/3 of mixed peel. Repeat with the third & fourth pieces of dough but do not sprinkle mixed peel on the final layer.
  5. Place a glass tumbler on top of the center of the dough circles. Cut dough into 16 segments, starting a the edge of the glass. Lift & twist them away from each other through 180 degrees. Lift & twist through 90 degrees so that the ends are vertical. Press the edges together firmly. Repeat this process with all pairs of segments. Leave glass sitting on top at the center of the circle to form an indentation for the cheese filling. Cover with plastic wrap & set in a warm place to rise for about 1/2 an hour.
  6. Preheat oven to to 325 F. In a bowl, place cream cheese, eggs, sugar & vanilla; mix well. When bread has risen, remove glass & fill indentation with cheese mixture. Bake for about 40-45 minutes. Allow to cool. Brush with honey/water glaze. Sprinkle with powdered sugar.