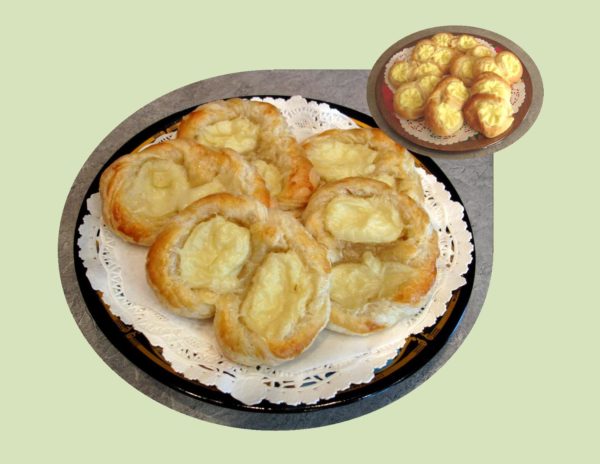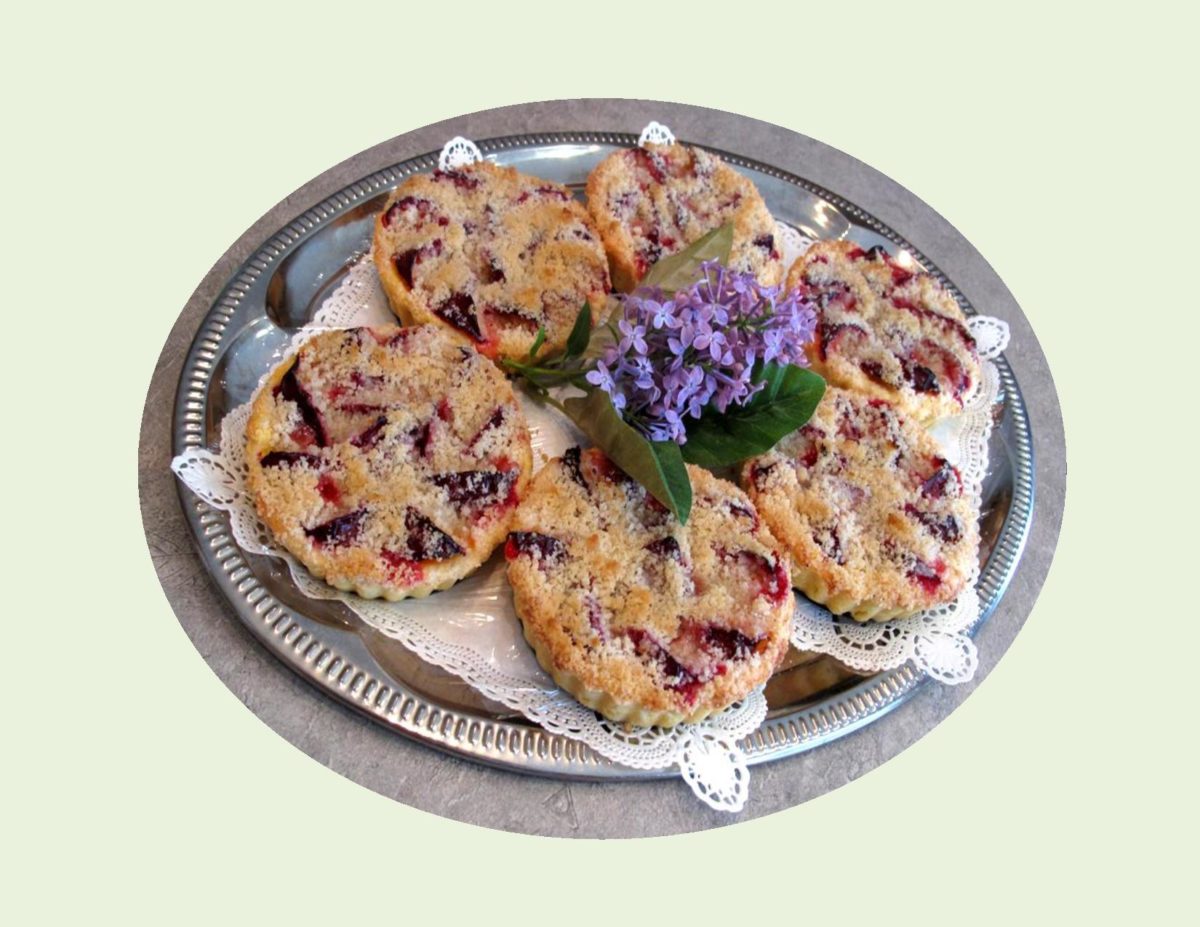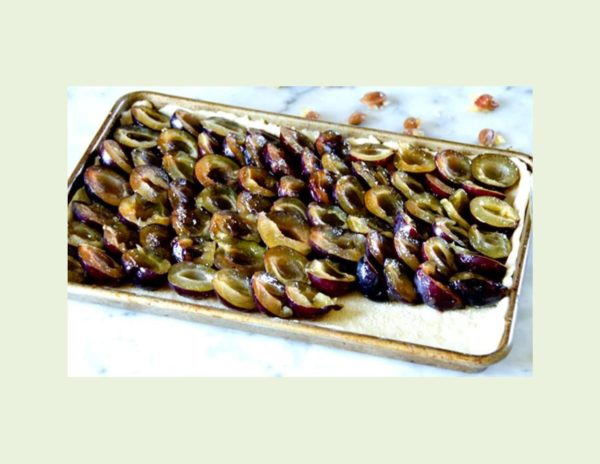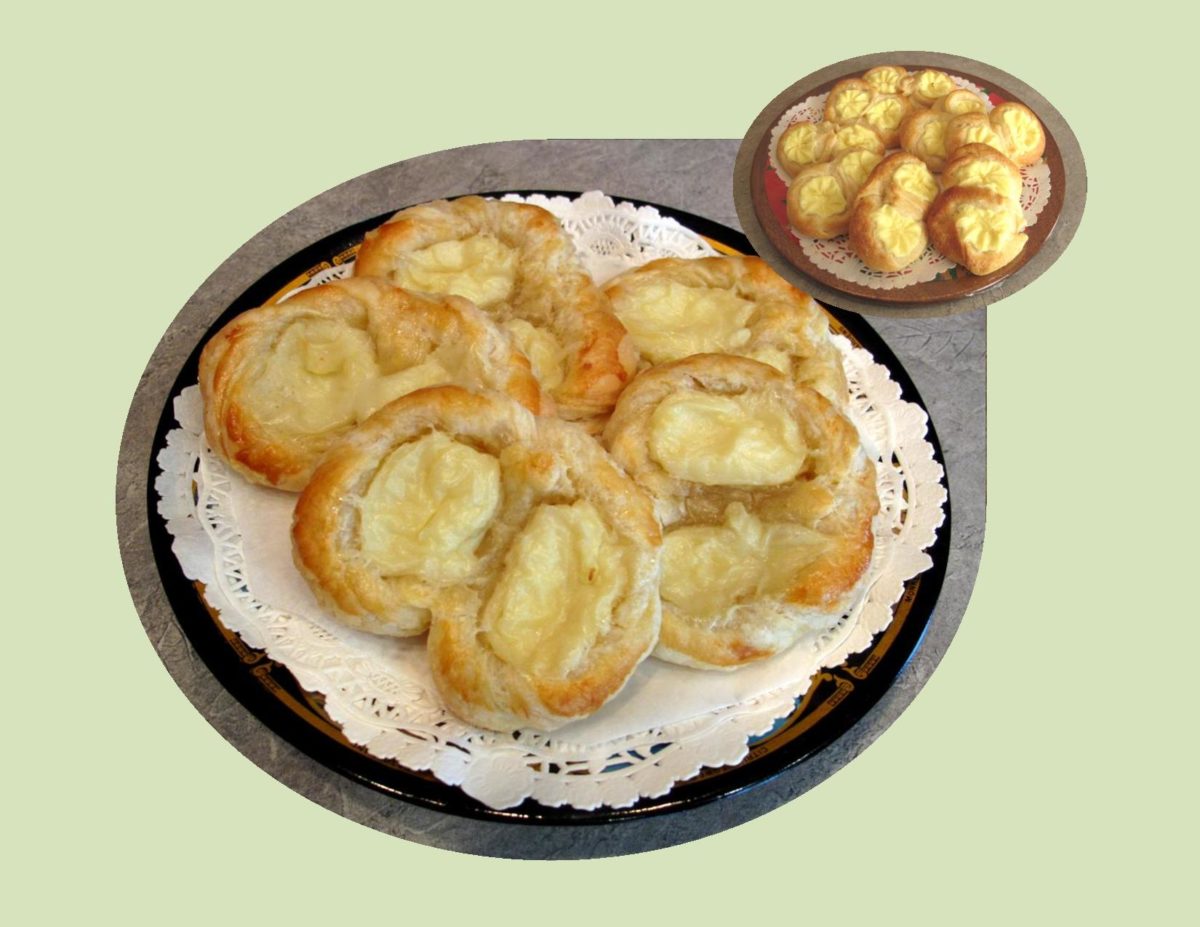
The puddingbrezel is a special kind of pretzel. Made with buttery ‘danish pastry’, filled with a smooth, sweet vanilla pudding. The term danish is connected to a strike among Danish bakers in the 19th century. When bakers from neighboring countries, especially Austria, were invited to work, they brought with them a new kind of dough. As soon as the strike ended, the Danish bakers started to experiment with this new dough adapting it to their needs.
This dough technique was called lamination. Although the dough is prepared with yeast, it is processed with cold ingredients. After kneading, it is folded and rolled out again multiple times to achieve the desired fluffy and flaky texture. For successful danish pastry, butter is needed as it works to separate the various layers of the dough as they bake.
To put it simply, we have an Austrian pastry that was adapted by the Danes, which is used to make a German delicacy. How is that for ‘interculinary’.
If you like danish, your sure to love these!
Print Recipe
German Puddingbrezel
Using the shortcut version of danish pastry eliminates having to 'knead' the dough.
Votes: 1
Rating: 5
You:
Rate this recipe!
|
|
Votes: 1
Rating: 5
You:
Rate this recipe!
|
Instructions
Shortcut Danish Pastry
Dissolve sugar into lukewarm water & sprinkle with the yeast. Allow to stand 15 minutes. In a food processor, combine flour, sugar & salt; pulse in cold butter cubes. Mixture should resemble pea sized chunks. Remove mixture from food processor & transfer to a large mixing bowl.
Whisk together eggs & whipping cream. Stir in yeast mixture & pour over the flour mixture. Toss together with a wooden spoon, just enough to make dough form. Divide into two portions. Each portion makes about 8-10 pastries so if you don't need it all right away, double wrap one portion in plastic wrap & freeze for later. Refrigerate dough for several hours or overnight.
Vanilla Pudding
In a small dish, combine cornstarch with 1/4 cup milk & beat until completely smooth. Slice vanilla bean lengthwise & scrape out the seeds. Cut the remaining pod in half crosswise.
In a saucepan, add remaining 2 3/4 cups milk, sugar, salt, vanilla pulp & pod. Place on stove over high heat. As soon as the mixture begins to boil, remove from heat & add cornstarch mixture stirring constantly. Return saucepan to stove, continue cooking ONLY until bubbly & thickened. Remove from heat & take out vanilla pod. Cover with plastic wrap to avoid forming a skin as it cools.
To make PUDDINGBREZELS: Roll a portion of the dough into a 12 x 18-inch rectangle. Cut strips on the long side of the rectangle, about just over 1/2" wide. Twirl two of the strips together & form into pretzels. Transfer carefully to a baking sheet lined with parchment paper, with some room in between to expand during baking. Let rise 30 minutes before filling.
Preheat oven to 375 F. Using a pastry bag, pipe cooled vanilla pudding into the two holes of each pretzel. Brush each pastry with an egg wash consisting of 1 egg whisked together with 2 Tbsp water. Bake for 15-20 minutes until lightly golden.Timing depends upon the size you chose to make your puddingbrezels.
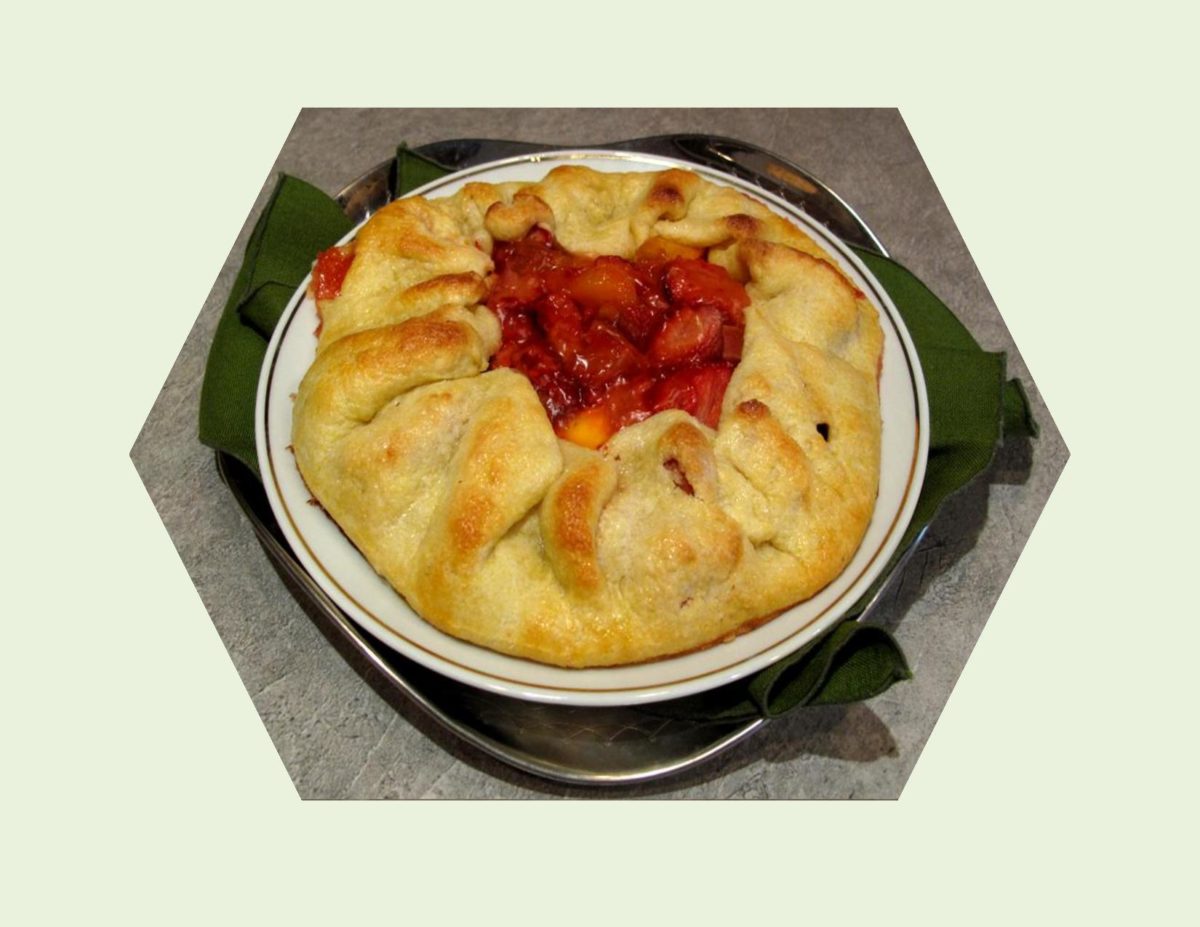
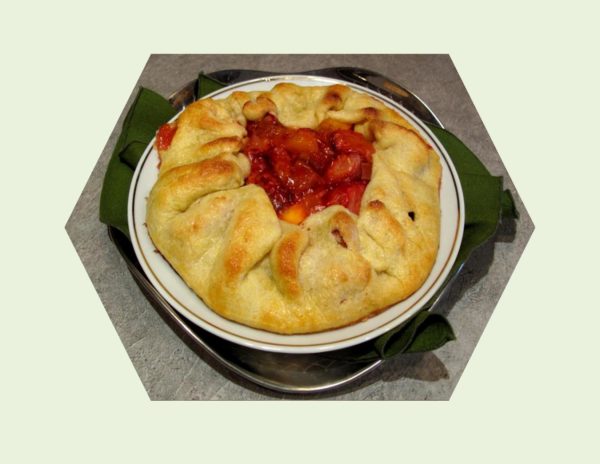
A ‘galette’ (French) or ‘crostata’ (Italian) was an early way to form a pie crust in the absence of pie pans. The dough was rolled flat, the filling placed in the middle with the edges turned up to contain the filling.
The origin of the pie (pye) has been traced to Egypt where savory fillings were baked, using woven reeds as the baking vessel. The concept was brought to Greece and then to Rome. It is believed the ancient Greeks created pie pastry and the trade of ‘pastry chef’ was then distinguished from that of a baker. The use of lard and butter in northern Europe led to a dough that could be rolled out and molded into what has become our modern pie crust. Before the emergence of tin or ceramic pie pans, the ancient practice of using the bottom of the oven or fireplace was used to bake this rustic tart.
Galettes can be made in any size, as well as sweet or savory, using only a simple baking sheet. No technique to create an even, fluted crust is necessary. Rusticity is its charm! No worries about tearing the dough or if the final result is perfectly round or rectangular.
The crust of this galette is made with the addition of a small amount of cornmeal to give it a bit of crunch and is equally as good with a sweet or savory filling.
Print Recipe
Rustic Fruit Galette
Votes: 1
Rating: 5
You:
Rate this recipe!
|
|
Votes: 1
Rating: 5
You:
Rate this recipe!
|
Instructions
Galette Dough
In a small bowl, combine sour cream & ice water; set aside. In a large bowl, whisk together flour, cornmeal, sugar & salt. Using a pastry blender or finger tips, cut in butter until mixture resembles BOTH coarse crumbs & small peas. Sprinkle the cold sour cream mixture over the dough, 1 Tbsp at a time, tossing with a fork to evenly distribute it. After you have added all the sour cream, dough should be moist enough to stick together when pressed; if not, add additional cold water, 1 tsp at a time. Do not overwork dough.
Press dough into a disk shape & wrap in plastic wrap. Refrigerate for at least 2 hours. The dough can be kept in the refrigerator for a day or two or it can be wrapped airtight & frozen for a month. Thaw, still wrapped in refrigerator.
Fruit Filling
In a bowl, toss together the fruit, all but 1 Tbsp of the sugar, salt, lemon juice & zest & cornstarch.
Preheat oven to 375 F. Line a baking sheet with parchment paper. On a lightly floured work surface, roll out the chilled dough into a circle & set on baking sheet. Place the fruit filling in the middle, leaving a border of 1 1/2 to 2-inches. Gently fold pastry over the fruit, pleating to hold it in. Brush pastry with egg wash. Sprinkle the reserved 1 Tbsp sugar over the crust.
Bake 35-45 minutes until the filling bubbles up & crust is golden. Cool for at least 20 minutes on a wire rack before serving. Best served warm or at room temperature.

Strawberries — loved for their sweet taste and heart shape, have symbolized purity, perfection, love and passion throughout the ages. It is very common for us to give little thought to where our food comes from and the back breaking labor that it took to get it to our various parts of the country.
Travel can always be filed under the category ‘learning experience’. I find it so important to set oneself outside our ‘bubble’ to fully understand and not become complacent about the many things we take for granted.
Over the years, Brion and I have spent many holiday hours travelling along the Big Sur coast of California, USA. While there we would use Monterrey as our ‘home base’ and make little day trips to the surrounding area. Just inland from Monterrey is the agricultural jewel known as the Salinas Valley. This is one of the major valleys and most productive agricultural regions of California. Having a unique coastal environment with its western ocean exposure (less than 10 miles away) provides moderate temperatures year round. Warm sunny days and cool foggy nights are the perfect combination for growing strawberries.
I find myself going back to those years I was raised on the farm when we drive along looking at the fields of produce. I have often felt much appreciation and compassion for the farm workers standing, bent over in the heat of the blazing sun for hours tending these crops.
I have many memories of my own parents working long, hard hours to provide for us on our family farm. I am grateful to have learned to appreciate the efforts of others that make life good.
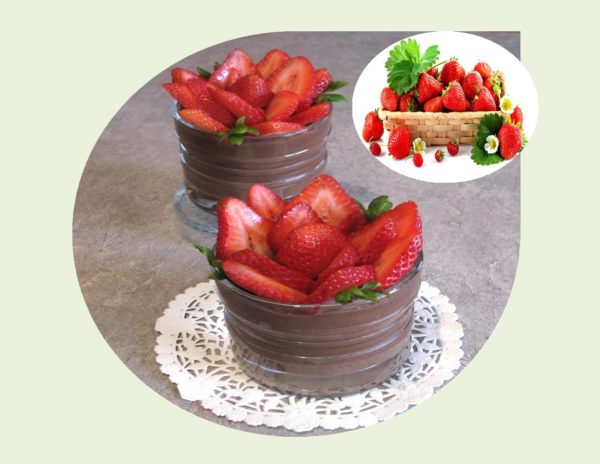
This STRAWBERRY ROSE with DARK CHOCOLATE PUDDING celebrates those wonderful Driscoll strawberries as well as satisfying the chocolate lover.
Print Recipe
Strawberry Rose with Dark Chocolate Pudding
Votes: 1
Rating: 5
You:
Rate this recipe!
|
|
Votes: 1
Rating: 5
You:
Rate this recipe!
|
Instructions
Chocolate Pudding
Melt chocolate. Whisk together 1/2 cup milk & cornstarch. In a small saucepan, bring remaining 1 1/2 cups milk, sugar, cocoa & salt just to a simmer over medium heat. Add cornstarch/milk mixture; bring to a boil, whisking constantly. Cook 1 minute. Remove from heat & stir in melted chocolate & vanilla. Spoon into serving glasses. Cover surface directly with plastic wrap to prevent skin from forming. Chill.
Topping
Before serving, hull 16 strawberries by removing the green stem. Take 4 strawberries & cut the top of the strawberries off. These will be used as the center for the roses. For remaining strawberries, slice into 1/8" slices to use for the rose petals.
Begin arranging the sliced strawberries around the pudding making sure the ends of the slices are facing out & extend slightly beyond the rim of the glass. After the first circle of strawberries is placed, begin making a second circle of strawberries but position slightly more forward toward the center of the glass. Continue with a third layer. Once finished, add the cut strawberry to the center & garnish with mint leaves.
-

Now comes the time to use up all those remaining tidbits of holiday baking still in the freezer. For those who haven’t tried it, sweet bread pudding is perhaps the ultimate comfort food. It’s simple to make, requires no special equipment and uses basic ingredients. It’s not even particularly beautiful on the plate, but it sure tastes good.
Just about every culture that makes bread has it’s own version of bread pudding. An open textured loaf with lots of holes become little pockets of custard. If you choose a bread that is quite ‘airy’ but has good chewiness, your pudding will strike a satisfying balance between lightness and body. In contrast, a loaf with a tight crumb makes a compact pudding with a dense texture.
The custard is what binds the bread together and creates the pudding’s lusciousness. Milk, eggs, sugar and flavoring are the basic elements but of course, other variations can be layered in as well.
Bread pudding was definitely a dessert my mother made since she baked bread every week. At that time it was pretty basic but nevertheless homey and good.
Today, January 22, our family celebrates the birthday of my sister, Marilyn. Birthdays were always made to be special as we were growing up. Not so much as to gifts but in regards to the family acknowledgement of ‘your’ day. My mother loved having a reason to use her cake decorating skills, so your birthday cake was always very unique.
For something special to mark the occasion, I have prepared STOLLEN BREAD PUDDING with SPICED ORANGE SAUCE on my blog.
WE SEND BIRTHDAY WISHES TO YOU, MARILYN —
ENJOY YOUR DAY TO THE FULLEST!
Print Recipe
Stollen Bread Pudding with Spiced Orange Sauce
A delicious variation on a classic made with heavenly German stollen bread.
Votes: 1
Rating: 5
You:
Rate this recipe!
|
|
Votes: 1
Rating: 5
You:
Rate this recipe!
|
Instructions
Bread Pudding
Arrange stollen cubes to fit compactly into a buttered 9 x 9-inch baking dish. Do not compress to tightly; set aside any leftover cubes. Whisk together eggs & 1 cup powdered sugar until the sugar is dissolved & the mixture becomes light yellow in color. Add cream, vanilla & Grand Marnier; whisk to combine. Stir in a pinch of salt, nutmeg, lemon & orange zest.
Pour mixture over stollen cubes. Cover & refrigerate for 30 minutes. Preheat oven to 350 F. Remove bread from refrigerator, uncover & dot the top of the pudding with butter & sprinkle with 2 Tbsp. powdered sugar.
Set baking dish into a shallow roasting pan, larger that baking dish. Set them onto the center rack of the oven. Pour hot water into larger pan until it reaches about halfway up the side of the pudding dish. Bake until fully set & a knife inserted into center comes out clean, 60-75 minutes. Carefully remove the pudding from the water bath & cool for at least 15 minutes before serving.
Spiced Orange Sauce
Melt butter in a saucepan over low heat. Stir in sugar, Grand Marnier, water, cardamom & salt. Over medium heat, stir until sugar is fully dissolved & the liquid is heated through. Remove from heat. In a small bowl, whisk egg until well beaten. While whisking egg, slowly pour 2 Tbsp. of the hot mixture into bowl with the egg. Then, while whisking the mixture vigorously, slowly pour the warmed egg mixture back into the sauce.
Place the saucepan back over low heat, gently stirring the sauce, raising the temperature slowly to medium. Continue stirring until the sauce thickens, about 1-2 minutes. Spoon over pudding & serve immediately.
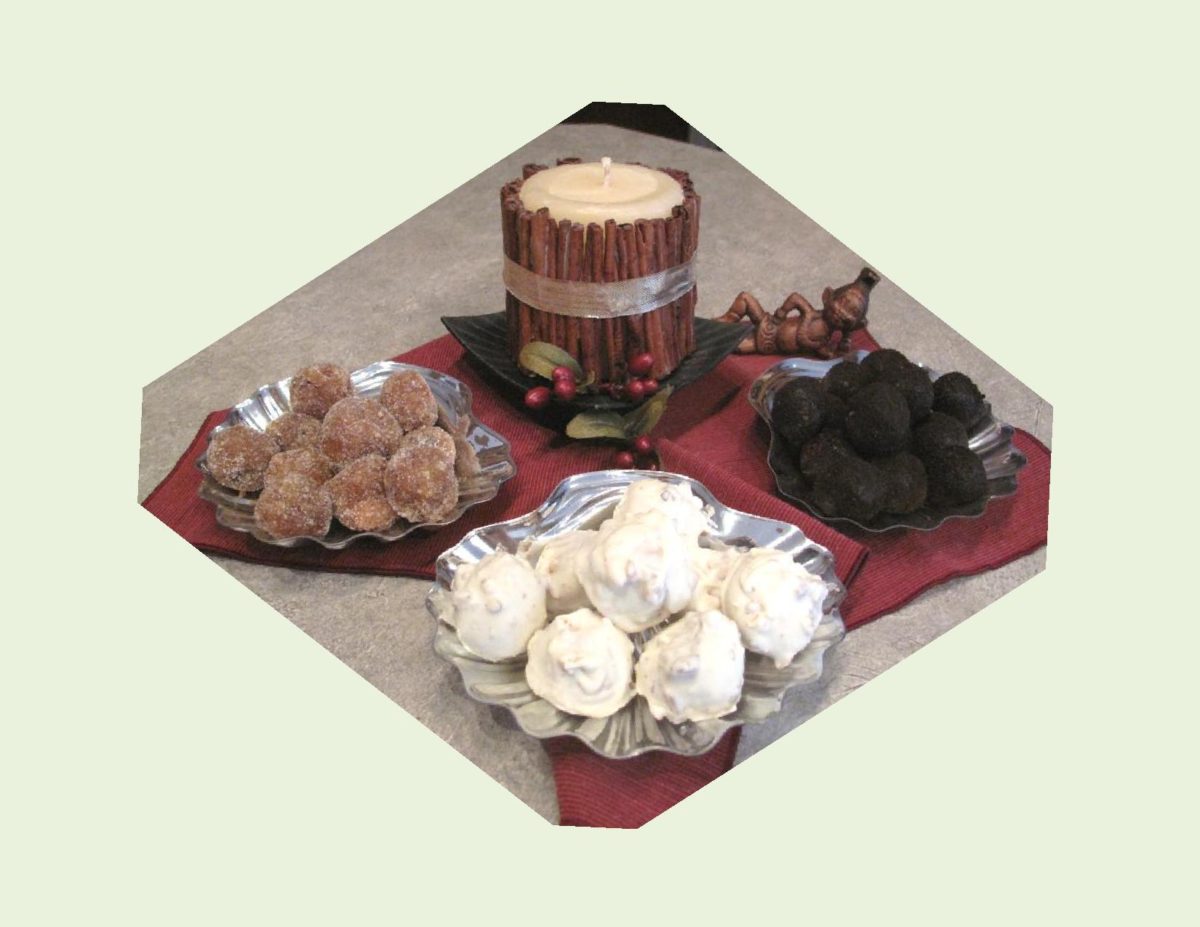
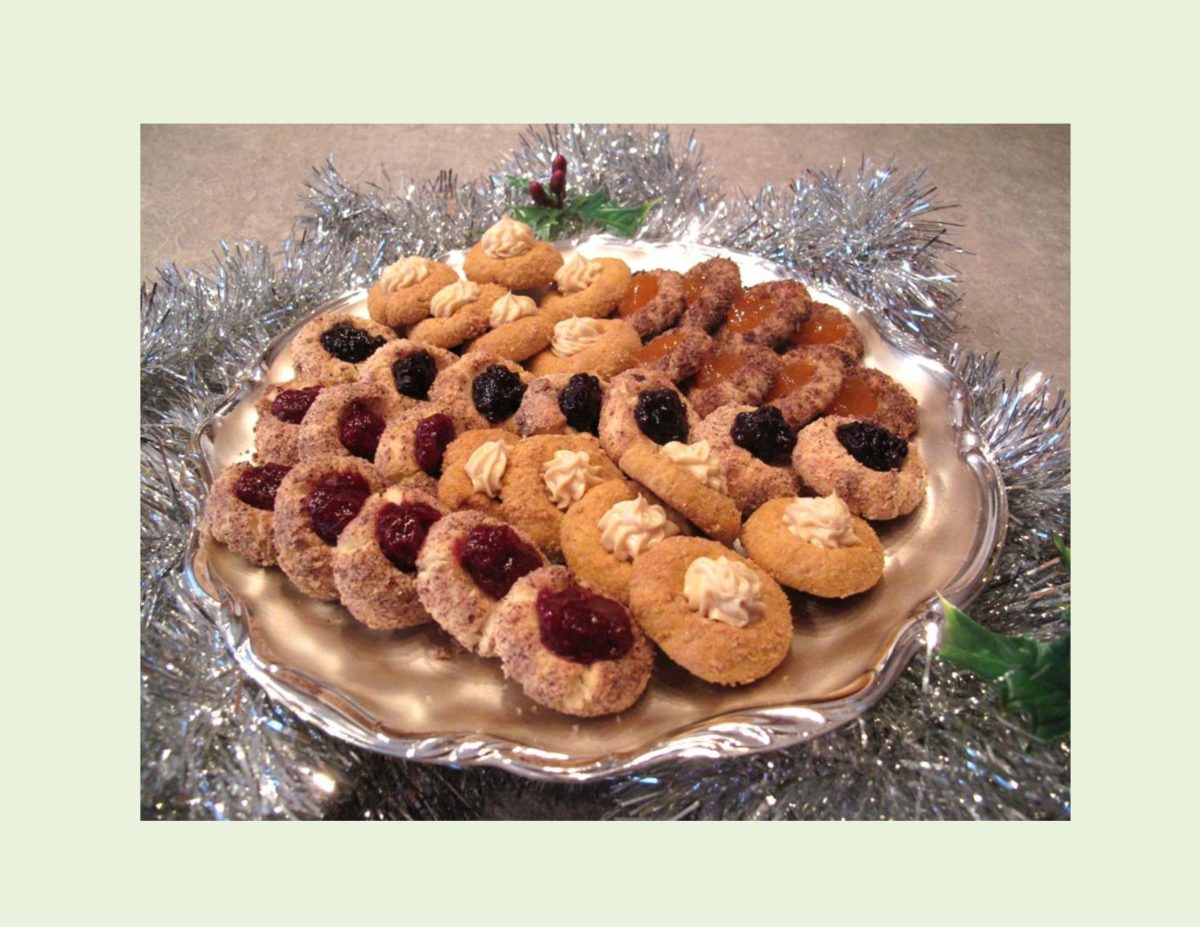
Christmas without making a few candy treats just wouldn’t seem right. Even if its not at the top of your baking list, they are just so handy to have on hand to add to those holiday gift trays.
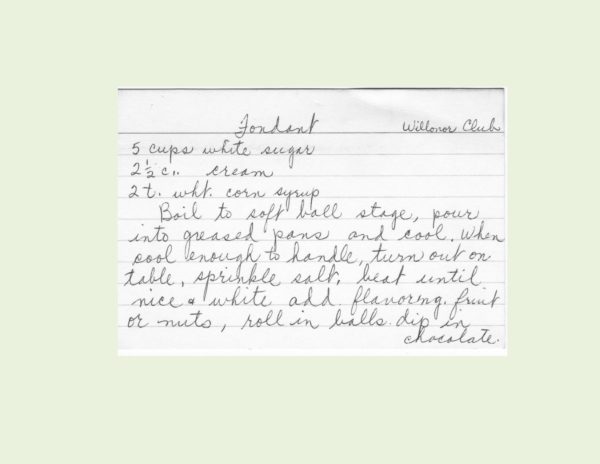
There was only one very special candy treat my mother made at Christmas that I remember. A small group of ‘neighbor’ ladies in our farming community had formed the ‘Willonor Club’. It wasn’t just to gather for coffee and chit chat. They were all very hands on women that enjoyed ‘networking’ about a variety of subjects. Each meeting would be hosted by one the members in her home. They would always have a specific focus to learn or do something new. One of the ladies had learned how to make dipped chocolates with her church group. She, in turn taught the Willonor Club members. Now these were not just your average chocolates. They looked every bit as professional as the ‘Pot of Gold’ brand but tasted so much better. None of this sugary sweetness — just a creamy, not overly sweet center, covered in a milk chocolate. Yum!! I came across the recipe in her little file box, written in her lovely handwriting and there I was, reliving the ‘taste of a memory’ by just reading it.
I decided to limit this candy blog to three, tried and true favorites. They are KAHLUA BALLS * PUMPKIN CREAM CHEESE TRUFFLES * APRICOT DATE BALLS. Easy to make, taste great and freeze well — perfect!
Print Recipe
Sweet Delights
Votes: 1
Rating: 5
You:
Rate this recipe!
Ingredients
Pumpkin Cream Cheese Truffles
Ingredients
Pumpkin Cream Cheese Truffles
|
Votes: 1
Rating: 5
You:
Rate this recipe!
|
Instructions
Kahlua Balls
In a large bowl, combine cookie crumbs, walnuts & powdered sugar. Add Kahlua & corn syrup; mix well. Shape into 48 balls & roll in desired toppings such as cocoa powder, fine colored sugar, sprinkles, finely crushed walnuts or oreo crumbs. Chill overnight then either freeze or store in refrigerator in an airtight container.
Pumpkin Cream Cheese Truffles
In a double boiler over medium-low heat, melt the 55 grams of white chocolate. Transfer to a bowl. Add remaining ingredients & beat with an electric mixer until smooth. Cover & chill until solid enough to roll into balls. Once mixture can be formed, roll into 16 balls.
Line a sheet tray with parchment paper. Chop almonds in almond bark then carefully melt in double boiler. Transfer to a small, deep bowl. Drop a few balls at a time into melted chocolate. Working quickly, spoon chocolate over truffle to coat. Using a small spoon or fork, lift truffle out of chocolate & shake off excess, transfer to prepared sheet. Chill truffles until chocolate is completely set. Place in an airtight container & either freeze or store in refrigerator.
Apricot - Date Balls
In a saucepan, combine 3/4 cup sugar, apricots, dates & eggs. Cook over low heat for 6-8 minutes or until mixture pulls away from the sides of saucepan, stirring constantly. Remove from heat & stir in walnuts & vanilla. Allow to cool until mixture can be handled. Line an airtight container with wax paper. Shape apricot/date mixture into 30 balls. Roll in granulated sugar. Place in container & either freeze or store in refrigerator.
-
Recipe Notes
- If preferred, use all gingersnap crumbs instead of graham crumbs in the original recipe for Pumpkin Cream Cheese Truffles.

The quintessential summer BBQ dessert! Fruit pizza is like a giant cookie, covered with luscious cream, layered with colorful fresh fruit, topped with glaze and a drizzle of chocolate, if you please.
If you have been following my blogs, you have probably already noticed, choice is something I’m big on. Fruit pizza is a classic dessert with so many possibilities. I have always enjoyed to start with the original idea of a recipe and see how many ways I can vary it without getting too involved or requiring a lot of extra ingredients and time.
Since CANADA DAY celebrations are right around the corner I thought it was a good time to enjoy Fruit Pizza ‘personalized’. Here are some ideas to mix and match to your liking.
Print Recipe
Fresh Fruit Pizza
Personalize not only with ingredient choices but the design as well
Votes: 1
Rating: 5
You:
Rate this recipe!
Ingredients
Classic Shortbread or Pecan Shortbread Crust
Frozen Puff Pastry OR Crescent Roll Dough
Cool Whip / Custard Topping
Fresh Fruit (use whatever fruit you prefer)
Chocolate Drizzle (optional)
Ingredients
Classic Shortbread or Pecan Shortbread Crust
Frozen Puff Pastry OR Crescent Roll Dough
Cool Whip / Custard Topping
Fresh Fruit (use whatever fruit you prefer)
Chocolate Drizzle (optional)
|
Votes: 1
Rating: 5
You:
Rate this recipe!
|
Instructions
For Shortbread & Oatmeal Crusts
Preheat oven to 350 F. Lightly grease a 12-inch pizza pan or cookie sheet. In a large bowl, cream butter & sugar until light. Add any flavorings. In another bowl, combine dry ingredients; gradually add to creamed mixture. Mix with a wooden spoon or hand mixer until well blended. Press dough into pan & prick with a fork. Bake 10-15 minutes until golden. Allow to cool completely.
Frozen Puff Pastry
Follow package directions. Cool completely & place on serving tray.
Crescent Roll Dough
Preheat oven to 350 F. Pinch together crescent roll dough as you press into a 12-inch pizza pan. Sprinkle with 1 Tbsp sugar. Bake 10-12 minutes or until golden. Cool completely.
Cream Cheese Topping
In a small bowl, beat cream cheese, lime juice concentrate & sugar until smooth.
Cool Whip/Custard Topping
In a large bowl, whisk together dry pudding mix & milk for 2 minutes. Fold in Cool Whip.
Honey - Yogurt Topping
In a small bowl, whisk together yogurt & honey.
Citrus & Pineapple Glaze
In a small saucepan, combine ingredients. Cook over medium heat until thickens. Remove from heat & cool slightly. Using a pastry brush, gently brush the fruit with glaze. FOR PRESERVE GLAZE: mix preserves with water & brush onto fruit.
TO ASSEMBLE FRUIT PIZZA
Spread topping of choice onto cooled crust & arrange fruit onto. Brush with glaze of choice. Melt chocolate in a bowl over boiling water. Dip a large spoon into chocolate; drizzle, quickly letting the chocolate fall in thin ribbons from the end of the spoon. If chocolate seems to stiff, add a drop of vegetable oil. Let pizza stand until chocolate is firm.
