The concept of baking pasta with sauce, meats, and cheese has deep roots in the Campania and Sicily regions of Southern Italy. Historically, aristocratic and peasant households baked grand pasta dishes for festive occasions like Sundays and Easter. These early versions were often made with tubular pasta, hard-boiled eggs, meatballs, and regional cheeses layered together.
When Italian immigrants arrived in North America, they adapted these celebratory, labor-intensive dishes into a more accessible, convenient, and hearty weeknight casserole using spaghetti. The dish was highly economical, making it perfect for feeding large families and feeding crowds at community potlucks.
Today, baked spaghetti is recognized as a classic comfort food fusion. While traditional Italian versions use ridged shapes like rigatoni or ziti, the North American approach generally focuses on tossing cooked spaghetti with a rich meat or marinara sauce, mixing it with ricotta or cottage cheese, and baking it with a generous layer of melted mozzarella on top.
I have always preferred ‘baked’ spaghetti over just boiling it and adding the meat sauce. My favorite recipe is one I developed using a ‘secret’ ingredient, Classico fire roasted tomato pizza sauce. The recipe is basic and easy to prepare but has a wonderful flavor. Add some garlic bread and you have a winner every time!
Print Recipe
Baked Spaghetti
Votes: 1
Rating: 5
You:
Rate this recipe!
|
|
Votes: 1
Rating: 5
You:
Rate this recipe!
|
Instructions
Bring a pot of salted water to a boil. Add spaghetti & cook until al dente, 8 to 10 minutes; drain & set aside.
-
Sauté ground meat, onion, mushrooms, zucchini, garlic & herbs & spices in a large skillet over medium heat until meat is browned, about 10 minutes; drain. Microwave broccoli florets until tender, crisp if using & add to meat mixture.
Combine soup, water & pizza sauce in the pot you cooked spaghetti in. Stir in meat mixture & spaghetti; combine well.
Spread mixture into a 11" x 7.5" x 2.5" baking dish (or baking dish of choice) & top with cheese.
Bake until bubbly & cheese is lightly browned, 20-30 minutes. Remove from oven & serve.

Salmon isn’t the first thing that comes to mind in regard to cabbage rolls. But salmon and cabbage are actually one of those amazing culinary combinations – the textures, the colors, the flavors, its all perfect together.
Cabbage rolls make for the ideal self-contained fall and winter meal, a filling of some kind wrapped up tightly in a cabbage leaf and then cooked to form a complete edible parcel you don’t even need to unwrap to enjoy. Much like other wrapped foods, including tamales or dumplings, cabbage rolls are an excellent way to use extra bits in your fridge to reduce waste, which is perhaps why the food first became popular.
Cabbage rolls are a classic comfort food. They can be served as an appetizer, side dish, or main course, but what really makes cabbage rolls stand out is their delicious sauces. From creamy cheese sauces to tangy tomato-based ones, there are so many options that you can choose from.
This particular recipe uses canned wild salmon, but feel free to use fresh if its available where you live.
The combination of salmon and cabbage has a rich and diverse heritage, transcending borders and satisfying taste buds around the world.
Print Recipe
Salmon Cabbage Rolls
Votes: 1
Rating: 5
You:
Rate this recipe!
|
|
Votes: 1
Rating: 5
You:
Rate this recipe!
|
Instructions
-
Drain the canned salmon, discarding the liquid. Remove any skin and bones, if wished, then break the salmon into chunks.
Cook the rice in boiling water for about 15 to 20 minutes or until cooked, adding the vegetable stock powder to the cooking water to give the rice extra flavor.
Meanwhile, fry the bacon in a non-stick frying pan for 4 to 5 minutes, until crispy. Add the spring onions & mushrooms & cook for a further 4 to 5 minutes until softened. Mix with cooked rice, salmon chunks, herbs & seasoning.
Take eight large leaves from the head of cabbage & remove the thick stalk. Cook in boiling water until softened. Drain thoroughly. Lay the cabbage leaves on a work surface & divide the rice mixture between them, roll up leaves tightly (like a burrito).
Place a small amount of tomato sauce on the bottom of a 9 x 13-inch baking dish. Place rolls seam-side down in baking dish. Top with remaining tomato sauce. Cover with foil & bake for 10 to 15 minutes, until piping hot.
Remove from oven & sprinkle the grated cheese over the cabbage rolls. Return to oven for another 5 minutes or until cheese has melted. Remove from oven & serve with crusty rolls.
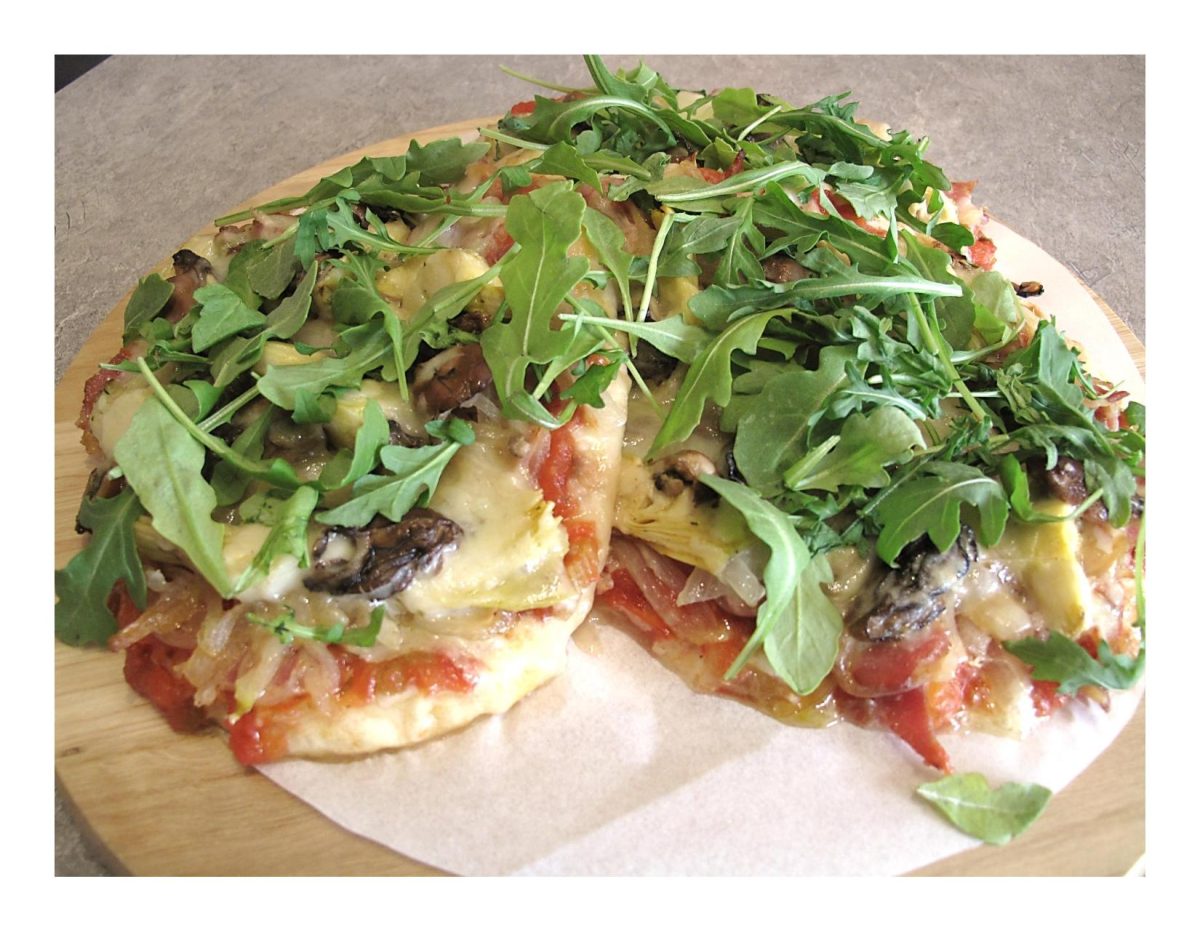
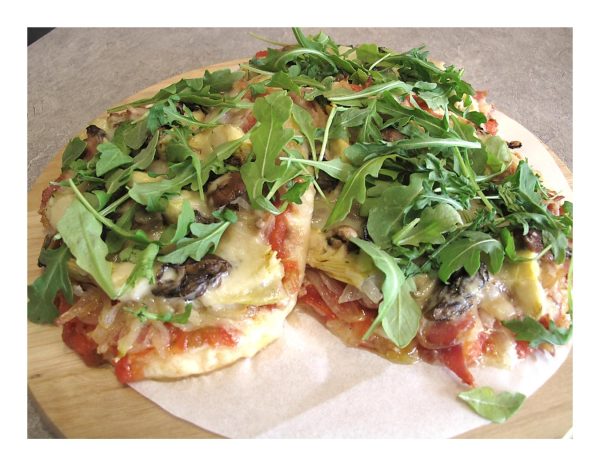
Oysters pair well with garlic, herbs and cheese so they’re ideal for pizza! But the reasons canned oysters were so popular in the 19th century are they’ll last in the cabinet forever, just waiting to save you on that one desperate evening when you haven’t grocery shopped in weeks.
How does one eat canned oysters? Honestly, however you want. Think of them like any other tinned fish, like sardines or clams. Canned oysters go great as a dip (chopped up with chives and cream cheese) or mixed into pasta (with lemon and butter and parsley). Put them on a pizza, or bake them into a savory pie, or fold them into an omelet.
The star of this recipe is the smoked oysters. The smoked oysters added a smoky richness that is hard to duplicate. If you aren’t accustomed to eating smoked oysters, they are delicious and packed full of healthy nutrients. Oysters are shellfish that have vitamin C, zinc, protein, iron, and selenium. (Selenium is great for keeping your brain happy!)
Print Recipe
Cheesy Smoked Oyster Pizza
Votes: 1
Rating: 5
You:
Rate this recipe!
|
|
Votes: 1
Rating: 5
You:
Rate this recipe!
|
Instructions
Chop bacon & fry in a saucepan until cooked but not crisp. Remove from pan & drain on paper towel.
In the same saucepan, place onion in bacon drippings & sprinkle with salt. Sauté until tender then add bacon back to pan & cook a few minutes longer.
Slice drained artichokes in half. Drain smoked oysters & place on paper towel. In a food processor, 'dice' tomatoes for a couple of seconds. Grate cheese.
-
Lay out Naan breads for your pizza bases. Sprinkle each with a bit of cheese then top each with some tomato 'sauce'.
Sprinkle minced garlic over tomato sauce then top each with bacon/onion mixture, artichokes & some more cheese. Divide smoked oysters between the pizzas & top with remaining cheese.
Bake for 10 minutes or until toppings are heated & cheese is bubbling. Remove from oven & top with fresh arugula. Serve.