Unlike some meats that are best served only as the main entree or at certain times of the year, pork tenderloin is perfect at anytime or occasion. You can grill, roast or bake it, making pork one of the most widely eaten meats across the globe.
Sometimes there is a bit of confusion in regards to pork loin and pork tenderloin. The truth is, they are cut from two different regions of the pig. Pork loins are thicker and are also referred to as ‘white’ meat. True to that name, they do turn white when cooked. Pork tenderloin is usually smaller in size, about 2″ thick. This is the softest part of the whole pig coming from the side under the back bone.
Pork is never served by itself, always being accompanied by various side dishes. I never fail to enjoy cooking pork tenderloin. It’s one of those reliable meats that is always tender, pairs with unlimited ingredients and can be ‘dressed’ up or down.
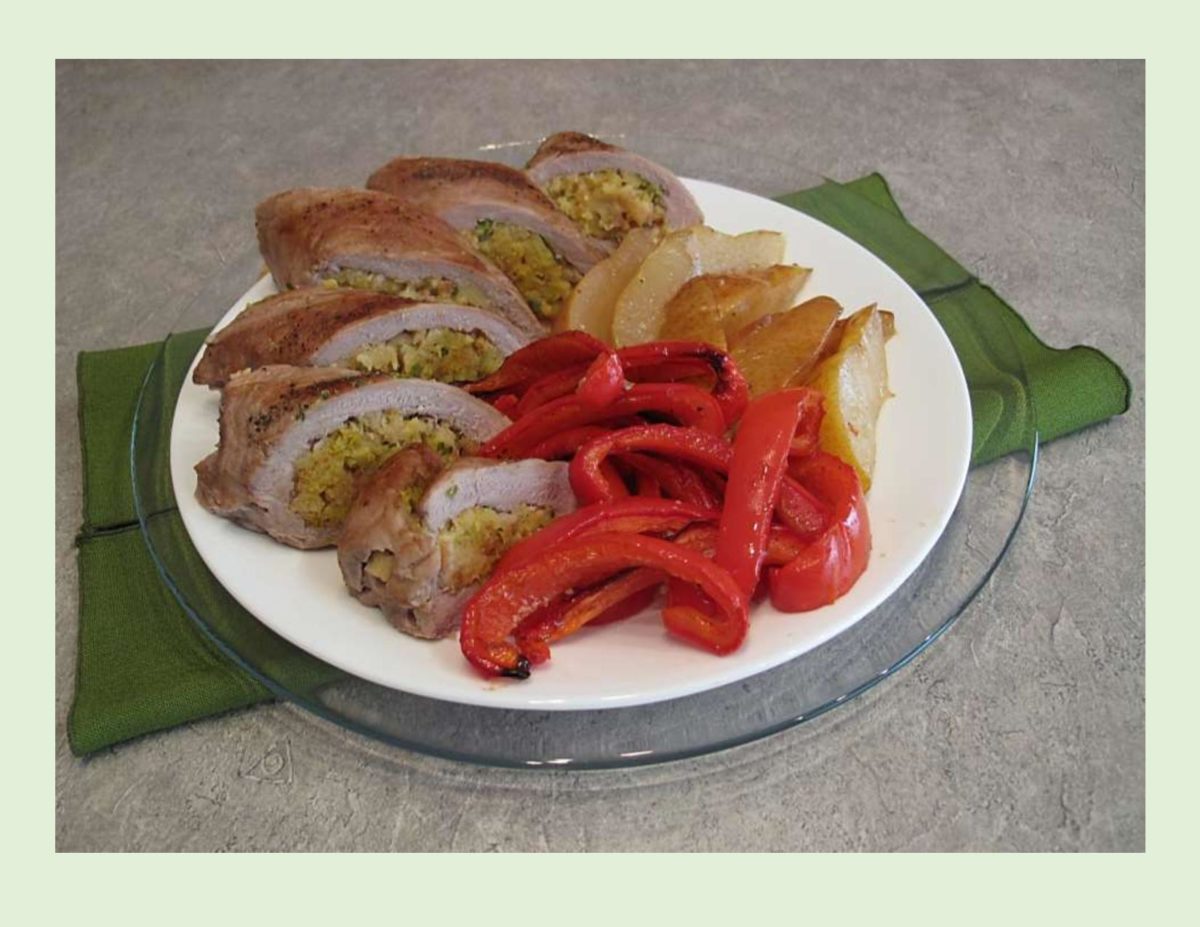
This particular meal uses a cornbread stuffing with red peppers and pears. Sort of unusual but has good flavor and is easy to prepare.
Print Recipe
Pork Tenderloin with Roasted Red Peppers & Pears
Votes: 1
Rating: 5
You:
Rate this recipe!
|
|
Votes: 1
Rating: 5
You:
Rate this recipe!
|
Instructions
Prepare stuffing mix according to pkg directions.
Make a lengthwise cut 3/4 of the way through the tenderloin; open & flatten to 1/4-inch thickness. Sprinkle with salt & pepper, minced garlic & 1/2 of the sliced green onion.
Spread cornbread stuffing over meat. Roll up from long side; tuck in ends. Secure with toothpicks. Slice red pepper & pears. Place in a plastic bag with a small amount of fig balsamic dressing & CAREFULLY turn slices to coat well.
Preheat oven to 425 F. Line a 13 X 9-inch baking pan with lightly greased foil wrap. Place stuffed tenderloin on it & drizzle with fig balsamic dressing. Surround with pear wedges & top with red pepper slices. Roast for 25 minutes or until meat reaches 160 F. on meat thermometer.
When I’m working in the yard, summer always tempts me to spend less time in the kitchen. As much as I love to cook, I find the ‘gardener’ in me takes over. I can’t simply just go out and do a bit of looking. The first thing I know, there’s a little weed that needs to be picked or a plant to prune and that does it — I’m hooked for hours. Nevertheless, one thing for sure and that is the fresh air and exercise builds an appetite which brings me to a fast-to-fix meal.
Today, I’m thinking some chicken fajitas for our evening meal. Before I even go outside, I’ll do a bit of quick prep work, that way it will be a ‘no brainer’ later when I’m tired.
Technically, only beef was used in fajitas, but the term has become ‘blurred’ and describes just about anything that is cooked and served rolled up in a soft flour tortilla. The origin of the fajita goes back to Mexican ranch workers living in West Texas (along the Rio Grande on the Texas-Mexican border) in the late 1930’s or early 1940’s. When a steer was butchered, the workers were given the least desirable parts to eat for partial payment of their wages. Because of this, the workers learned to make good use of a tough cut of beef known as shirt steak. The first print mention of the word fajitas anywhere in the world didn’t occur until the 1970’s.
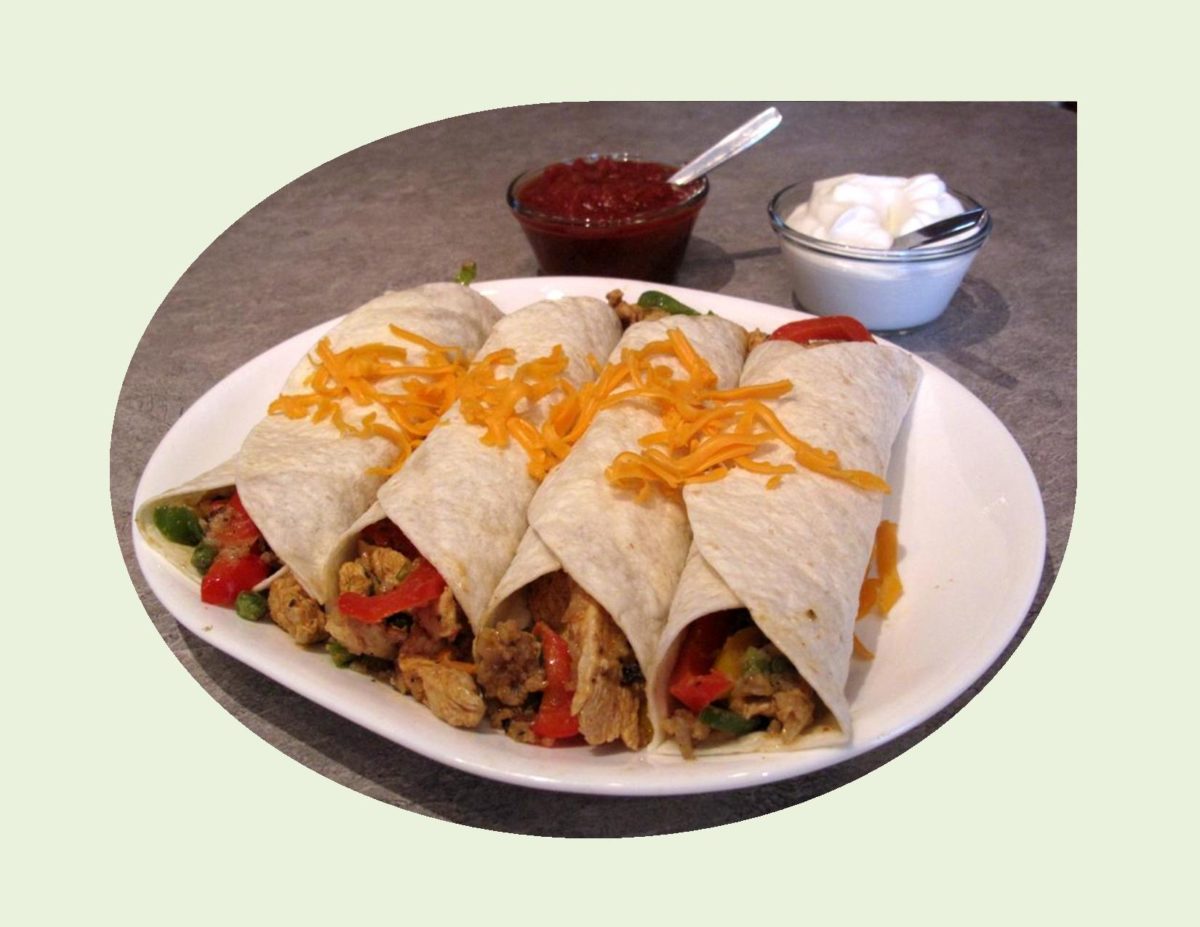
The chicken breast I’m using in this recipe is marinated for a number of hours making it nice and spicy as well as tender. This is a great little, quick and easy hand held meal.
Print Recipe
Chicken Fajitas
Votes: 1
Rating: 5
You:
Rate this recipe!
Ingredients
- 4 Tbsp vegetable oil, divided
- 2 Tbsp lemon juice
- 1 1/2 tsp seasoned salt
- 1 1/2 tsp dried oregano
- 1 1/2 tsp cumin
- 1 tsp garlic powder
- 1/2 tsp chili powder
- 1/2 tsp Paprika
- 1/2 tsp crushed red pepper flakes, optional
- 680 grams chicken breasts, B/S, cut into thin strips
- 1/2 medium sweet red pepper, julienned
- 1/2 medium green pepper, julienned
- 4 green onions, thinly sliced
- 1/2 cup onion, chopped
- 6 - 8" flour tortillas, warmed
- cheddar cheese, shredded
- taco sauce OR salsa
- guacamole OR sour cream
|
Votes: 1
Rating: 5
You:
Rate this recipe!
|
Instructions
In a large resealable plastic bag, combine 2 Tbsp oil, lemon juice & seasonings. Add chicken. Seal & turn to coat; refrigerate for 1-4 hours.
In a large skillet, saute peppers & onions in remaining oil until crisp-tender. Remove & keep warm. In the same skillet, cook chicken over medium-high heat for 5-6 minutes or until no longer pink. Return pepper mixture to pan; heat through. Spoon filling down the center of the tortillas; fold in half. Serve with cheese & choice of other toppings.


