The croquette originated in French cuisine. The word ‘croquette’ is derived from the French verb ‘coquer’, meaning ‘to crunch’.
Croquettes can be served as side dishes, snacks, or fast food as well as a main dish. Typically, small patties, croquettes are made from ingredients like meat, potatoes, or vegetables. While they are traditionally deep-fried, baking them is a healthier alternative that still yields delicious results. Baking versus frying is a common culinary debate, and both methods have their merits. Myself, I’ll always opt for baking. Maybe it has something to do with having worked in the restaurant industry for 35 years of my life. The smell of grease always makes me want to run a mile to get away from it. That being said, I guess it’s whatever you prefer personally that’s important.
These baked chicken croquettes combine leftover chicken with mashed potatoes and shallots. They are coated with breadcrumbs and baked until crispy. The result is a flavorful and satisfying dish that can be enjoyed as a main course or even as an appetizer.
Print Recipe
Crispy Baked Chicken Croquettes
Votes: 1
Rating: 5
You:
Rate this recipe!
|
|
Votes: 1
Rating: 5
You:
Rate this recipe!
|
Instructions
In a bowl place the potatoes, butter, milk, salt, pepper, & 1 teaspoon parsley. Mash to desired consistency as you want some texture. To the potatoes add the chicken & shallots; stir to combine. Next, add in 1 egg & 1/4 cup unseasoned bread crumbs. Mix to combine. The mixture should be sticky but not runny.
Cover & chill for at least 1-2 hours. You want it to be cold so you can form it.
Preheat the oven to 450 F. with a rack in the middle. Line a baking pan with parchment paper & lightly spray.
In a pie plate beat the remaining egg with 1 tablespoon water. In a second pie plate add in the panko & remaining unseasoned bread crumbs & 1 tsp parsley; mix to combine. Make an assembly line starting with the croquette mixture, egg & then breadcrumbs with the baking sheet at the end.
Measure 1/4 cup of the mixture & form into croquettes (long cylinders about 2” or you can make into cone shapes).
Dip, coating all sides, in the egg mixture. Place in the breadcrumbs & coat evenly. Place on the baking sheet & repeat making the rest of the croquettes. Generously spray (or lightly drizzle) olive oil on the croquettes. Do not soak them but you should be able to see the oil glisten on the breadcrumbs. Bake for 15-20 minutes until golden brown.
To get super crunchy, place the oven to broil & broil for 2-3 minutes on each side. Remove from the oven & serve with pan gravy from the leftover roasted chicken.
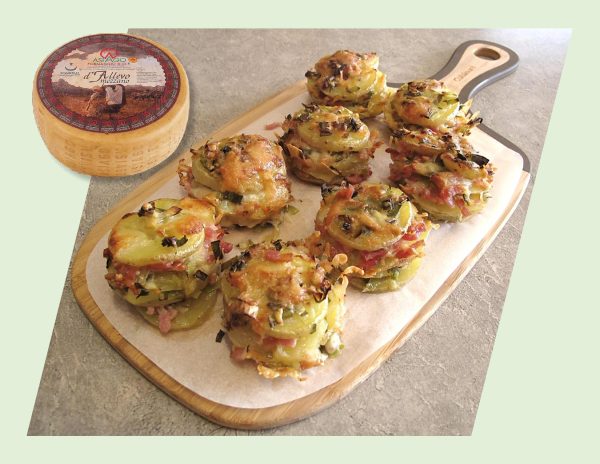
Asiago Cheese is one of my personal favorite kinds of cheese. Coupled with a rich history and unique flavor profile, asiago cheese is a deliciously versatile and ranges from smooth and silky to crumbly and brittle.
Asiago cheese has a characteristically sweet and mildly nutty taste. However, the flavors develop as it ages, getting sharper, more intense, and piquant. As it matures, the cheese develops a slightly acidic and tangy undertone and a fruity appeal. The scent of the cheese is aromatic, with a floral smell that gets deeper with maturity.
A semi-hard cow’s milk cheese, asiago originated in Italy and takes its name from the famous plateau located in the north-eastern part of the peninsula.
Because this cheese features so much variety the everyday cheese lover might know they like asiago but not really be able to describe exactly what it tastes like. Asiago is actually considered one of the best cheeses to use for cooking due to its mild but noticeable flavor.
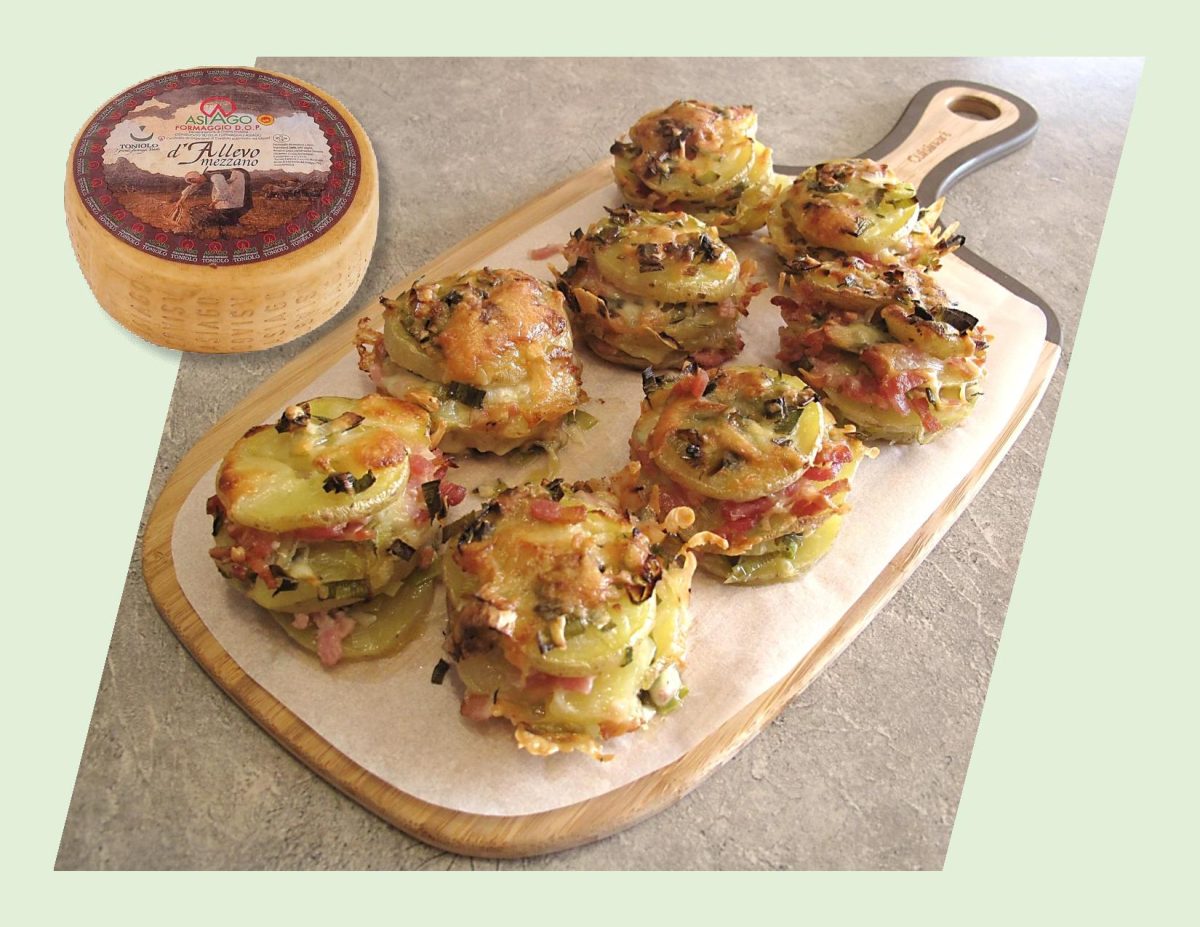
These ‘asiago potato stacks’ are a nice change from your typical roasted potatoes. Sure, you can dump any kind of cheese on top of potatoes, and they’ll turn out tasty. But elevate those cheesy ‘taters with freshly grated asiago and a fresh burst of rosemary and they’re amazing!
Print Recipe
Asiago Potato Stacks
Votes: 1
Rating: 5
You:
Rate this recipe!
|
|
Votes: 1
Rating: 5
You:
Rate this recipe!
|
Instructions
Preheat oven to 375 F. Using a mandolin, thinly slice potatoes & place in a large bowl.
Melt butter in a small skillet over medium heat. Add olive oil to skillet & mix to combine. Add shallots & garlic; sauté for 1 minute. Add thyme, salt & pepper & sauté for for 30 seconds. Remove from heat.
Pour butter mixture over potatoes & toss until each side is coated. Add cheese to potatoes & continue tossing until well combined.
Spray a 12-cup muffin tin with cooking spray. Stack potato slices in muffin cups & top with additional cheese.
Bake for 30-35 minutes until stacks are golden brown & crispy. Serve immediately.
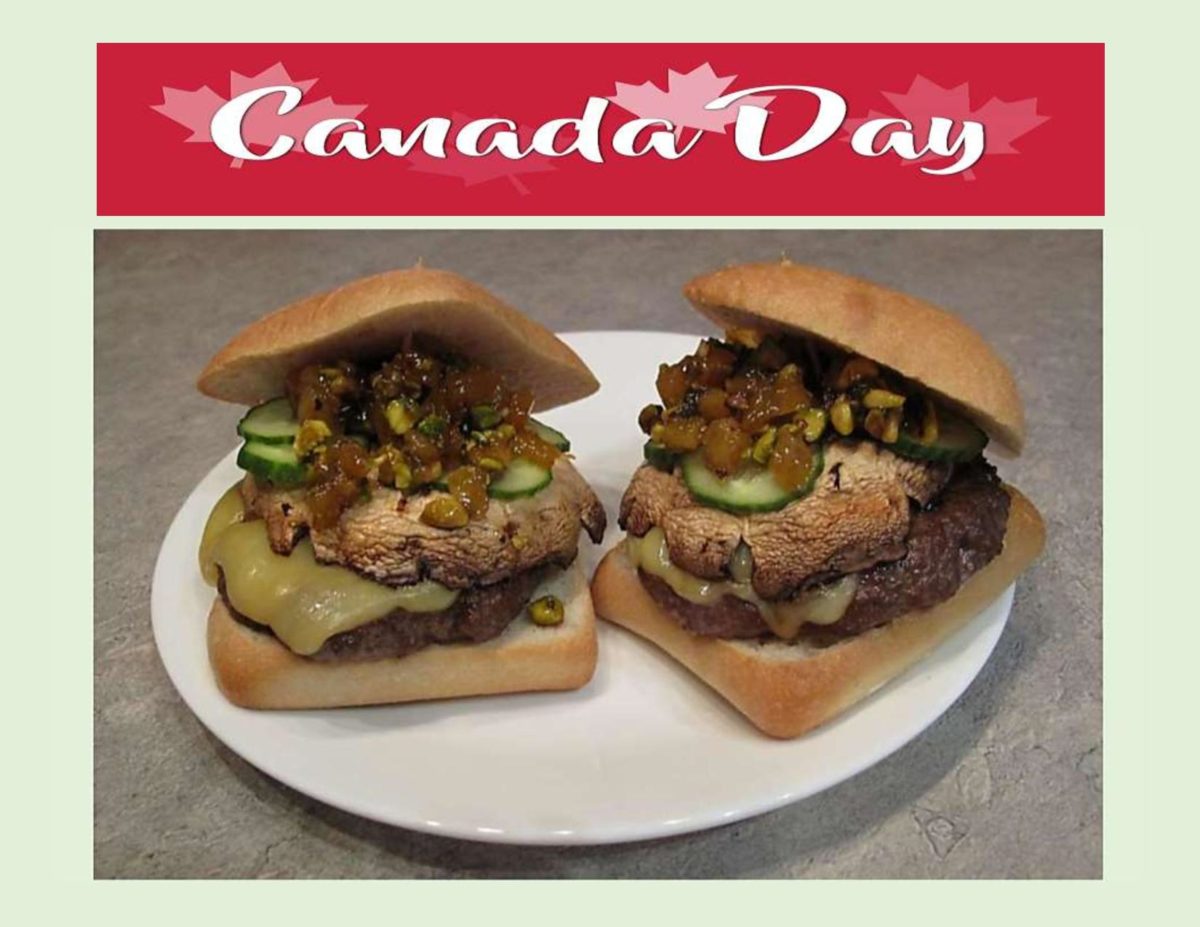
CELEBRATING CANADA DAY!
Food and drink are almost as synonymous with Canada Day as the colors of red and white. More importantly this date celebrates the historical event in which Canada gained its independence from Great Britain in 1867.
On July 1st, from coast to coast, the country’s birthday is highlighted with colorful parades, concerts, carnivals, festivals and firework displays.
Barbecues are definitely the preferred choice of food event as summer entertaining is all about laid-back get together’s. Easy food prep is the name of the game!
For our Canada Day barbecue, it had to be special so here’s what developed—
Print Recipe
Beef Burgers with Apricot/ Pistachio Chutney
Votes: 1
Rating: 5
You:
Rate this recipe!
|
|
Votes: 1
Rating: 5
You:
Rate this recipe!
|
Instructions
Chutney
In a skillet, saute shallots without browning. Add apricots, honey & apricot nectar. Simmer until liquid has evaporated. Set aside to cool at room temperature, then stir in the pistachios & a dash of vinegar. Refrigerate.
Burgers
In a large bowl, combine all the ingredients for the burgers. Shape into 4 patties & refrigerate.
Preheat the barbecue to high & when the grill is hot, place patties on the grill & sear on both sides, making sure not to turn them too soon. When burgers are well marked & can be lifted off the grill easily, remove them to another part of the barbecue where the heat has been reduced & let them finish cooking undisturbed.
While burgers are finishing, brush mushroom caps with oil & grill on both sides until done. Set them aside. Turn off one of the burners, place the burgers on that part of the grill & top each with a slice of cheese. Close the lid for a few minutes & cook over indirect heat until cheese is melted.
Serve on warmed or toasted ciabatta buns. Top each burger with a mushroom cap, a generous spoonful of chutney & some cucumber slices.

Christmas gatherings would not be complete without pate’. For many people, pate’ brings to mind a fancy goose liver-based hors d’ oeuvre spread — but not all pate’ is made from liver!
While traditionally served baked in a crust, today pate’ simply describes a wide variety of smooth blends of meats, poultry, seafood, vegetables, dairy products, liquors like sherry or cognac with herbs and spices.
Pates’ can be smooth and creamy (mousse) or firm and chunkier (country style). Mousses spread effortlessly on crackers or bread while country style varieties can be sliced or cubed for appetizers or sandwiches. Equally flavorful hot or cold, pates’ are best served at room temperature.
Recipes are not always extravagant and widely vary from the humble appetizer prepared at home to one of the most expensive dishes served in world renowned restaurants.
There are no rigid rules for cooking or serving pate’. Nearly any flavor profile that appeals to you can be made into one. Today I wanted to feature a couple of very simple but tasty pates’ you might enjoy to try somewhere throughout the Christmas season.
Print Recipe
Pistachio & Turkey Pate' / Walnut & Wild Mushroom Pate'
Votes: 1
Rating: 5
You:
Rate this recipe!
Ingredients
Walnut & Wild Mushroom Pate'
Ingredients
Walnut & Wild Mushroom Pate'
|
Votes: 1
Rating: 5
You:
Rate this recipe!
|
Instructions
Pistachio & Turkey Pate'
-
Line a small bowl with plastic wrap.
-
In a food processor, combine turkey, onions, sour cream & mustard; process until mixture is well blended & smooth. Add relish; process about 30 seconds or until JUST combined. Spoon into lined bowl; cover with plastic wrap & press gently. Refrigerate 1-2 hours to blend flavors.
-
Unmold onto serving; remove plastic wrap. Sprinkle with chopped pistachios; gently press onto plate. Serve with a variety of crackers. Yield: 2 1/2 cups.
Walnut & Wild Mushroom Pate'
-
Preheat oven to 350 F. Spread walnuts in a single layer on a baking sheet. Toast for 10 minutes, or until fragrant & lightly browned.
-
In a large skillet, saute shallots in butter over medium heat until translucent.; add chopped mushrooms, garlic, parsley, thyme, salt & pepper. Cook, stirring often, until most of the liquid has evaporated.
-
Process toasted walnuts & olive oil in food processor until mixture forms a thick paste. Spoon in the cooked mushroom mixture; process to desired texture. Pack mixture into a well oiled bowl. Cover with plastic wrap & refrigerate for a few hours or overnight. Serve on baguette slices or crackers of your choice. Yield: 20 servings