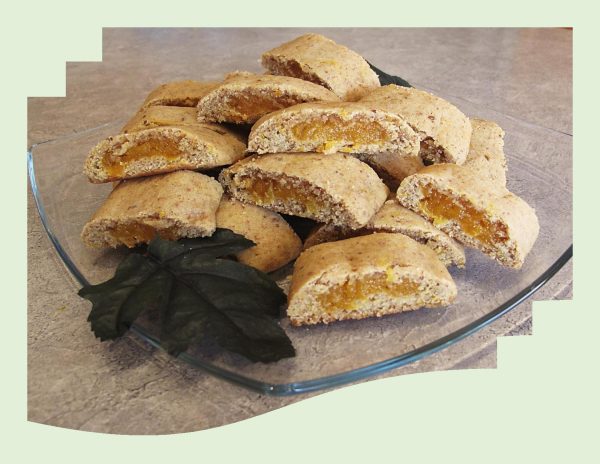
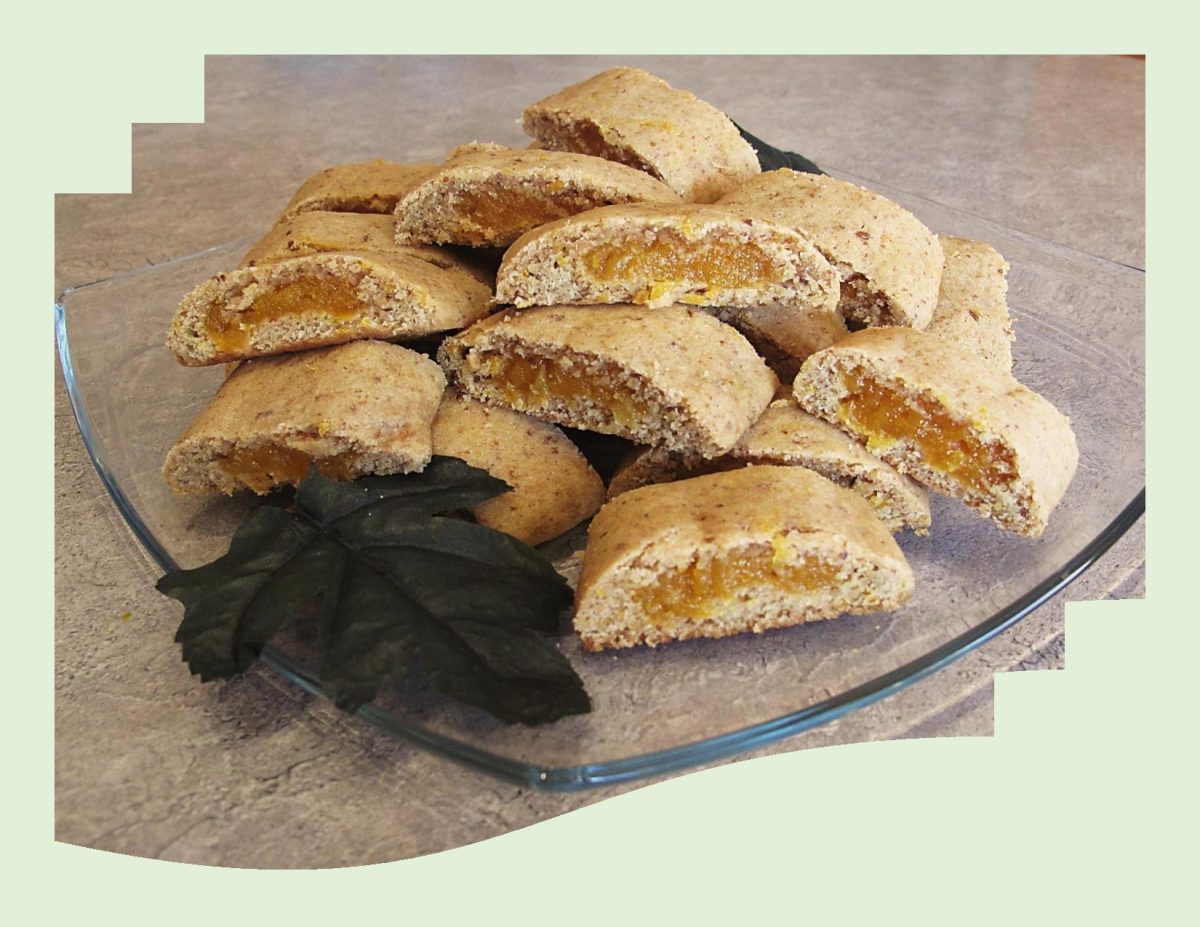
Do you recall the iconic Fig Newton? For some, fig newtons were the loser cookie – the one you would only eat out of pure desperation if there was nothing else resembling dessert in sight. What could be worse than mysterious, brown fruit ‘goo’ wrapped up in flavorless, dry ‘cake’? They felt that it was not a treat, it was a healthy breakfast disguised as a cookie.
I really don’t remember eating any amount of fig newton cookies myself, probably because my mother always baked. When I did finally taste them as an adult, I actually liked them. Maybe that had something to do with my love for figs or maybe I just like cookies…not sure!
The ‘fig newton’ was one of the earliest commercially baked products in North America. Introduced by the Kennedy Biscuit Company in 1891, fig newtons were named after the town of Newton, Massachusetts, which was near the factory that first produced the cookie commercially. Kennedy Biscuit eventually merged with several other bakeries to form the National Biscuit Company, now known as Nabisco.
The recipe for the fig filling was the brainchild of Charles M. Roser, a cookie maker born in Ohio, USA. Roser worked for a bakery in Philadelphia who sold his recipe to the Kennedy Biscuit company.
The manufacture of fig newtons was made possible by the creation of Florida inventor James Henry Mitchell, who revolutionized the packaged cookie business by building an apparatus that could make a hollow cookie crust and fill it with fruit preserves. His machine worked like funnel within a funnel; the inside funnel supplied jam, while the outside funnel pumped out the dough. This produced an endless length of filled cookie, which could then be cut into smaller pieces.
Original fig newtons were the only variety available until the 1980s and as of 2012, Nabisco now makes several varieties of the ‘newton’, which, in addition to the original fig filling, include versions filled with apple cinnamon, strawberry, raspberry, blueberry and mixed berry.
As Nabisco likes to remind us, ‘newtons aren’t just cookies’, they’re fruit and cake. Bringing me to the idea of apricot newtons. There seems to be numerous versions of them around so we shall see how these one turn out.

| Servings |
|
- 1 cup flour
- 3/4 cup whole wheat flour
- 2 Tbsp ground flax
- 1 tsp baking powder
- 1/8 tsp cardamom
- 1/4 tsp salt
- 140 gm (10 Tbsp) unsalted butter, room temperature
- 2/3 cup light brown sugar
- 1 large egg
- 1 tsp vanilla
- 1 medium orange
- 230 gm dried apricots,
- 1/4 cup water
- 1-2 Tbsp honey
Ingredients
Dough
Filling
|

|
- Whisk the flours, baking powder, cardamom & salt together in a medium bowl.
- Beat the butter & brown sugar in the bowl of a stand mixer fitted with the paddle attachment on medium speed until light & fluffy, about 3 minutes. Stop the mixer & add the egg & vanilla. Finely grate the zest of the orange into the bowl (save the zested orange for the filling). Beat on medium speed until incorporated. Stop the mixer & scrape down the sides of the bowl & the paddle with a rubber spatula.
- Return the mixer to low speed, gradually add the flour; mix until just combined (the dough will be very soft and sticky). Scrape the dough onto a sheet of plastic wrap & press into a disk about 1-inch thick. Wrap the disk tightly in the plastic wrap & refrigerate until firm, but still pliable, about 2 hours. Meanwhile, make the filling.
- Place the apricots in the bowl of a food processor fitted with the blade attachment & process until finely chopped, about 30 seconds. Transfer the mixture to a small saucepan. (No need to wash out the food processor; you will use it again.)
- Juice the zested orange and add 2 tablespoons of the juice to the pan. Add the water & honey. Heat the mixture over medium heat, stirring occasionally, until the apricots plump up and all the liquid is absorbed, about 4 minutes.
- Transfer the mixture back to the food processor and process into a smooth paste, about 1 minute. Let the mixture cool completely.
- Line a baking sheet with parchment paper & set aside. Transfer the cooled apricot mixture to a piping bag or resealable plastic bag.
- Dust a work surface generously with flour. Unwrap the disk of dough and cut it into 3 equal pieces (about 6 1/2 oz (185 gm) each). Place one piece on the work surface, rewrap the other 2 pieces back in plastic wrap; refrigerate those 2 pieces.
- Reshape the remaining piece of dough into a log about 2 inches wide and 4 inches long. Place the log with the short side facing you, generously dust the top with flour, and roll into a 1/2-inch-thick rectangle about 4 inches wide and 12 inches long.
- Using kitchen shears, snip off a bottom corner of the plastic bag or piping bag. Pipe enough filling down the center of the piece of dough so that it is 1-inch wide and 1/4-inch thick.
- Using a bench scraper, scrape up the right side of the dough & gently fold it over the center so it reaches the middle of the filling. Repeat with the left side of the dough. Gently pat the top of the dough down with your hands, pinching it together as needed, so that it completely covers the filling and flattens slightly. (It should now be in a Fig Newton shape.)
- Cut the filled dough in half crosswise. Using the bench scraper, carefully flip each piece over & transfer to the baking sheet so that it is seam-side down. Repeat with the rolling & filling of the remaining 2 pieces of dough, using flour as needed to prevent the dough from sticking. You will end up with 6 filled & shaped pieces of dough on the baking sheet, so space them in 2 rows of 3 each, about 2 inches apart.
- Chill the logs for at least 30 minutes or up to 1 hour. Meanwhile, arrange a rack in the middle of the oven and heat to 350 F.
- Bake until just lightly browned around the edges, 15 to 17 minutes. Cut each bar crosswise into 5 pieces and let cool completely. Store in an airtight container for up to 5 days.

